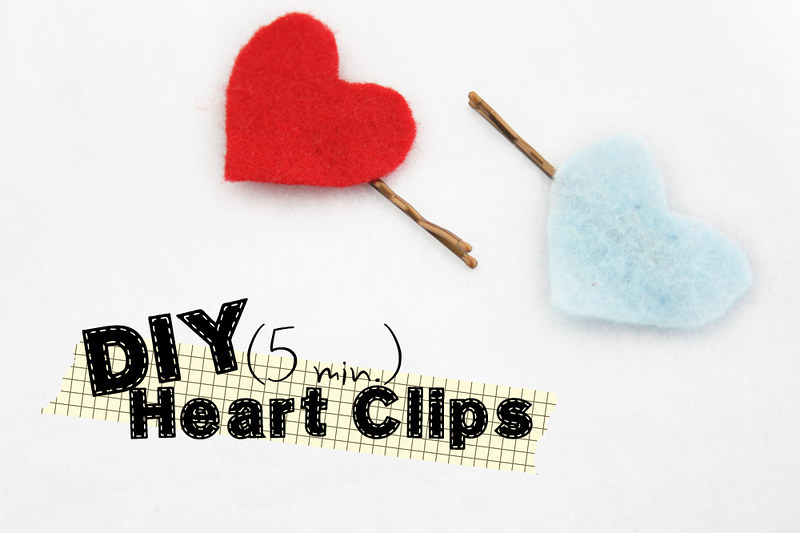
5 Minute DIY Hair Clips

When I was putting together my rehearsal outfit, something felt like it was missing. I needed a little color. And I didn’t really own what I was looking for. So I whipped up these little hair accessories in, literally, under 5 minutes. I did end up wearing them for my rehearsal. And one of my bridesmaids loved them so much, she ended up stealing them and sticking them in her hair for the wedding the next day!

It’s actually pretty self explanitory, but here’s how I did it…..

IMG_7337

What you need:

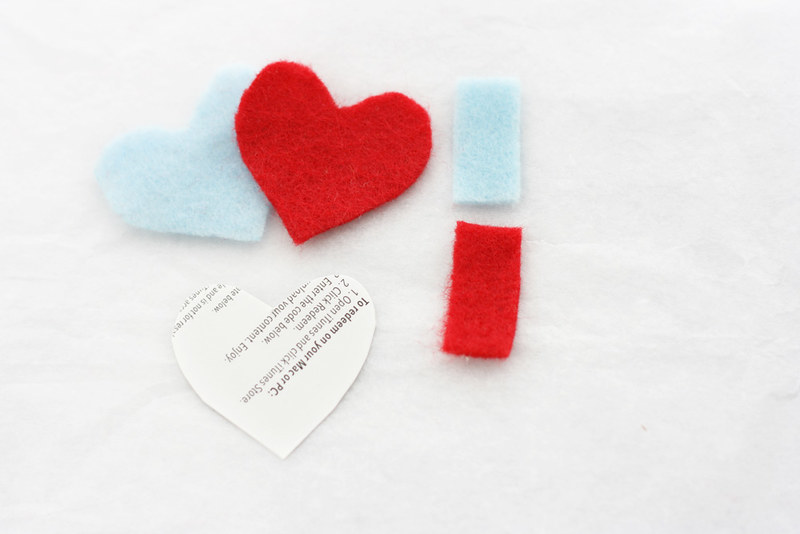
felt

heart template

bobby pins

needle and thread or glue

IMG_7287

1. Use your little heart template ( just cut one out of spare paper or cardboard) to cut out your felt heart. Also cut out a small rectangular piece that will fit across the heart. 

IMG_7315_2

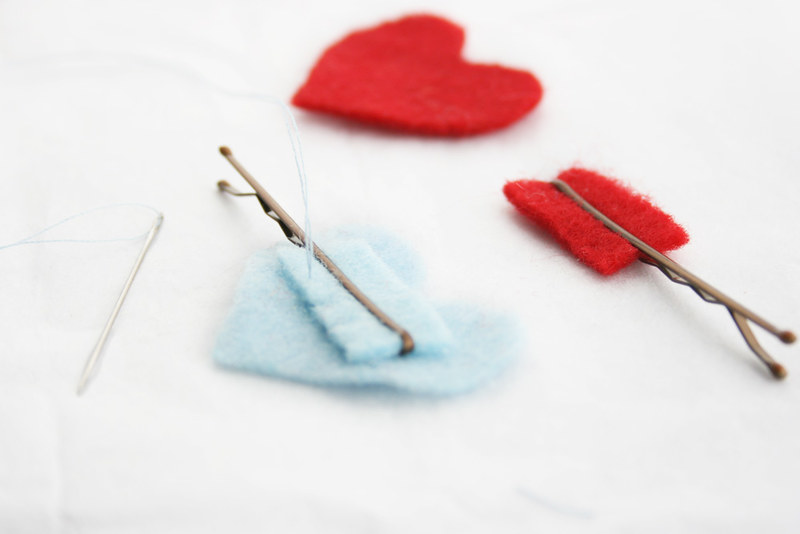
2. Slip the rectangle in between your bobby pin. place your rectangle/bobby pin on the back of your heart, and stitch or glue it down. Make sure to only attach along the longer edges of the rectangle, so you can still slide the bobby pin out. That way you can turn the bobby pin around and wear it on either side of your head without the heart being upside down. Does that make sense?

3. Stick em in your hair. Thats it! See, that didn’t take long. 

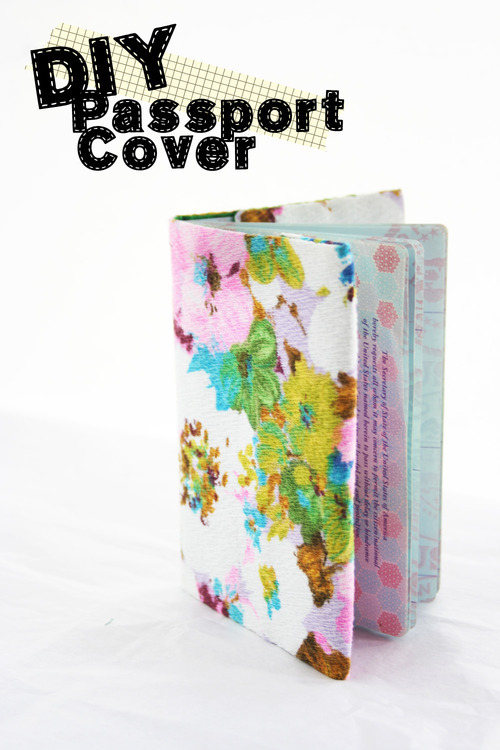
DIY Passport Cover

I made my passport pretty, and here’s how……

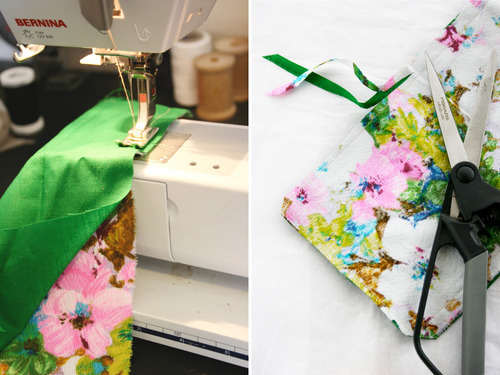
1. Cut out two  12x6.5” rectangles. One in your outer fabric, and one in lining fabric. 

2. With right sides together, sew a 1/2” seam around entire edge, leaving a small opening so you can turn right side out. 

3.  trim corners and seam allowance.  

4. Turn right side out through opening. Press. 

5. Using an invisible slip stitch, hand sew the opening closed.

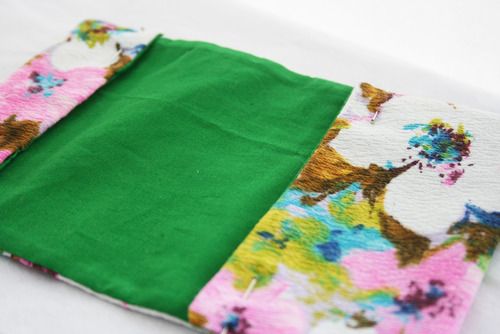
6. Fold front end inward aprox. 1 1/4” and pin. Fold back end in aprox. 2 3/4” in and pin.

7. Stitch down (you can machine stitch if you want - just stay as close to the edge as possible. I chose to hand sew with slipstitch on the very edge, catching only the lining. It’s practically invisible).

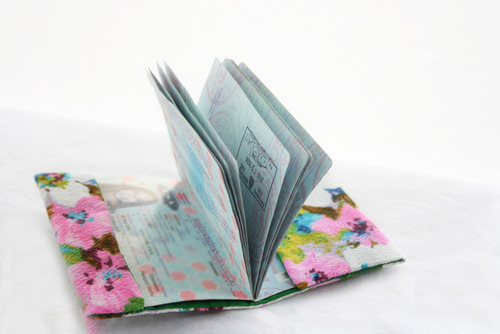
8. Slip in your passport, and voila! You can travel in style now :)

Bits & Pieces: Wedding Preview

IMG_6718

You guys, It’s almost here. In just three days….. I’m getting hitched. I know, right?! I can’t believe it’s almost here. The last year of planning, and working, and DIY-ing is all coming together now. I’m excited. But nervous. But excited. And anxious. AAAAAAH, this is crazy. 

(photo by Lindsay DeDario Photography)

IMG_7811IMG_4524IMG_4528IMG_4599IMG_6706IMG_7266IMG_6691IMG_6681_2IMG_6669

(photo by Lindsay DeDario Photography)

.

So this is where I leave you. But don’t worry, I didn’t forget about you! While I’m gone for the next few weeks, I have some friends lined up with some fantastic guest posts, as well as a few things I have prepared for you myself. So don’t go anywhere!

Well then. Au revoir, my friends. I’ll see you all in 3 weeks!

(p.s - if you want a sneak peek at any of our wedding and honeymoon adventures before I’m back, follow along with me on Instagram (username: hollyjollydolly). I’m going to be stepping away from my computer for a few weeks, but that doesn’t mean I won’t sneak in a little Iphone action:))

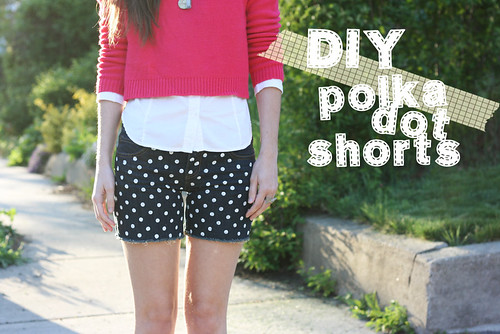
DIY Polka Dot Shorts

1

I’ve seen so many of these DIYs around the web lately. And I’m a polka dot addict, so I couldn’t resist. 

This one is pretty easy, folks. Here’s what you need:

- a pair of old or thrifted shorts

- ruler

- chalk or fabric pencil

- fabric paint

- small dabber or pencil eraser

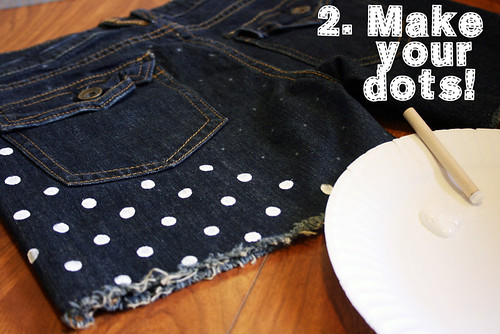
2

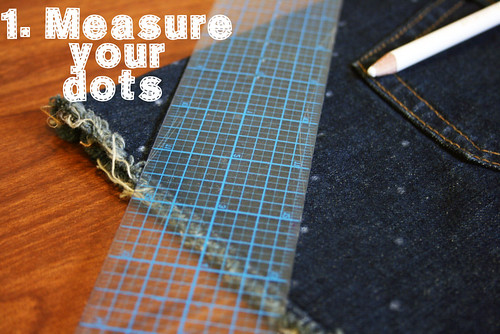
First, mark where your polka dots will go. Starting at the corner, and using your fabric chalk or pencil, make small dots an inch apart. 

3

Then get to dabbing! I used a small foam dabber made for stenciling, but an eraser at the end of a pencil will work just as well. Lightly dab your dabber in your paint, making sure to get rid of an excess, and dab over your marks. That’s it! Depending on the colors you are working with, you may need to go over them again, once they are dry, if they are too sheer. 

4

You can see more of my final product in tomorrows outfit post.

DIY Envelope Clutch

SUPPLIES:

-fabric and lining fabric. You will want a pretty sturdy fabric, like a vinyl, leather, or thicker home decor fabric. If your fabric is thinner, you may want a fabric stiffener or interfacing to add some stability.

-pattern (see below)

-sewing machine or needle and thread.

-magnetic clasp closure

As far as the pattern, It is up to you how big you want your clutch. All you have to do is draw out a rectangular shape with a triangular top, in the size that you want. Just make sure you add plenty of seam allowance, and don’t forget to add placement for your snaps! 

1. Lay out your pattern and cut out both your exterior and lining fabrics. 

2. I chose to add the bottom snap now, before sewing, so I could see where I was attaching it better. But it can be done just as easily later on, when I show the top snap being attached. You can’t attach the top snap yet, because it will get in the way of sewing.

.

From your pattern, mark where the snap goes on the wrong side of your outer fabric. Cut tiny slits where the prongs go. From the right side, insert the snap, then turn it over to the wrong side and press down the prongs. 

3. With right sides together, pin the lining to the outer fabric. Stitch in place, leaving a 3 or so inch open gap at the bottom. 

4. Clip the corners. Through the gap/hole you left on the bottom, turn your clutch right side out. 

5. Cut the slits of the lining only where the prongs of the top snap will go and insert the snap. Reach your hand up through the bottom gap, and press down the prongs. You can also do the bottom snap at this point if you didn’t do it before. Just make sure the bottom snap is attached to the outer fabric only. 


6. With your needle and thread, use an invisible stitch to close up the bottom gap. 

7. With right sides (outer fabric to outer fabric) together, fold up and pin clutch together. stitch close to the edge. 

.

Flip right side out, and you are done!


Clutch Party

Remember mine and Linda’s clutch party? Well, we are all done! We’ve put away our needle and thread, our hot glue and fabric paint, and we are ready to share our creations with you all!

I stuck with a simple envelope design. And I was so in love with it… I made two! I have plans for a third, as well. Keep a look out the rest of this week for more looks at both versions, as well as a DIY on Wednesday!

Kayla’s origami clutch has to me one of the coolest things I’ve seen in a while. And it requires no sewing! She has a full tutorial over at her blog - Freckles in April.

How cute is this little zipper clutch by Kim, of Kimbercrafts?! I love her handmade felt flower embellishment. TOO cute. You can see more of her version here

Kyla, from Blue Collar Catwalk, came up with this easy and fun double clutch DIY after she saw a similar version at Target. Clever, no?

And, last but not least, the talented Linda transformed this vintage canvas clutch into a colorful and unique accessory with just some paint and some patience :) Absolutely brilliant!

Thank you, all, who joined in with us for this little party. I hope you had fun, and will join us in any future crafting adventures!

Flamingos, and Giraffes, and Deer, Oh My!

IMG_6325

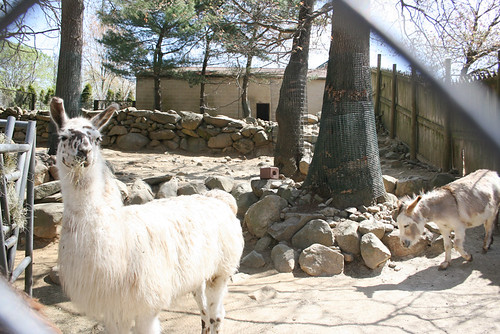
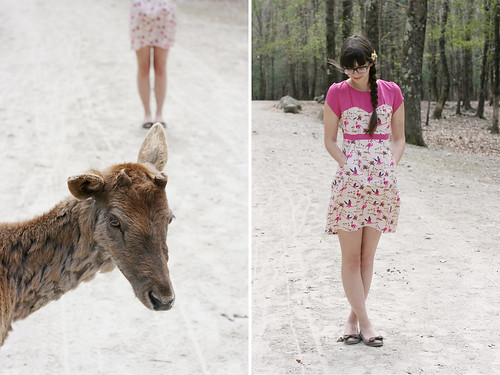
Where did I wanna spend my 25th Birthday? At the zoo, of course! The last few years that I lived in Buffalo, it kind of became tradition for Boo and I to go to the zoo right around my birthday. So I was really excited when the weather was so nice this past saturday, so we could carry on the tradition! I posted a few photos in my instagram recap yesterday, so I won’t overload on the animal photos. 

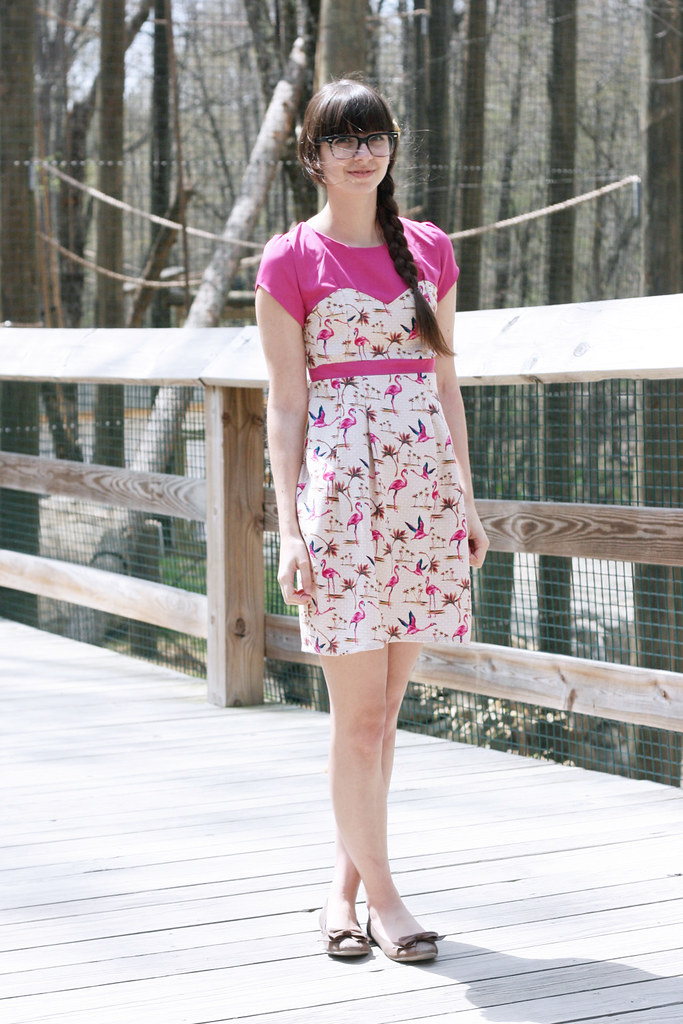
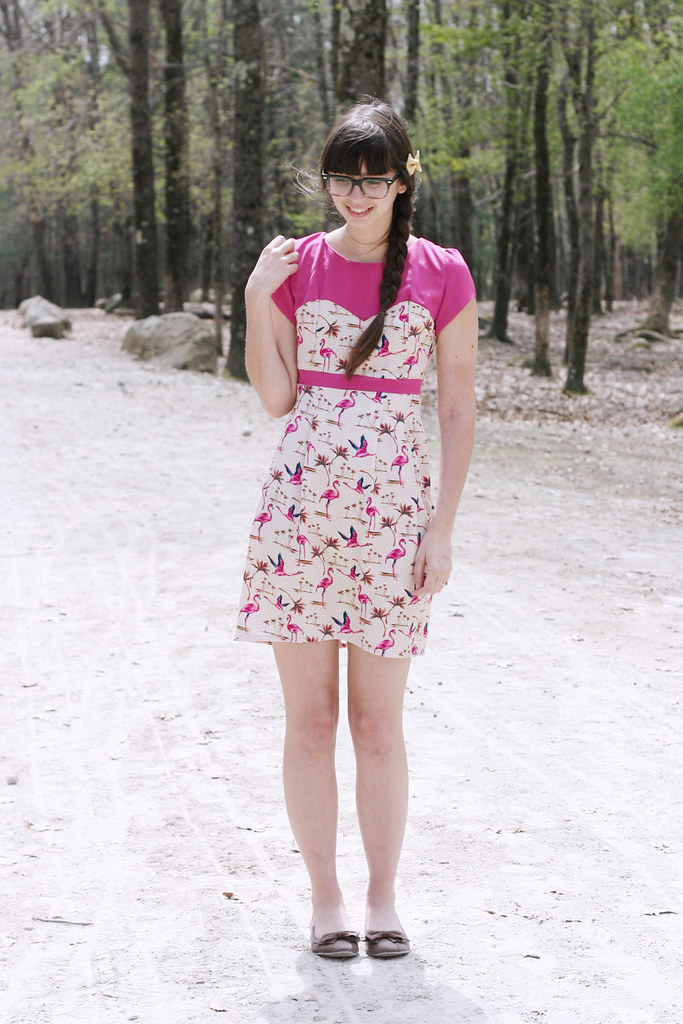
Instead, lets talk about my dress! If you follow along on Instagram, you may have seen that I was making myself a birthday dress. Well, ta-daaaaaaa. I picked this fabric up on a whim from the clearance section of Joanns. I had planned to whip up my own design, but seeing as I waited until the last minute (typical), I ended up using this Colette pattern. And I love it! Although, I’m pretty sure the pattern was designed for busty gals, because I had to alter it a loooooot up top. So be warned, if you want to give this pattern a try yourself!

IMG_6408 7.19.48 PMUntitled-2IMG_6201IMG_6377

Someone kept wanting to get in my pictures….

IMG_6370Untitled-1_3

dress: handmade, Colette Pattern No. 1001- Macaron

hair bow: shopHollyDolly (available now!)

flats: Blowfish Shoes (won in a giveaway) - here

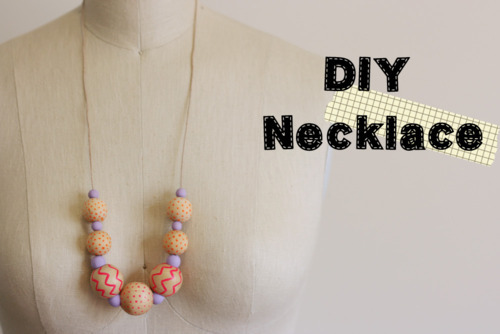
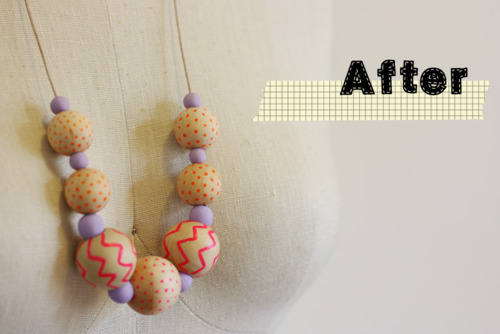
DIY Wood Bead Necklace

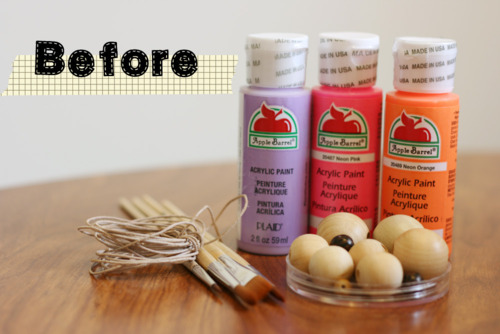
I’m kind of obsessed with these colors lately. I used neon pink and orange in my last DIY, too. I also love the way the pastel purple plays off the neon. Lets see, how many DIYs can I do in these colors before I get sick of them?

What you’ll need:

-an assortment of wood beads

-paint 

-assortment of paint brushes

-string

Thats it! Theres really no need for step by step instructions, for I feel its pretty self explanatory. Choose the color, deign, and layout you like, and get to painting!

Wedding Wednesday: Burlap

IMG_4524

See this big bolt of burlap? Obviously I have a lot of wedding DIY projects in mind using this particular material. So I thought I would share some of the things I’ve been working on! These aren’t even all of my burlap projects. But I haven’t quite started all of them yet. But we’ll start with these for now :)

IMG_4528

1. Burlap and bakers twine wrapped mason jars. Going to be used as vases, favors, and other random decor. 

IMG_4537

2. Table numbers - I’m really loving the way these turned out. 

IMG_4585 IMG_4599

2. Bunting banners. I know you can’t see it all, but this particular one is for the candy station. I also plan on making ones for the photo booth, head table, and pre-ceremony drinks table. 

That’s it so far. It’s a lot of work, but I’m having fun crafting!

burlap :  Online Fabric Store

chunky bakers twine : Sew Lola

blue tags and heart stickers: Knot & Bow