One Year

Holly+Zach_cer-115

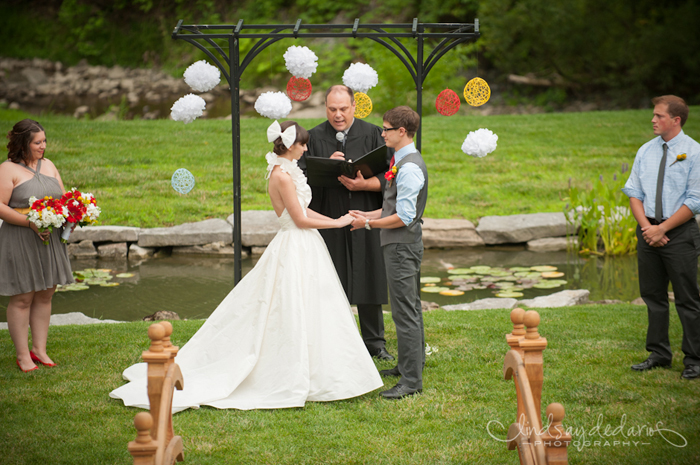
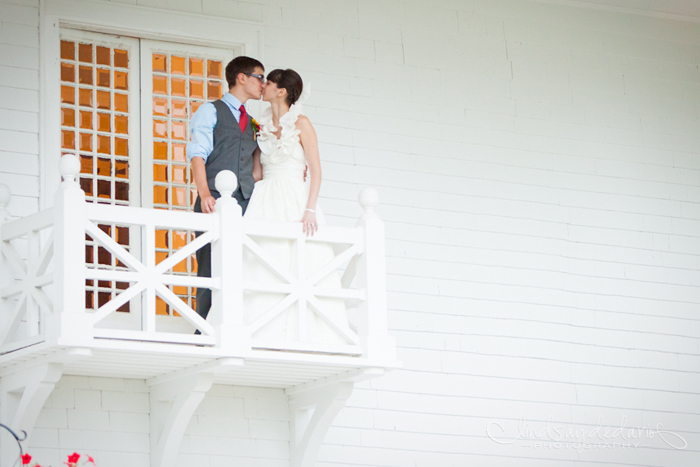
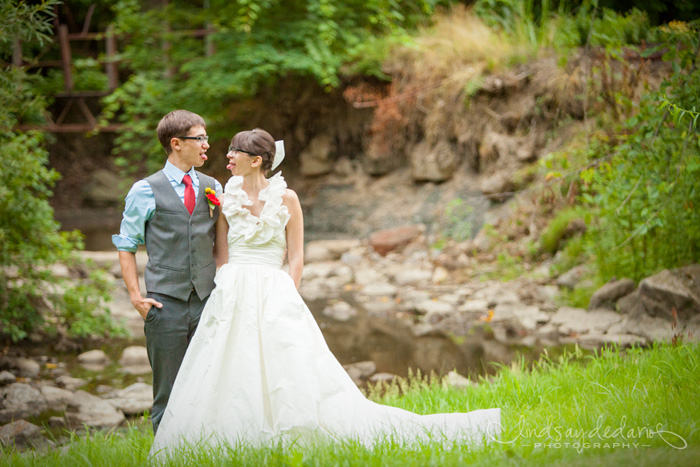
One year ago yesterday, Boo and I got married. Yesterday, we reached our one year anniversary while in Cleveland celebrating another friend’s upcoming nuptials. It was a great weekend, but we’ll have to have a proper celebration here soon. I mean, we made it a year! That’s a big deal! Not that there was ever a doubt that we would ;).

But really - I can’t believe how fast that year went.  Fo real! It seems like it was just last month that I was knee deep in all of that crazy planning, and then walking down that aisle, tripping over my own dress. I wouldn’t change a thing, especially that guy that was standing at the end of the aisle waiting for me :). 

Happy anniversary, BooBoo!!!

image

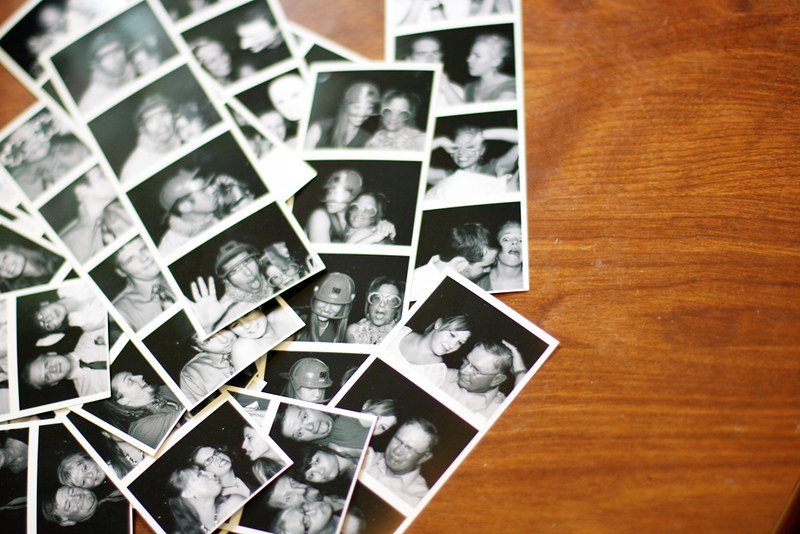
P.S - see more of our wedding photos here. And just for kicks, see our honeymoon photos here

Holly+Zach_formals-176

Holly+Zach_formals-218

Holly+Zach_reception-254

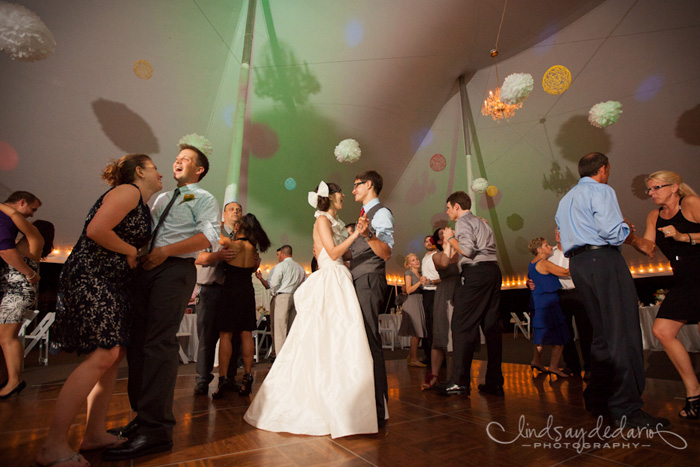
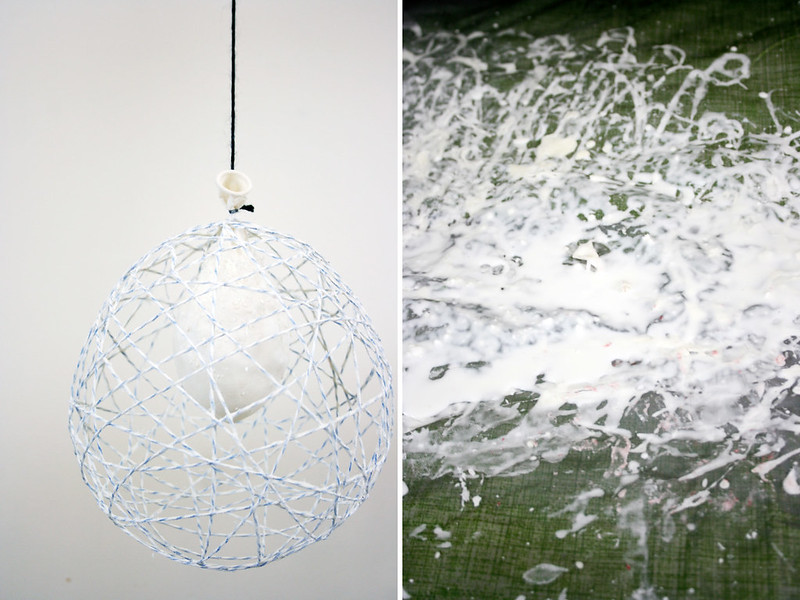
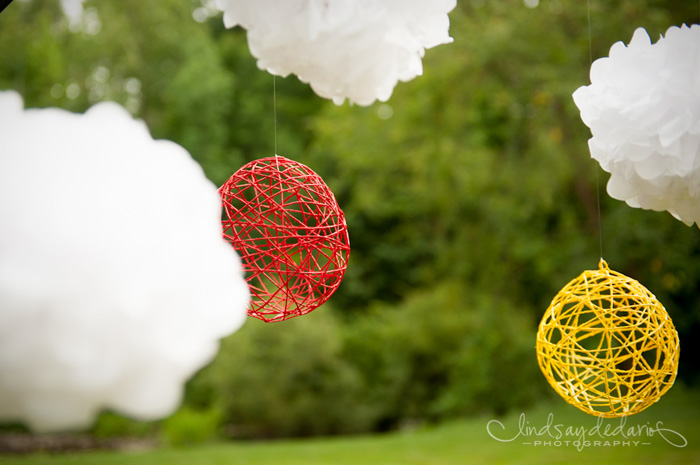
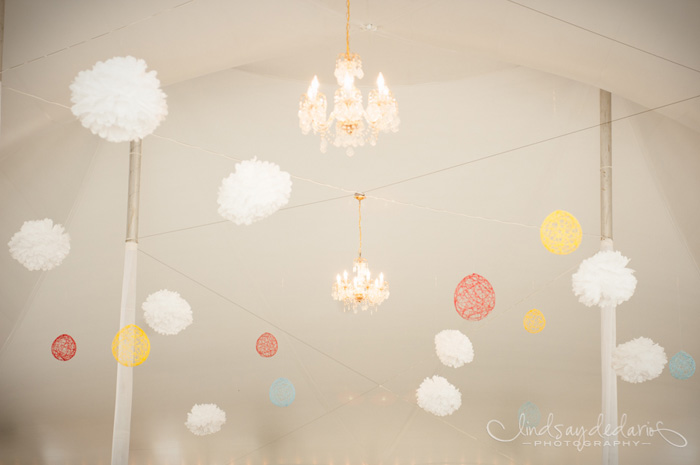
** all photos taken by Lindsay Dedario photography **

DIY Yarn Lanterns

lanterndiy1

Supplies:

-string/yarn

-vaseline

-elmers glue

-corn starch

-water

-balloons

-spray paint (optional)

IMG_6127

1. Set up your work space. Hang a horizontal dowel/rod/stick/wire across two chairs/shelves.etc. Somewhere where you can hang multiple balloons from with string. Lay down plastic or a tarp underneath, and make sure to cover the entire work space. Seriously. Look at the pictures below. This isn’t exactly a neat and tidy project. 

2. Blow up your balloons to your desired size and hang them, using string, from your rod. Make sure they are not touching each other, the wall, etc. 

3. Cover the balloons in vaseline, to make sure the string doesn’t stick to the balloon when the glue dries.

4. Make your glue mixture. Mix about half a bottle of glue, 1/2 cup of cornstarch, 1/4 up water. This is only enough for a few lanterns, so mix more if you are making a lot of them. 

IMG_6149

5. Run your yarn through the glue mixture and start wrapping it around your balloon. This works so much better if you have two people. One person can feed it through the glue, while the second person takes the newly glue covered yarn and wrap. Theres no rhyme or reason to the wrapping - just go with the flow!

IMG_6073

6. When you have your desired look - cut the yarn and tuck in the ends. Let dry at least 24 hours. Personal tip -after it’s fully dry, give it a light test squeeze to see if it is soft in any spots. If it doesn’t feel firm enough to you, give it another coat of glue and let re-dry. 

lanterndiy2

7. When it is fully dry  - hold your breath, and pop the balloons! Pull out the balloon and scrape off and excess glue from the string. 

Holly+Zach_cer-5

8. That’s it! You can paint or spray paint them if you would like. Or try using colored string to start with!

Holly+Zach_reception-28

***last two photos by Lindsay Dedario Photography***

If You're Thinking About Getting A Photo Booth.....

IMG_2301

…..for your wedding or party - DO IT. You will not regret it. 

photos1

Renting our photo booth was probably the best decision I made for our wedding. Seriously. Everyone loved it, and I could have filled six of those frames with the amount of photo strips I have. 

I originally wanted to get custom made, really long frames for all of them. But that turned out to be ridiculously expensive. So, instead, I found these floating frames at the craft store, and used clear scrapbooking squares to arrange and attach all of the photos between the two pieces of glass. 

Let’s just say, I’m pretty much in love with them. 

A Magical Rehearsal Night

IMG_8327

Today, I’m going alllll the way back to friday the 6th. The day of our rehearsal.

We went with a casual, laid back rehearsal dinner, held down by the pond on the farm. I actually had no involvement in this dinner, so imagine my surprise when I showed up and it was the absolute cutest Harry Potter/library themed party! It was absolutely perfect for us! Boo’s sister and mom did the most amazing job putting everything together. I was in complete awe the entire night at the attention to detail and work that went into it.

It was a gorgeous night. There were lights around the pond, s’mores cups, popcorn, and lots of Harry Potters walking around.  Absolutely perfect. 

IMG_8325

IMG_8322

IMG_8353

IMG_8330

IMG_8357

IMG_8344

IMG_8398

rehearsal

IMG_8384

my dress: H&M

shoes: TOMS

Insta-Wedding

I’m baaaaaaaack!

Whew, what a whirlwind. It’s been a crazy and exciting few weeks. Everything was perfect - from the wedding to the honeymoon, and I have loads to share with you. But, the thing is, we won’t have our wedding photos back for at least another 4 weeks or so. So, thanks to the power that is Instagram and some crazy instagram-ing friends, I have a little sneak peek here to tide you over. 

In the meantime, I’m busy editing the 500 some photos from both the rehearsal dinner and the honeymoon. So look out for those soon. I’ll also be (hopefully) getting back into regular scheduled posting. It’s been 4 weeks since I’ve taken any full outfit photos, and it feels really weird!

 So please forgive me, and be patient with me, while I try to gather myself and get back into the groove of things. It’s good to be back!

P.S - thank you SO MUCH to all the wonderful ladies who filled in for me and guest posted. Everything looked amazing, so thank you! 

P.P.S - all of the above photos were either taken by my friends Amanda and Allison, or my Boo. They’re all pretty cool people. 

Bridesmaid Portraits & Though Very Humble

Yesterday, sweet Linda shared an outfit she would wear if she were attending my wedding (adorable outfit, by the way, no?). I also mentioned that she actually did have a small part in said wedding, and I would love to share it with you today!

You see, Linda happens to be a super talented artist. Besides posting her daily outfits and illustrations over at Little Tin Soldier, she also runs a cute little etsy shop- Though Very Humble, where she sells custom illustrations. (seriously - check it out. Too cute). 

So I asked Linda to do portraits of myself with each of my bridesmaids (and flower girl) as gifts to all of them. And I could not be any happier with the way they came out. Seriously, how amazing are these?! I framed them, wrapped them up all pretty, and gave them to my girls at our rehearsal dinner. And you know what? They loved them too. I mean, how could they not? Seriously. Seriously. 

So go check out Though Very Humble and all of it’s adorable-ness. I promise you, you won’t be disappointed. 

And, why yes - that is a sneak peek of my dress, in illustration form :)

Bits & Pieces: Wedding Preview

IMG_6718

You guys, It’s almost here. In just three days….. I’m getting hitched. I know, right?! I can’t believe it’s almost here. The last year of planning, and working, and DIY-ing is all coming together now. I’m excited. But nervous. But excited. And anxious. AAAAAAH, this is crazy. 

(photo by Lindsay DeDario Photography)

IMG_7811IMG_4524IMG_4528IMG_4599IMG_6706IMG_7266IMG_6691IMG_6681_2IMG_6669

(photo by Lindsay DeDario Photography)

.

So this is where I leave you. But don’t worry, I didn’t forget about you! While I’m gone for the next few weeks, I have some friends lined up with some fantastic guest posts, as well as a few things I have prepared for you myself. So don’t go anywhere!

Well then. Au revoir, my friends. I’ll see you all in 3 weeks!

(p.s - if you want a sneak peek at any of our wedding and honeymoon adventures before I’m back, follow along with me on Instagram (username: hollyjollydolly). I’m going to be stepping away from my computer for a few weeks, but that doesn’t mean I won’t sneak in a little Iphone action:))