Supplies:
-string/yarn
-vaseline
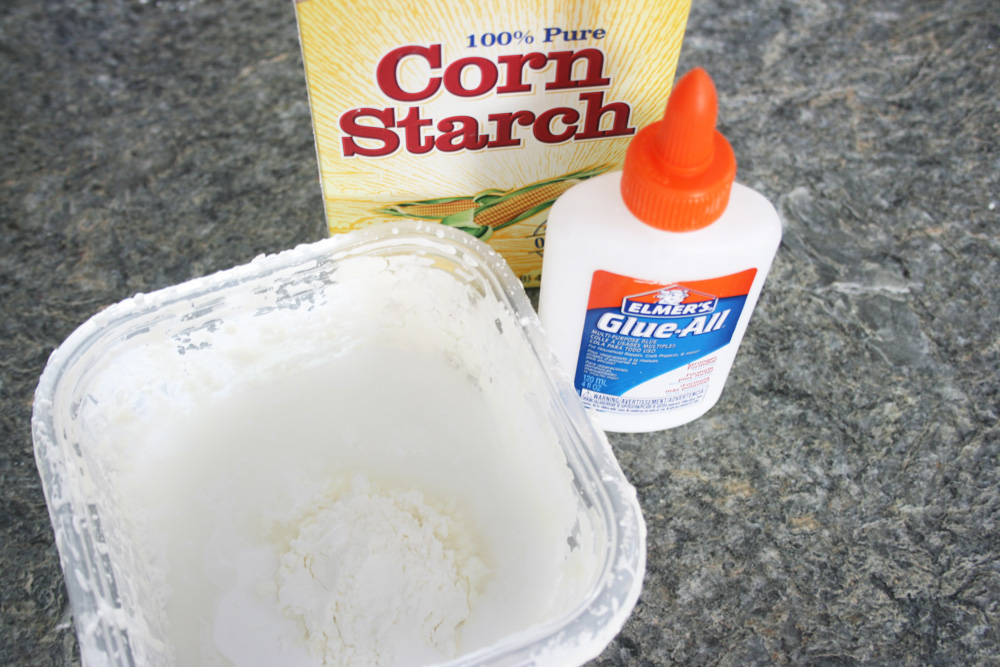
-elmers glue
-corn starch
-water
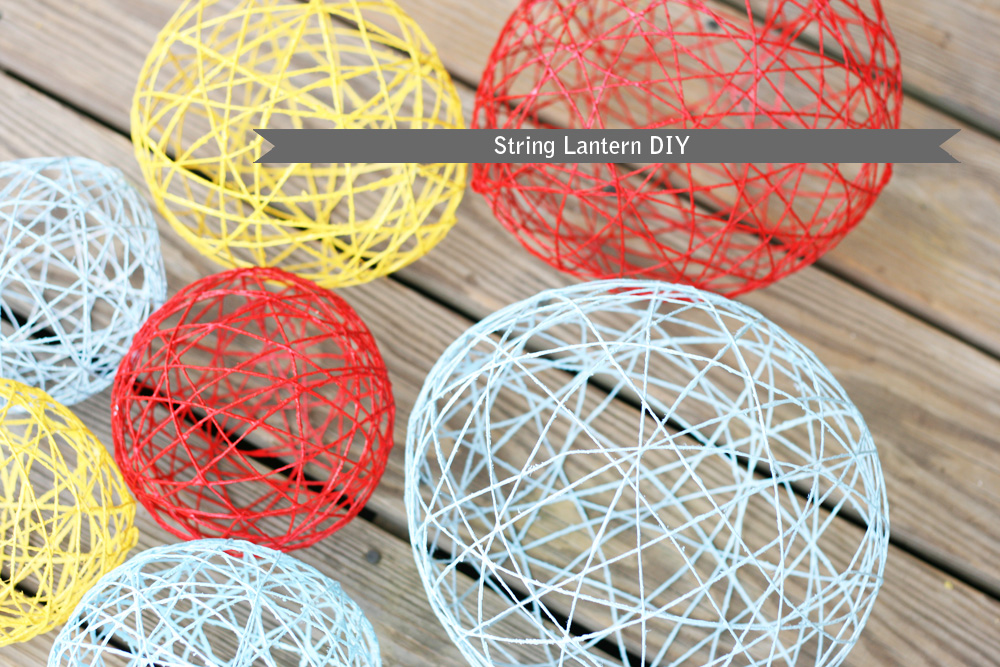
-balloons
-spray paint (optional)
1. Set up your work space. Hang a horizontal dowel/rod/stick/wire across two chairs/shelves.etc. Somewhere where you can hang multiple balloons from with string. Lay down plastic or a tarp underneath, and make sure to cover the entire work space. Seriously. Look at the pictures below. This isn’t exactly a neat and tidy project.
2. Blow up your balloons to your desired size and hang them, using string, from your rod. Make sure they are not touching each other, the wall, etc.
3. Cover the balloons in vaseline, to make sure the string doesn’t stick to the balloon when the glue dries.
4. Make your glue mixture. Mix about half a bottle of glue, 1/2 cup of cornstarch, 1/4 up water. This is only enough for a few lanterns, so mix more if you are making a lot of them.
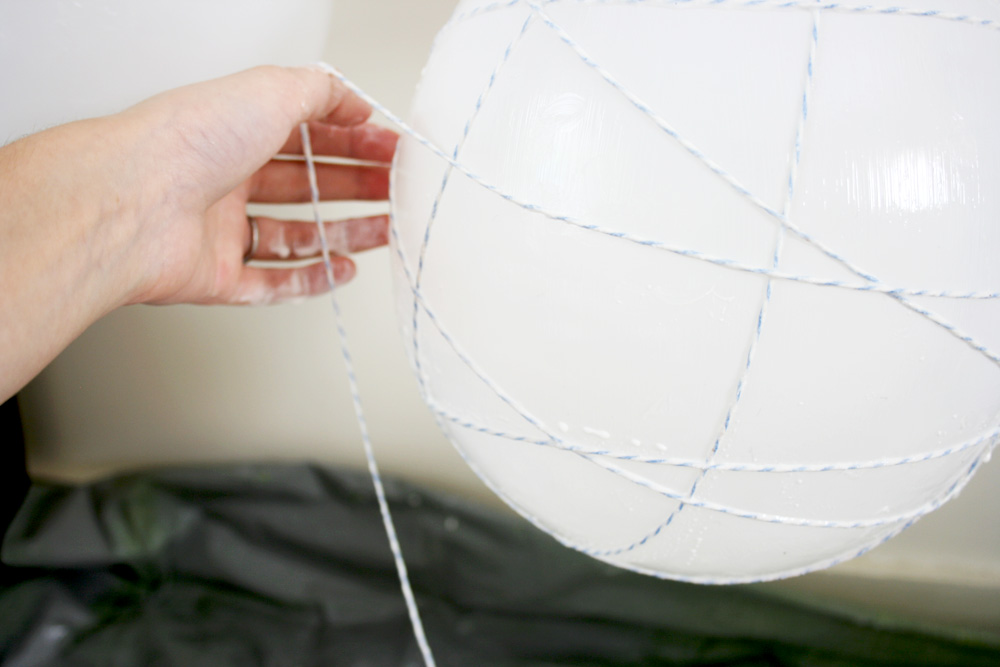
5. Run your yarn through the glue mixture and start wrapping it around your balloon. This works so much better if you have two people. One person can feed it through the glue, while the second person takes the newly glue covered yarn and wrap. Theres no rhyme or reason to the wrapping - just go with the flow!
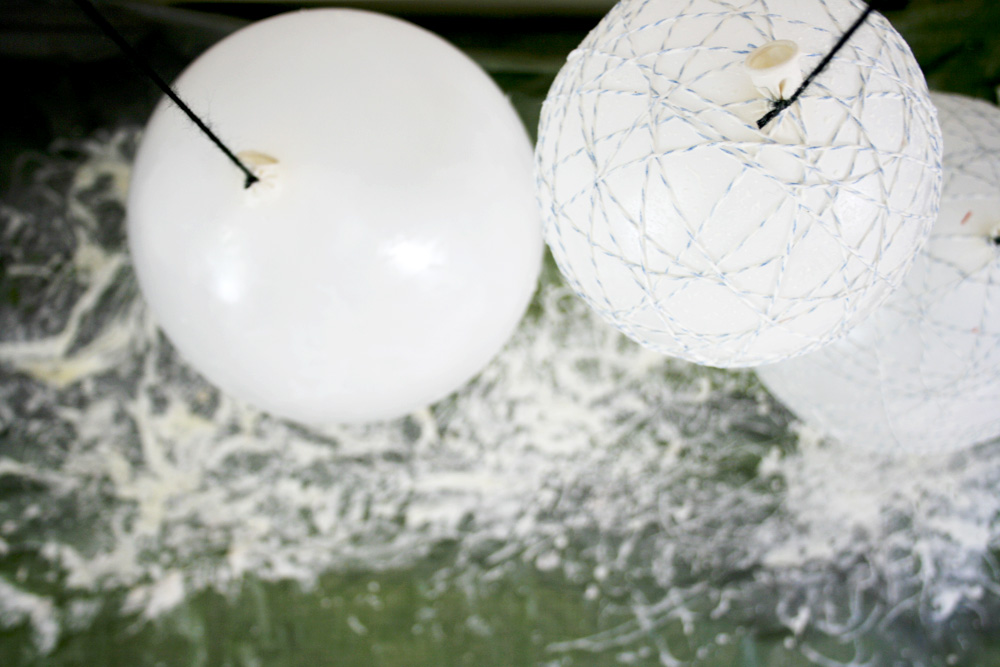
6. When you have your desired look - cut the yarn and tuck in the ends. Let dry at least 24 hours. Personal tip -after it’s fully dry, give it a light test squeeze to see if it is soft in any spots. If it doesn’t feel firm enough to you, give it another coat of glue and let re-dry.
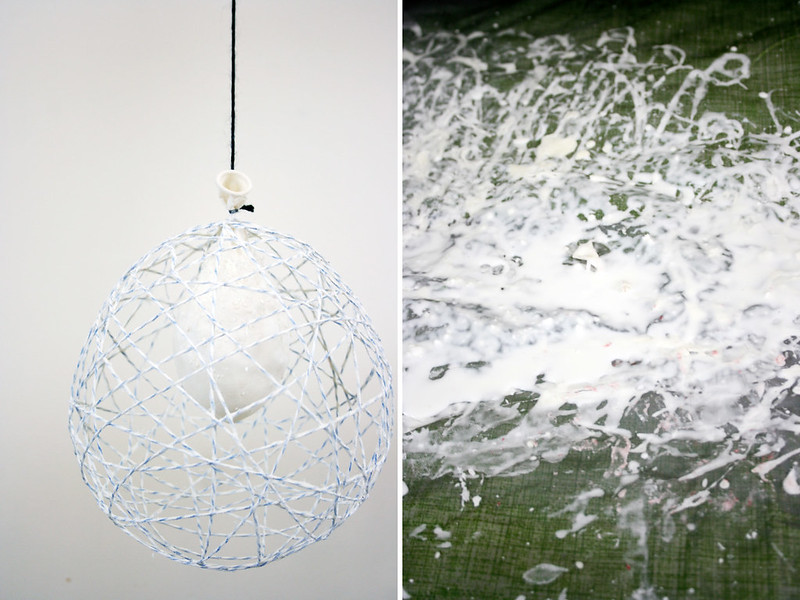
7. When it is fully dry - hold your breath, and pop the balloons! Pull out the balloon and scrape off and excess glue from the string.
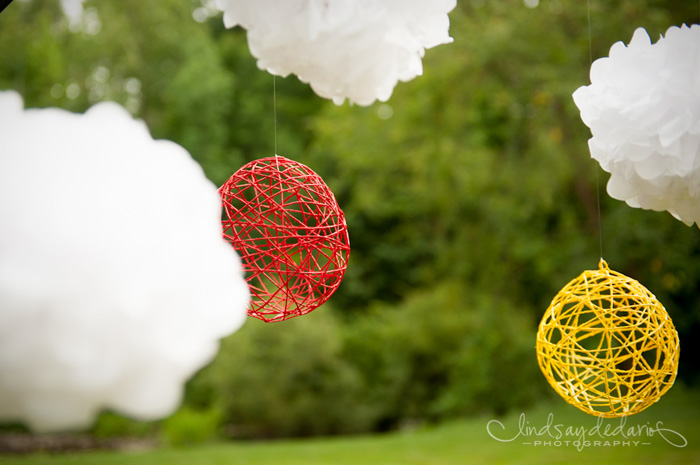
8. That’s it! You can paint or spray paint them if you would like. Or try using colored string to start with!
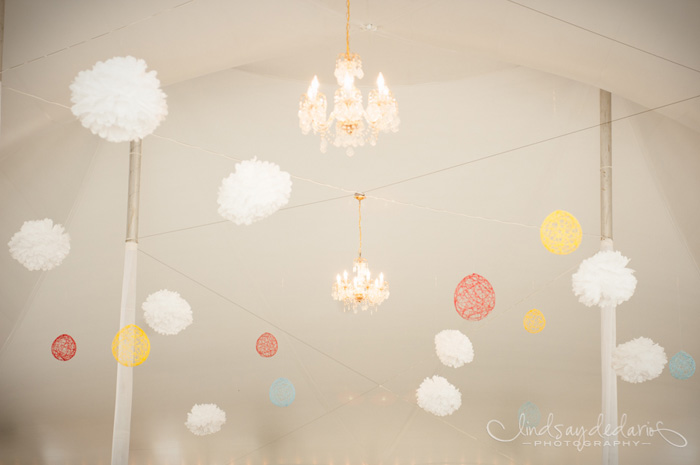
***last two photos by Lindsay Dedario Photography***