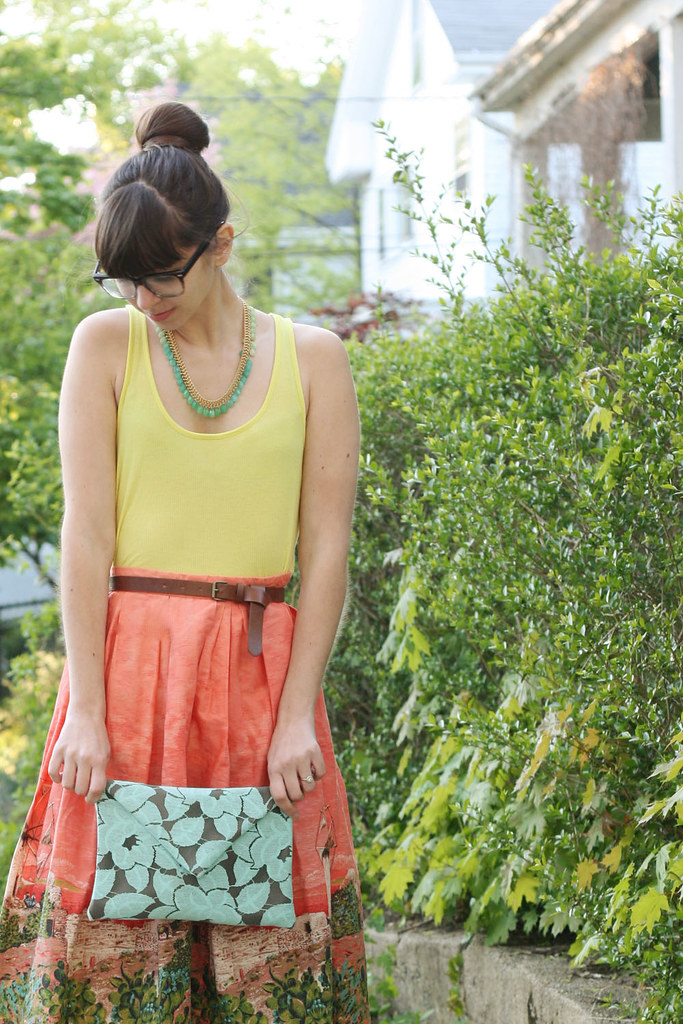
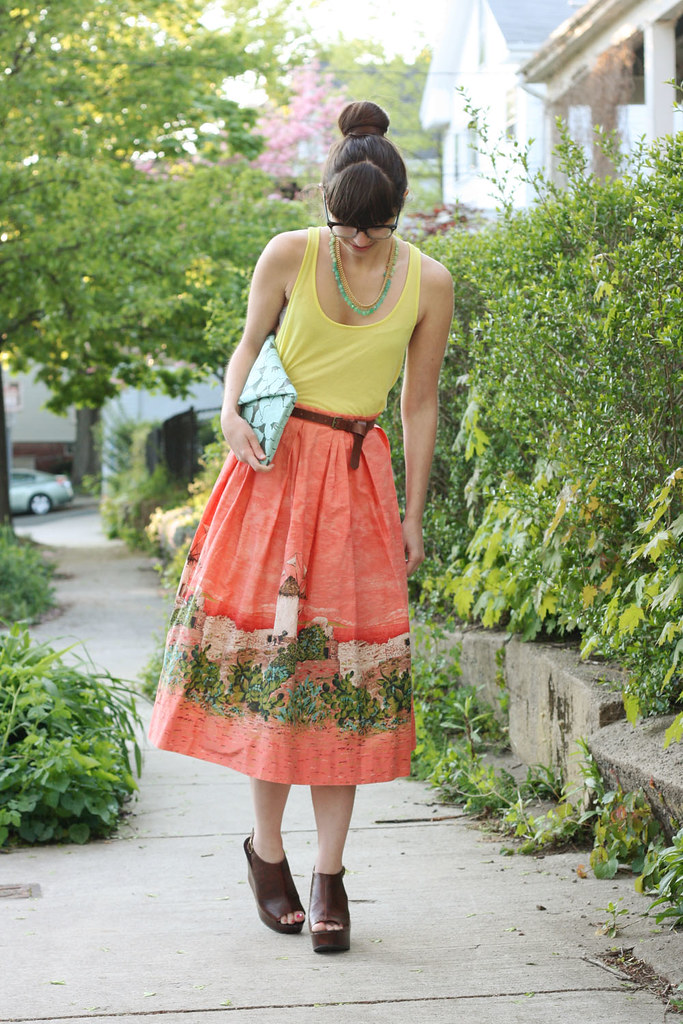
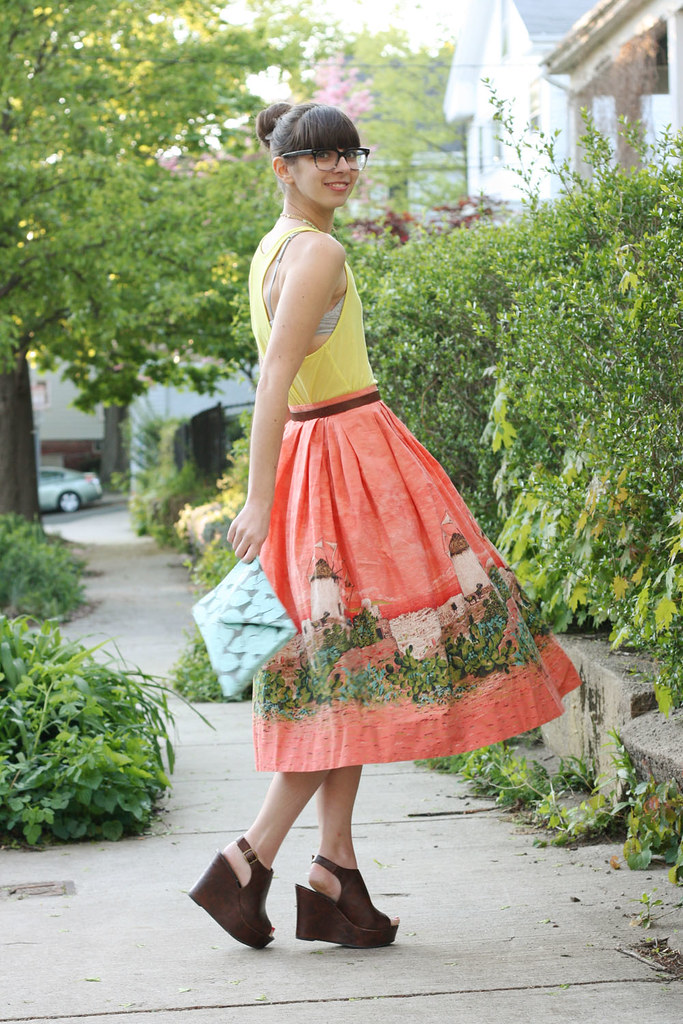
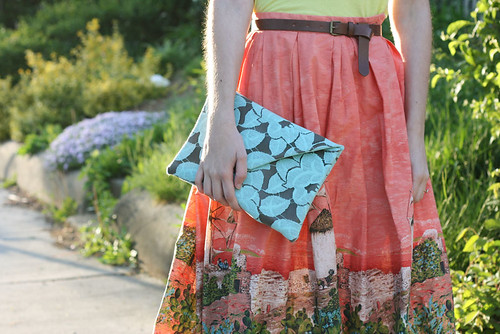
1000 Things

IMG_7673

I can’t really think of anything else to say about this outfit, except that I really, really like it. So theres that.

I just can’t concentrate right now. There’s the ten thousand wedding projects I have going on, as well as the bridal shower. Also, the planning for an overnight trip to NYC tomorrow (yay for dress fittings!). And then there is the realtor showing up constantly and interrupting my routine to show the apartment (our landlord is selling the house). Oh, and not to mention we are beginning the hunt for a new place, ourselves. My mind is kind of all over the place, if you can imagine. 

Here’s to hoping it slows down a bit soon. Although, I really don’t see that happening. Oh, the joys of wedding planning :) 

IMG_7696IMG_7690IMG_7725

Hey, look! My first ever successful sock bun. Are you proud of me?

IMG_7602IMG_7629IMG_7621

tank: H&M - similar

skirt: vintage

necklace: Stella & Dot

clutch - DIY

wedges- Madden Girl

DIY Envelope Clutch

SUPPLIES:

-fabric and lining fabric. You will want a pretty sturdy fabric, like a vinyl, leather, or thicker home decor fabric. If your fabric is thinner, you may want a fabric stiffener or interfacing to add some stability.

-pattern (see below)

-sewing machine or needle and thread.

-magnetic clasp closure

As far as the pattern, It is up to you how big you want your clutch. All you have to do is draw out a rectangular shape with a triangular top, in the size that you want. Just make sure you add plenty of seam allowance, and don’t forget to add placement for your snaps! 

1. Lay out your pattern and cut out both your exterior and lining fabrics. 

2. I chose to add the bottom snap now, before sewing, so I could see where I was attaching it better. But it can be done just as easily later on, when I show the top snap being attached. You can’t attach the top snap yet, because it will get in the way of sewing.

.

From your pattern, mark where the snap goes on the wrong side of your outer fabric. Cut tiny slits where the prongs go. From the right side, insert the snap, then turn it over to the wrong side and press down the prongs. 

3. With right sides together, pin the lining to the outer fabric. Stitch in place, leaving a 3 or so inch open gap at the bottom. 

4. Clip the corners. Through the gap/hole you left on the bottom, turn your clutch right side out. 

5. Cut the slits of the lining only where the prongs of the top snap will go and insert the snap. Reach your hand up through the bottom gap, and press down the prongs. You can also do the bottom snap at this point if you didn’t do it before. Just make sure the bottom snap is attached to the outer fabric only. 


6. With your needle and thread, use an invisible stitch to close up the bottom gap. 

7. With right sides (outer fabric to outer fabric) together, fold up and pin clutch together. stitch close to the edge. 

.

Flip right side out, and you are done!


Clutch Party

Remember mine and Linda’s clutch party? Well, we are all done! We’ve put away our needle and thread, our hot glue and fabric paint, and we are ready to share our creations with you all!

I stuck with a simple envelope design. And I was so in love with it… I made two! I have plans for a third, as well. Keep a look out the rest of this week for more looks at both versions, as well as a DIY on Wednesday!

Kayla’s origami clutch has to me one of the coolest things I’ve seen in a while. And it requires no sewing! She has a full tutorial over at her blog - Freckles in April.

How cute is this little zipper clutch by Kim, of Kimbercrafts?! I love her handmade felt flower embellishment. TOO cute. You can see more of her version here

Kyla, from Blue Collar Catwalk, came up with this easy and fun double clutch DIY after she saw a similar version at Target. Clever, no?

And, last but not least, the talented Linda transformed this vintage canvas clutch into a colorful and unique accessory with just some paint and some patience :) Absolutely brilliant!

Thank you, all, who joined in with us for this little party. I hope you had fun, and will join us in any future crafting adventures!

It's A Crafting Party!

Linda and I cordially invite you to a clutch party! Put on your DIY hat and get out all your crafting gear, because we want to see you get creative. Whether you want to sew up a new one from scratch, or embellish an old or thrifted clutch - the choice is yours! Just have fun :)

If you choose to go from scratch, heres a few good tutorials I’ve come across to get you started:

Style Scrapbook - zipper clutch

SwellMayde - envelope clutch

Fab Handmade - foldover zip clutch

Just email Linda or myself (HLKeenan22@gmail.com) by April 27th with either the photos of your clutch, or a link to your blog post showing off your new accessory! Linda and I will round up everyones photos and share them shortly after. 

Happy crafting!

P.S - the lovely invite was drawn up by Linda, herself. Isn’t she very talented :)