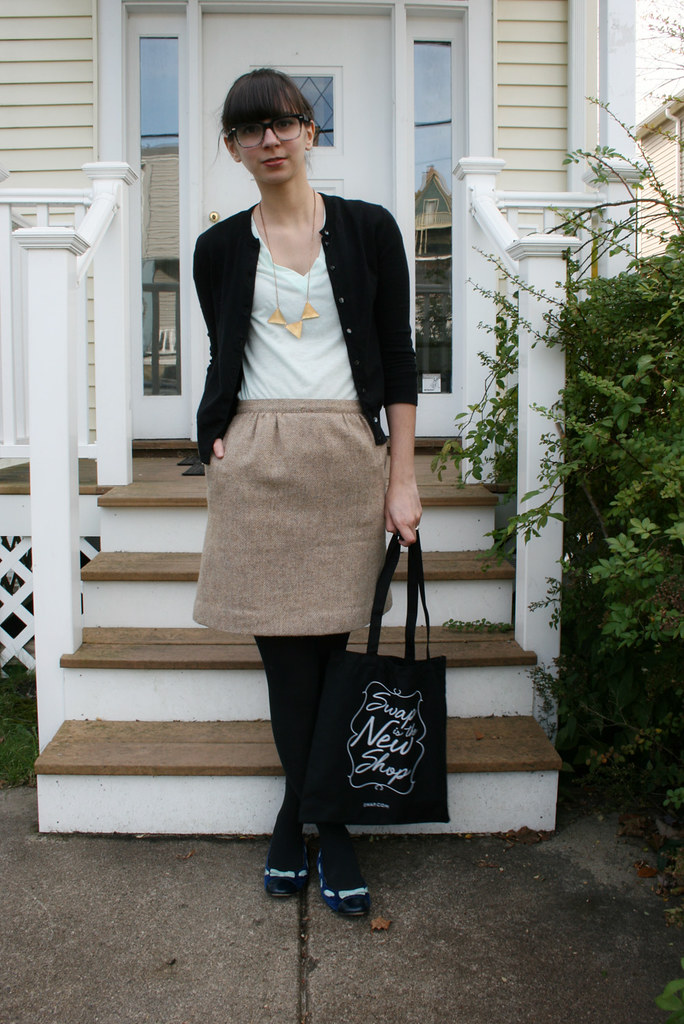
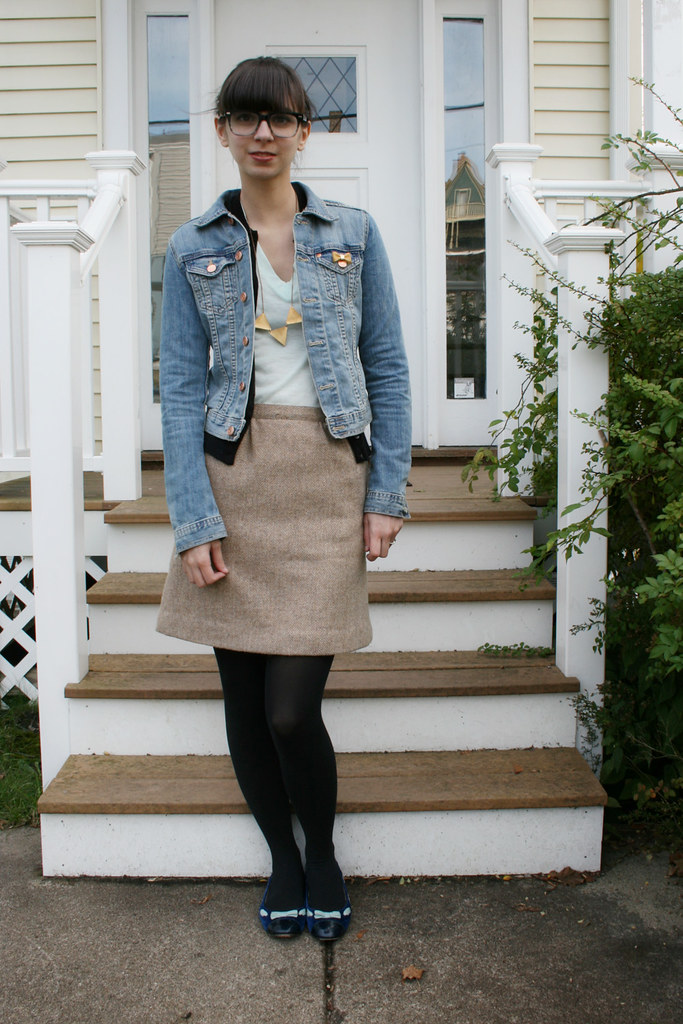
worn on August 23rd, 2011
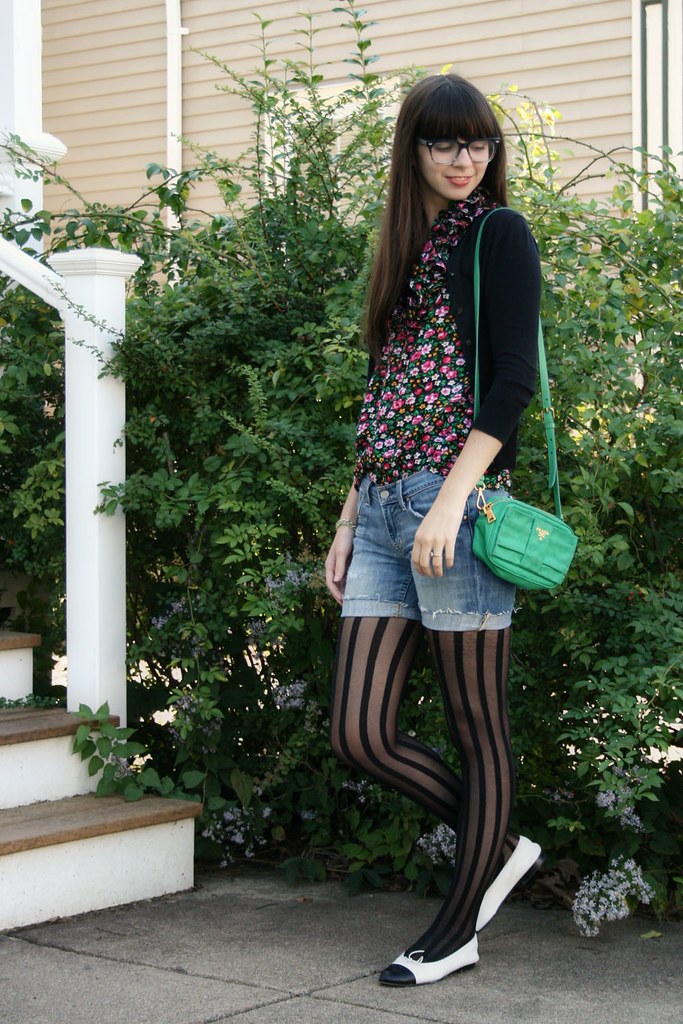
So, here it is- in all its sparkly glory! I was so excited when Linda and I decided to do this little be-dazzling party. Oh, the possibilities were endless! So I picked up this mellow yellow sweatshirt at goodwill, and dug out that package of rhinestones hidden in my craft bin. I knew I wanted to keep it simple and cute because I wanted something that I actually could wear throughout the fall and winter seasons. But I also wanted sparkle! Obviously, a giant bow seemed very fitting for me. I can’t resist big bows!
Theres not much to explain as far as the process. I laid the rhinestones out first, to get an idea of placement. And then I just started gluing!
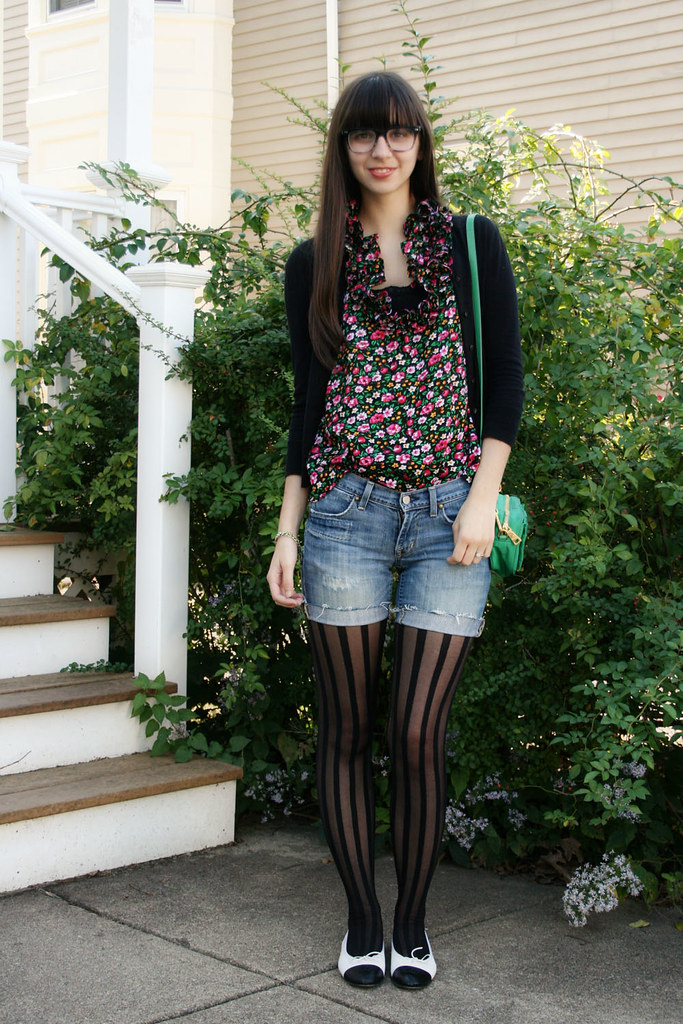
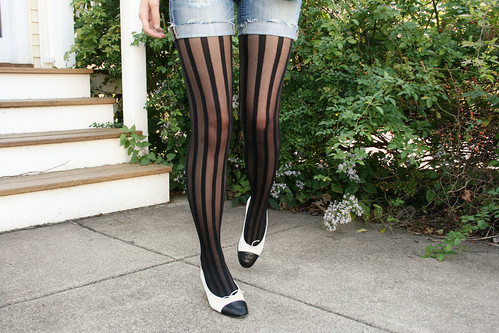
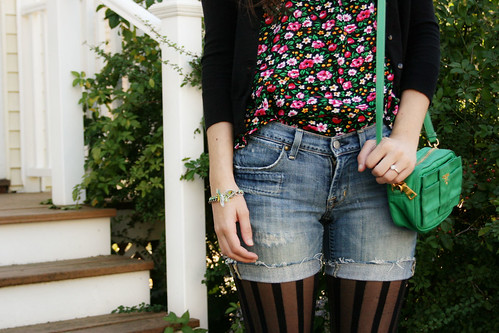
I also DIY-ed the shorts. I lived in these jeans for yeeears. And it was obvious because I eventually had two giant holes at the knees. Maybe fine for some, but not exactly my style. SO yeah, I finally got around to cutting them up, and now I have new shorts!


sweatshirt: thrifted and BEDAZZLED!
tank: Gap
shorts: Citizens of Humanity jeans DIY-ed into shorts
bow ring: thrifted
bracelets: gifts
shoes: Blowfish

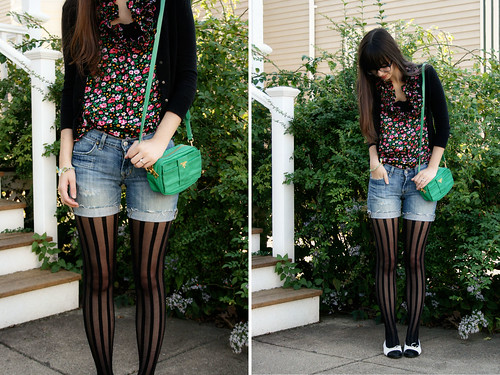
the before shots