IN MY LIFE

insta230

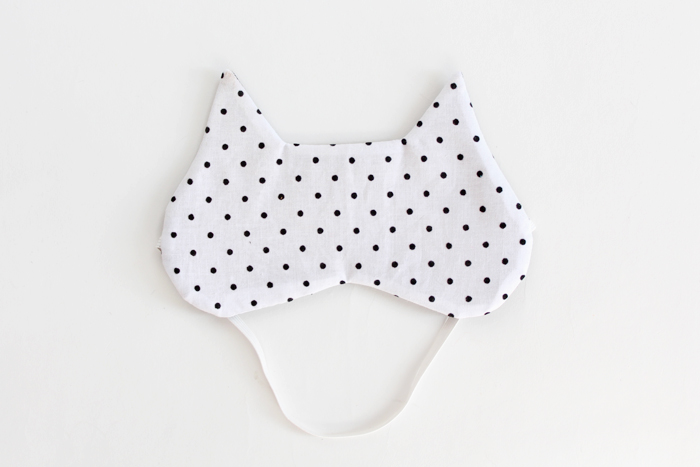
» Thanks to Boston.com for their featuring my DIY necklace stand in their guy-friendly Valentine’s DIY projects list!

» Don’t forget you can follow along with HollyDolly on Bloglovin’.

» Um, a Jimmy Fallon sketch where Danny Tanner, Uncle Jesse, and Joey Gladstone reunite in all of their Full House amazing-ness?! I watched it three times. 

» Some favorite Etsy treasuries featuring shopHollyDolly: onetwothree

» Boo made Chicken Green Chili Lasagna last weekend for dinner, and we’ve been eating leftovers all week. It’s so good! 

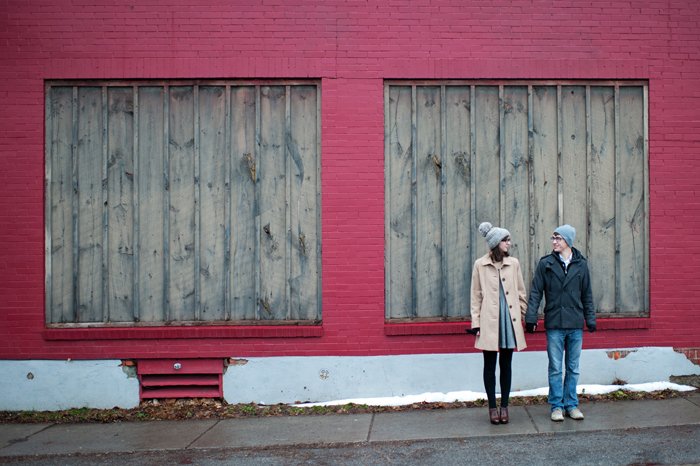
» Those printed leggings in the first photo are from Black Milk, and they are a Daily Prophet print from Harry Potter. Boo got them for me for Christmas. That guy knows what he’s doing. 

» Are you on Instagram? Follow along! My username is : hollyjollydolly

image

DIY : CAT EYE MASK

catmask1

I started this DIY earlier this week and was super excited about it….. and then that same day, A Beautiful Mess posted their own eye mask DIY. Bollocks. Why are they always so good? But whatever, mine has cat ears. So I’m sticking to it.  Read on after the jump to see how I made my version!

supplies:

- front fabric

- back fabric (this will be up against your face. so the softer and silkier, the better.)

-felt or batting (the darker the better. remember, this is to help block out light!)

- elastic

-scissors, pins, needle and thread, and access to a sewing machine

catmask2

1. You’ll need a pattern for your eye mask. If you have an old one on hand, you could simply trace it, add the ears, and then add 1/2” seam allowance around the entire thing. Or you can draw one from scratch. It’s not hard, since it’s a pretty simple shape. I provided aprox. measurements above. It includes the seam allowance. 

catmask3
catmask4

2. Use your pattern to cut out your pieces out of all three fabrics. 

3. Also cut a piece of elastic aprox. 13 1/2” long. 

catmask5
catmask6

4. Place your front and back fabrics right side together, with the elastic sandwiched in between. Place this on top of your felt. 

5. Pin all layers in place, making sure to pin the elastic securely on both sides. The rest of the elastic will be tucked in and sandwiched in between the fabrics. 

catmask7
catmask8

6. Sew 1/2” from the edge, leaving a small opening. Don’t forget to backstitch at the beginning and end. 

7. Make triangular notches around the rounded edges, clipping as close you can (but not through) the stitching. Clip in the bottom middle, as well as the inner corners of the ears. And then trim the seam allowance in half around the entire mask. 

catmask9
catmask10

8. Flip right side out through the hole that you left. Use a point turner/tweezers/whatever you have handy to get those ears nice and pointy.

9. Using an invisible stitch, hand stitch that opening closed. Smooth and press. 

catmask11

That’s it! It’s super easy, right? I had it completely done in under an hour, at most. And now I’ll be sleeping’ pretty :)

ONE YEAR ANNIVERSAY SHOOT, PART TWO

HollyZach_©DawnMGibson_setB1

So I had originally planned for a super snowy, winter wonderland setting for this shoot. And it seemed it was going to happen - Buffalo had gotten sooo much snow in the week leading up to our date. And then the day before…. it warmed up to 60 degrees and all melted away. So instead of a winter wonderland, we were instead left with a few small patches of wet snow and some left over snow banks. But we made the most of it, pretending those snow banks were real mountains of snow, instead :). I actually think it still came out nicely. 

Of course, it snowed again right after the shoot. Typical. 

To see the first half of the shoot, see yesterdays post. 

HollyZach_©DawnMGibson_setB2
HollyZach_©DawnMGibson_setB3
HollyZach_©DawnMGibson_setB4
HollyZach_©DawnMGibson_setB5
HollyZach_©DawnMGibson_setB6
HollyZach_©DawnMGibson_setB7
HollyZach_©DawnMGibson_setB8
HollyZach_©DawnMGibson_setB9
HollyZach_©DawnMGibson_setB10
HollyZach_©DawnMGibson_setB11
HollyZach_©DawnMGibson_setB12
HollyZach_©DawnMGibson_setB13

*** all photos by Dawn M. Gibson Photography ***

my outfit:

cardigan: handmade (pattern and fabric)

snood: ASOS

hat: Urban Outfitters

glasses: Warby Parker

belt: Target

jeans: Old Navy

boots: Lulu’s

ONE YEAR ANNIVERSARY SHOOT // PART ONE

HollyZach_©DawnMGibson_setA1

We took these photos just a couple of days before Christmas, while we were home for the holidays. Yeah, our anniversary is in July. But I am so determined to have yearly anniversary photos taken, that I’m just going to go ahead and call this the one year shoot. Even if it was 5 months late. 

Our photographer, Dawn, did such an amazing job! And I’m horrible at narrowing photos down for a post, especially when I have almost 200 awesome ones. So I’m just going to go ahead and split this into two posts. Because I can. Check back tomorrow for the second half!

This first set was taken around town in East Aurora, NY, which is so quaint and cute. Even though we had to change plans at last minute (oh, mother nature), this urban setting was a perfect substitute to the winter wonderland we originally had planned. 

HollyZach_©DawnMGibson_setA2
HollyZach_©DawnMGibson_setA3
HollyZach_©DawnMGibson_setA4
HollyZach_©DawnMGibson_setA5
HollyZach_©DawnMGibson_setA6
HollyZach_©DawnMGibson_setA7
HollyZach_©DawnMGibson_setA8
HollyZach_©DawnMGibson_setA9
HollyZach_©DawnMGibson_setA10
HollyZach_©DawnMGibson_setA11
HollyZach_©DawnMGibson_setA12

*** all photos by Dawn M. Gibson Photography***

My outfit:

coat: Target

dress: Target

glasses: Warby Parker

hat: Anthropologie

gloves: Target

booties: borrowed from my Mom’s closet. Ralph Lauren, I think?

IN MY LIFE

insta98632

» In case you missed it, I made a coat. And I’m pretty proud of it. Up next- more leggings, and a dress covered in giraffes.

» Usually I love a good valentines themed outfit. Unfortunately, this year I am unprepared. Wishing I had either this dress or this sweater.  

» A few favorite Etsy treasuries featuring shopHollyDolly : one, two, three, four

» I was so excited when Megan announced that some of her patterns are being licensed and sold through Simplicity patterns. That is SUCH a big deal! Go Meg! :)

» Is anybody else obsessed with these Valentino butterfly dresses from their pre-fall collection as I am?

» I will click on anything that involves cats, and this collection of cats taking selfies had me laughing. 

» It took me awhile to get it set up and working, but I’ve been loving the Eye-Fi SD card that I got for Christmas. Photos I take on my DSLR can be instantly sent to my phone right after I take them. It’s so fantastic.

» Are you on Instagram? Follow along! My username is : hollyjollydolly

image

I MADE A COAT

rainbowcoat1

My coat obsession is so severe, I’m now making them to add to my collection. 

It’s officially gotten out of hand. 

But really, I’m pretty proud of this one. It’s colorful, has some crazy closures, and is fully lined. And not just lined - the lining is quilted and super thick. BAM. I plan on staying nice and cozy in this one. 

It wen’t together fairly quickly, too. Although I do have some issues with the pattern. It’s labeled ‘easy’, and because of that, the way they instruct you to construct the coat is not the best. It’s just not how a lined coat is properly put together. Or anything lined, for that matter. I made up for it, though, ignoring the instructions. And it also meant NO POCKETS. But with that - by the time I thought to add them, it was way too late. Ooooooh the horror. A coat with no pockets :/. But seeing as it’s just one of nine (9?!) coats now in my collection, I think I can do without pockets on one.

image

rainbowcoat2

rainbowcoat3

rainbowcoat4

rainbowcoat5

rainbowcoat6

rainbowcoat7

coat: handmade (pattern- V8860, fabric and lining- Mood, buckles - M&J)

skirt: handmade

glasses: Warby Parker

hat: Urban Outfitters

fleece lined tights: H&M

shoes: Shoemint

APARTMENT LIVING // BEDROOM TOUR

bedroom1

Since living in this small attic apartment for almost a year and a half now, I’ve changed up the decor in the bedroom so many times. It just never felt quite right. A lot of that has to do with the fact that we rent and there are a lot of things we can’t do or change. Like the baby blue wall color - not my first choice.

But after hanging up the arrow from yesterday’s DIY, I realized that I think I’m actually kind of happy with where it’s at right now. No, it’s not perfect. I daydream about how I would decorate if we actually owned a house, and all the new things I would buy. But for what we have, I’m happy with it.

P.S - I first gave a glimpse of the bed area back in this post, where I told you the story of those seagulls. Head on over there to find out what they’re all about!

bedroom2

bedroom3

bedroom4

bedroom5

bedroom6

bedroom7

comforter: Urban Outfitters (but super old)

'for like ever' sign: Oh Dier

'to the moon' print: Sophie Brown Handmade

large vintage globe: Crompton Collective

arrow: yesterday’s DIY

Boba Fett print: The Concepcion Studios

ampersand: Edie’s Lab