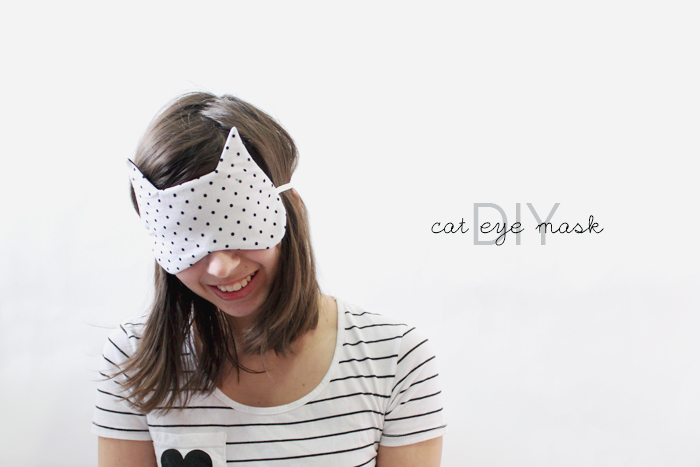
I started this DIY earlier this week and was super excited about it….. and then that same day, A Beautiful Mess posted their own eye mask DIY. Bollocks. Why are they always so good? But whatever, mine has cat ears. So I’m sticking to it. Read on after the jump to see how I made my version!
supplies:
- front fabric
- back fabric (this will be up against your face. so the softer and silkier, the better.)
-felt or batting (the darker the better. remember, this is to help block out light!)
- elastic
-scissors, pins, needle and thread, and access to a sewing machine
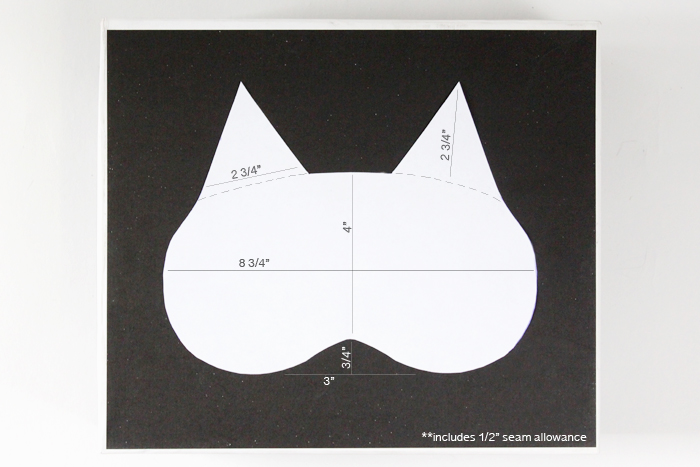
1. You’ll need a pattern for your eye mask. If you have an old one on hand, you could simply trace it, add the ears, and then add 1/2” seam allowance around the entire thing. Or you can draw one from scratch. It’s not hard, since it’s a pretty simple shape. I provided aprox. measurements above. It includes the seam allowance.
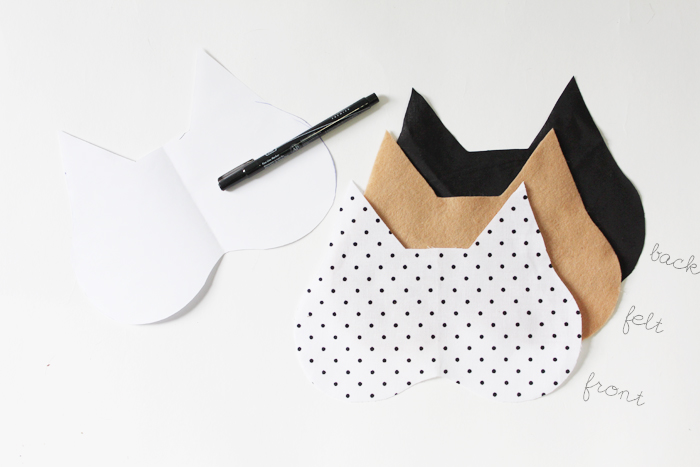
2. Use your pattern to cut out your pieces out of all three fabrics.
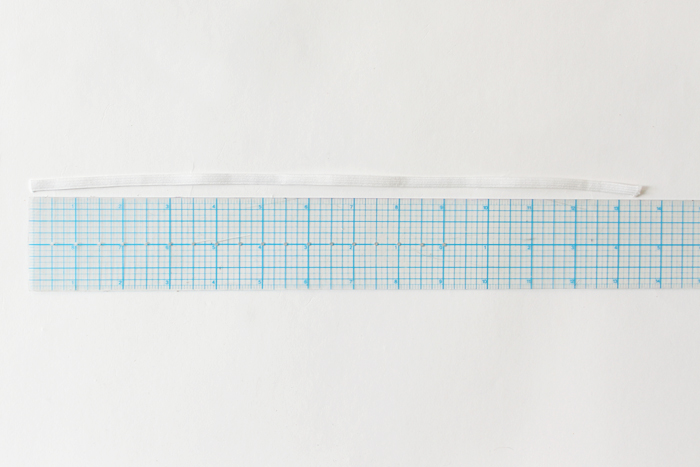
3. Also cut a piece of elastic aprox. 13 1/2” long.
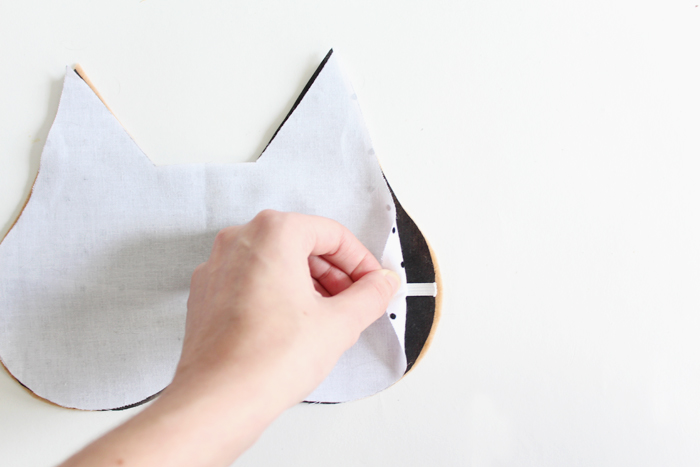
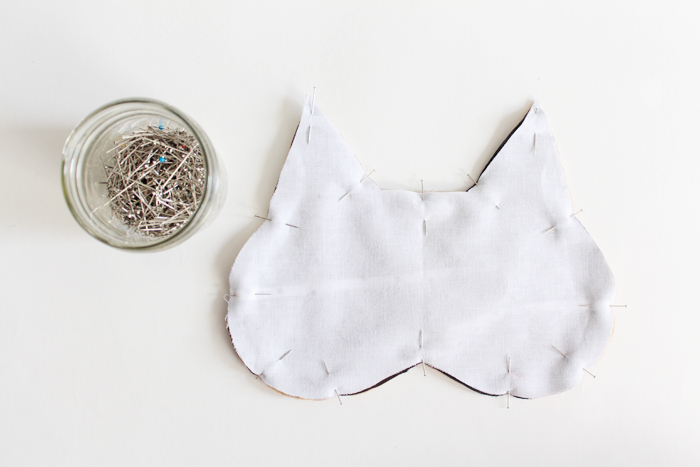
4. Place your front and back fabrics right side together, with the elastic sandwiched in between. Place this on top of your felt.
5. Pin all layers in place, making sure to pin the elastic securely on both sides. The rest of the elastic will be tucked in and sandwiched in between the fabrics.
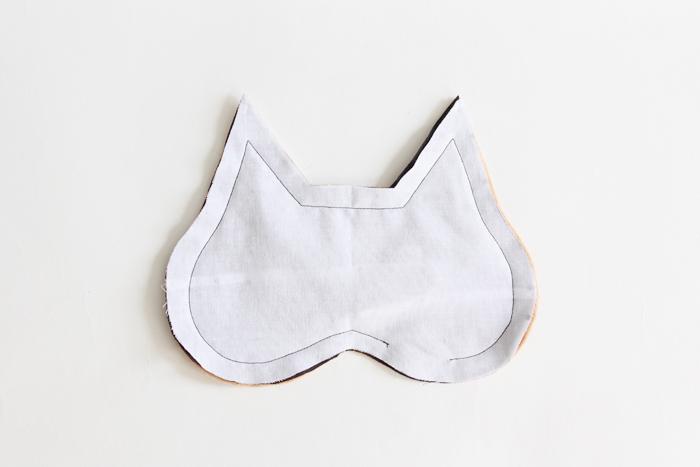
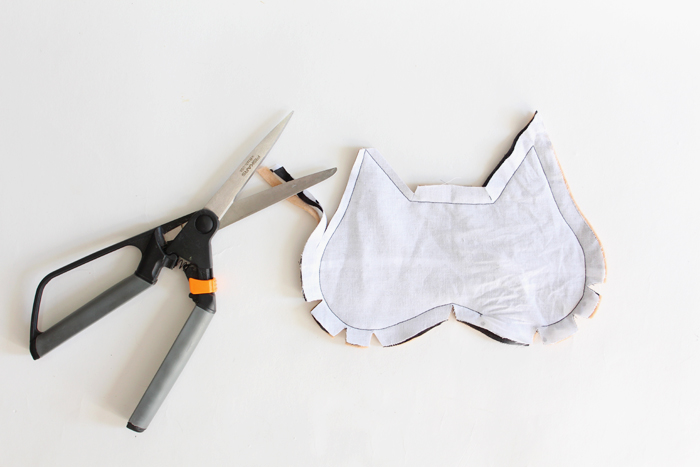
6. Sew 1/2” from the edge, leaving a small opening. Don’t forget to backstitch at the beginning and end.
7. Make triangular notches around the rounded edges, clipping as close you can (but not through) the stitching. Clip in the bottom middle, as well as the inner corners of the ears. And then trim the seam allowance in half around the entire mask.
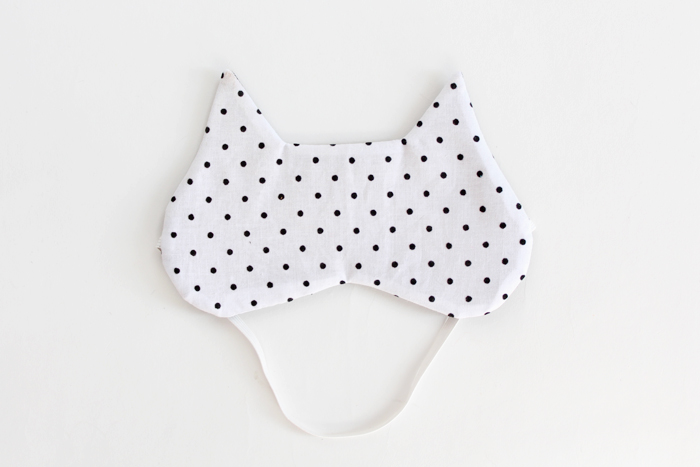
8. Flip right side out through the hole that you left. Use a point turner/tweezers/whatever you have handy to get those ears nice and pointy.
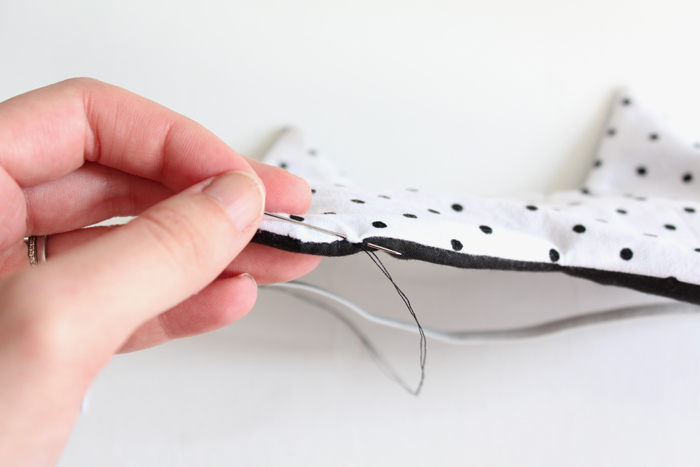
9. Using an invisible stitch, hand stitch that opening closed. Smooth and press.

That’s it! It’s super easy, right? I had it completely done in under an hour, at most. And now I’ll be sleeping’ pretty :)
