While everyone else is diving head first into fall, we still had a couple of 90 degree days this past weekend. Summer hasn't gone anywhere yet. Which is probably a good thing. Because I meant to make this matching shorts set about, oh, 2 months ago. But of course I waited until September. And the very end of summer. I;m so slow, you guys.
And can we talk about how much I now love making matching sets?! I think from now on I'm going to start making a matching top for all bottoms that I make, and vice versa. Just to have. I mean, think of the possibilities!


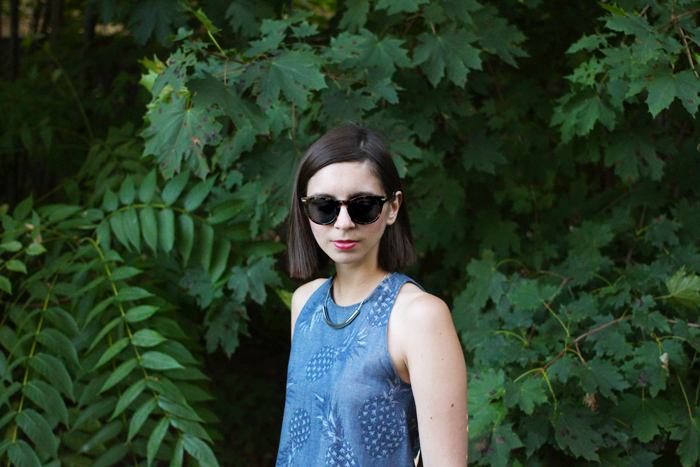

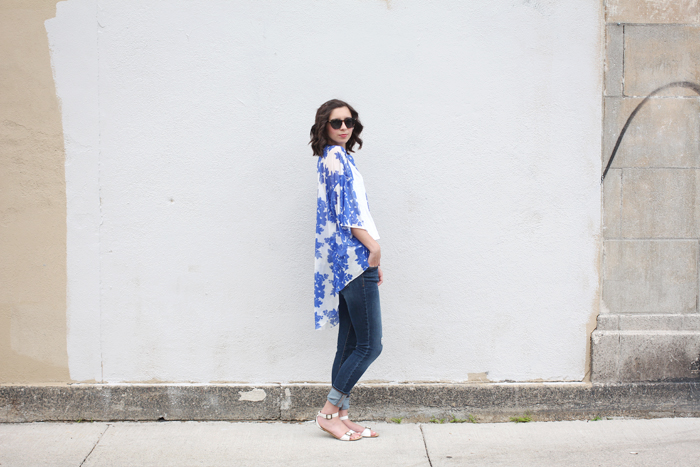
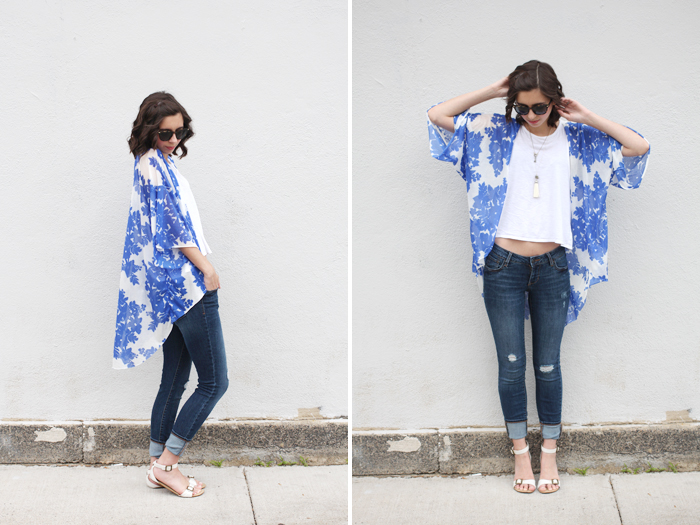
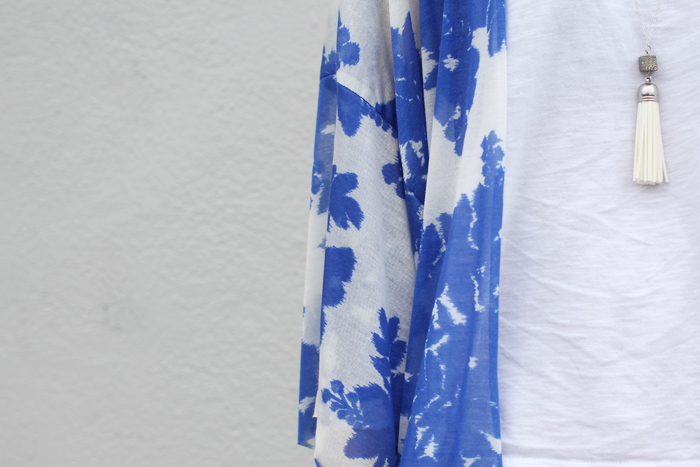
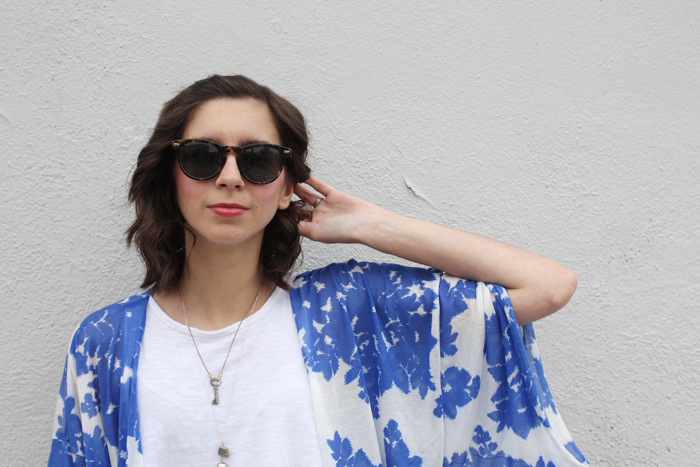
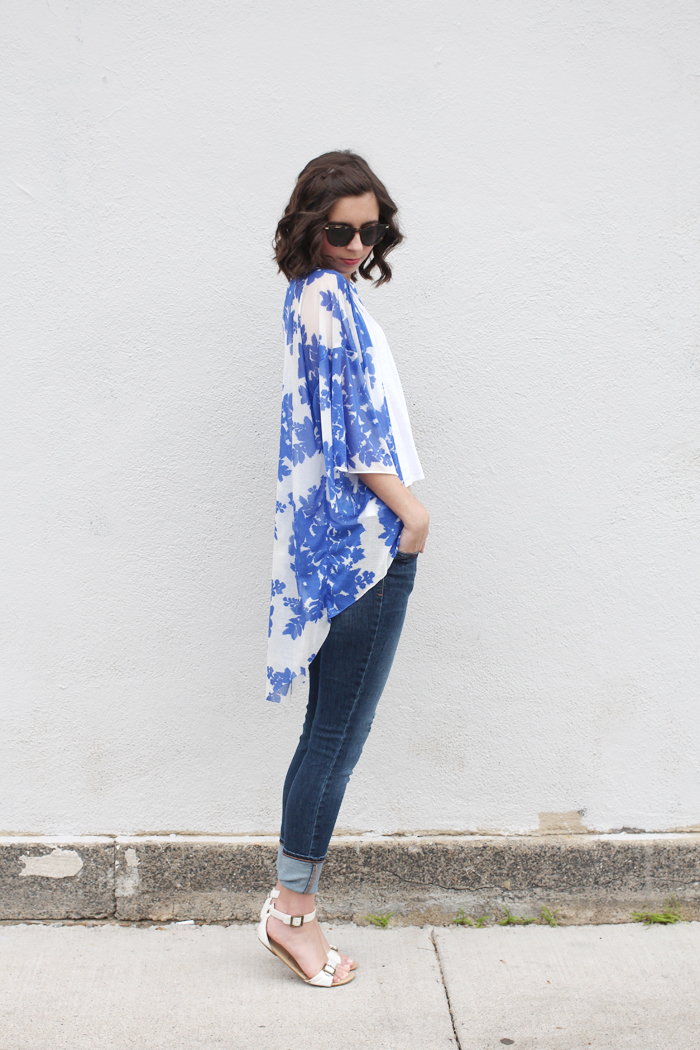
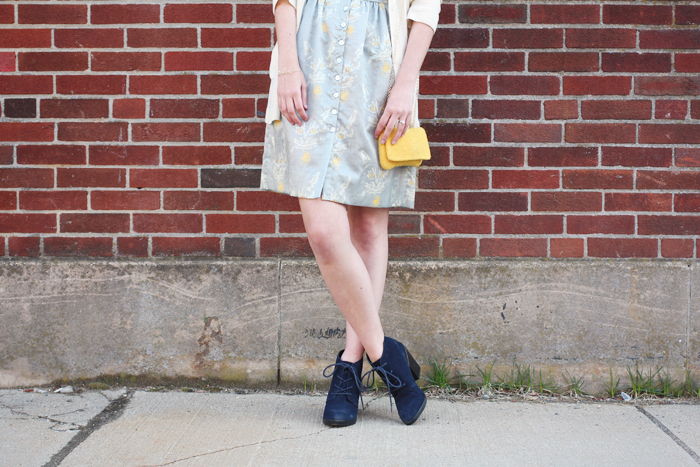
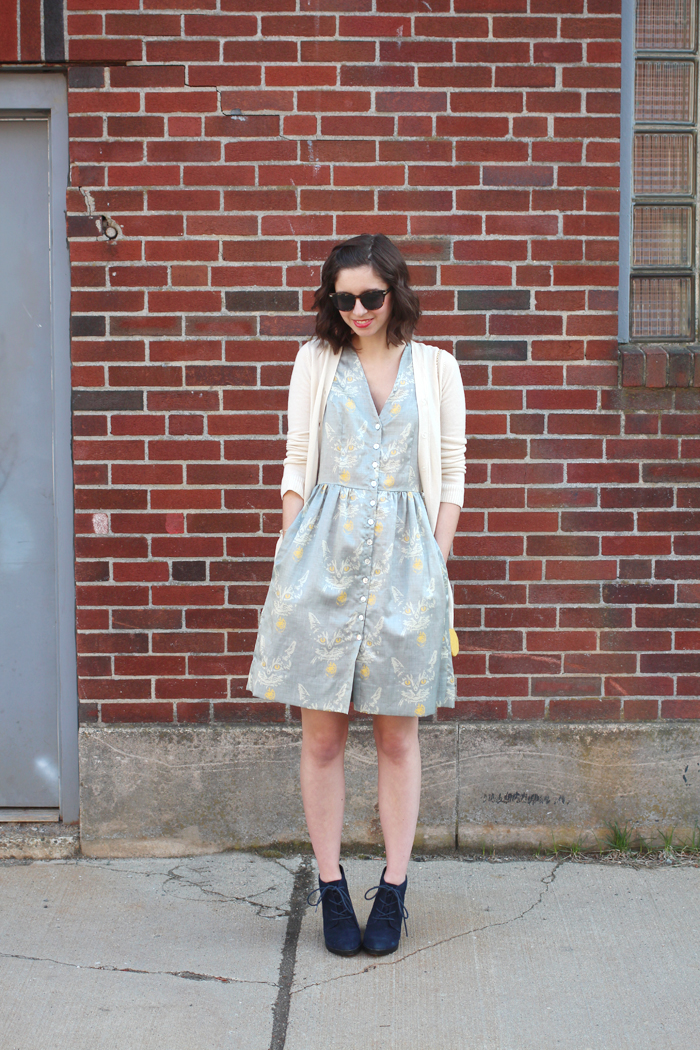
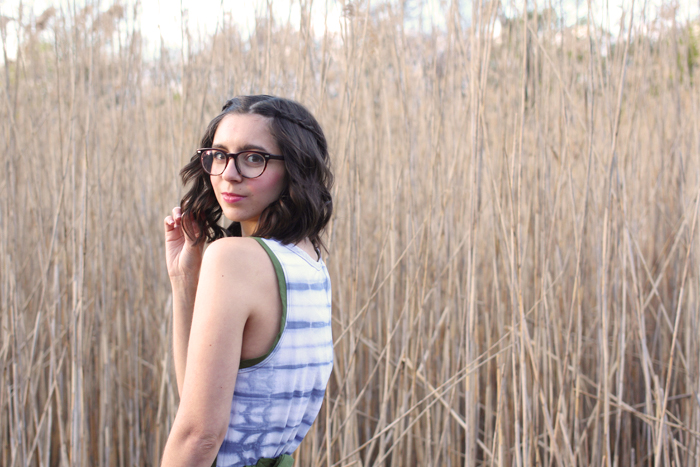
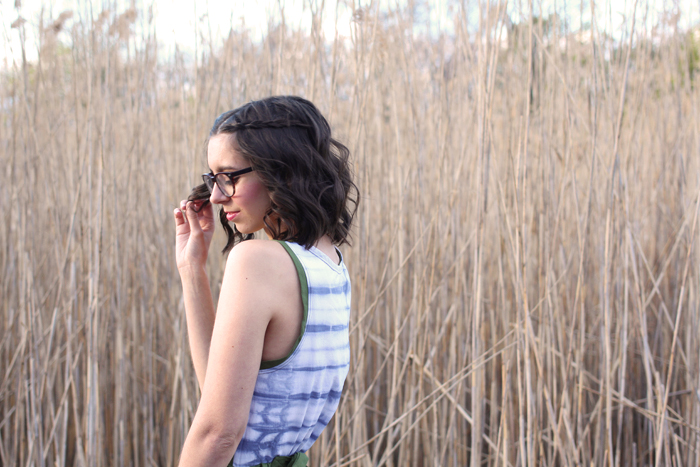
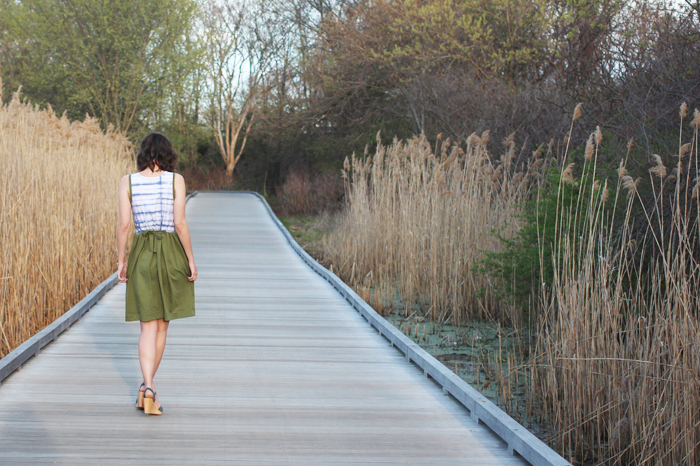
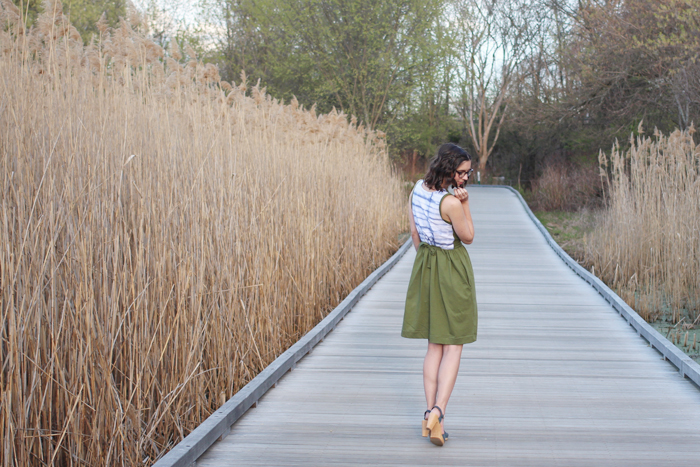
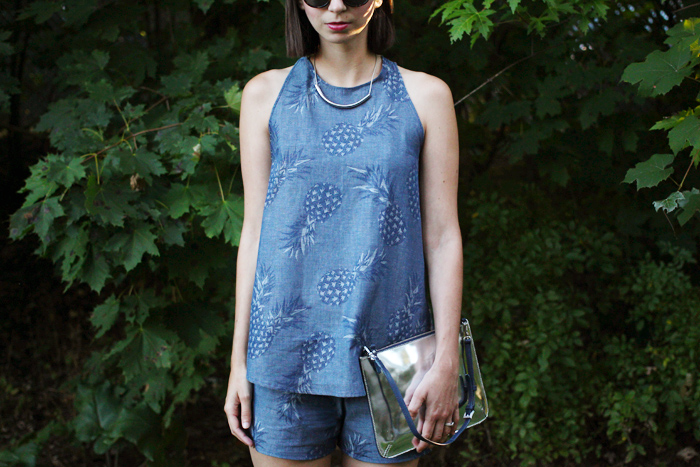
two-piece set: handmade (self drafted basic shell top, shorts- Burda Style 6938)
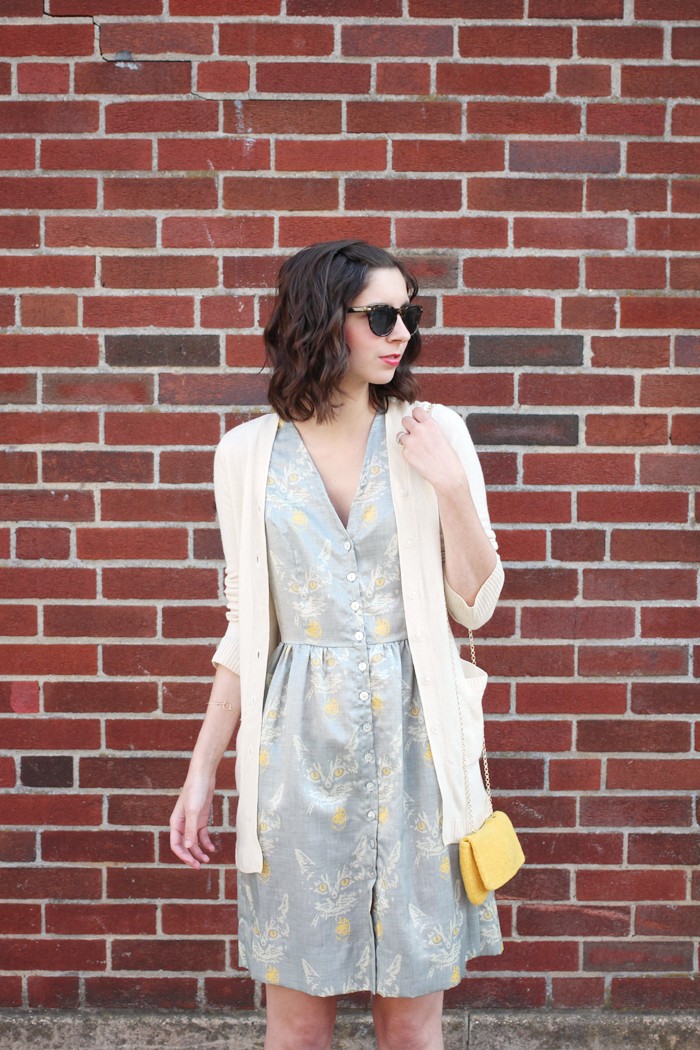
sunglasses: Warby Parker
necklace: H&M
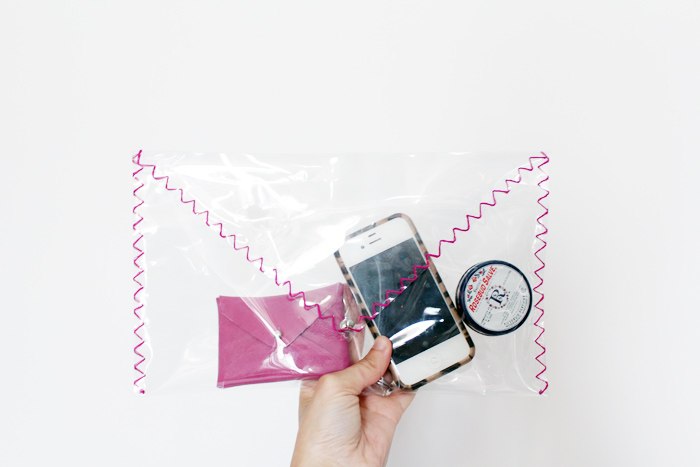
purse: c/o Boden
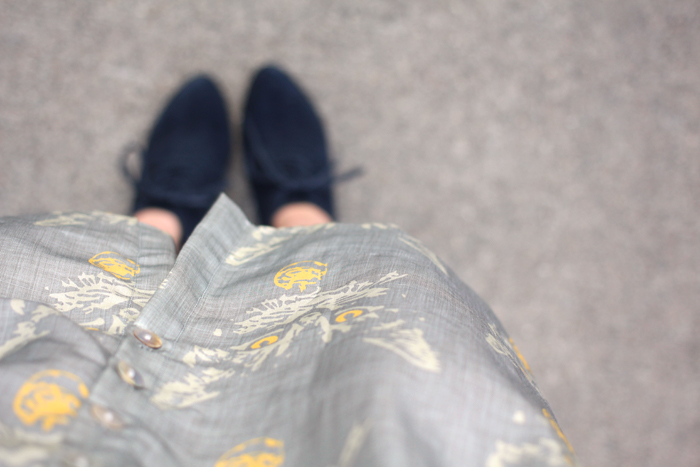
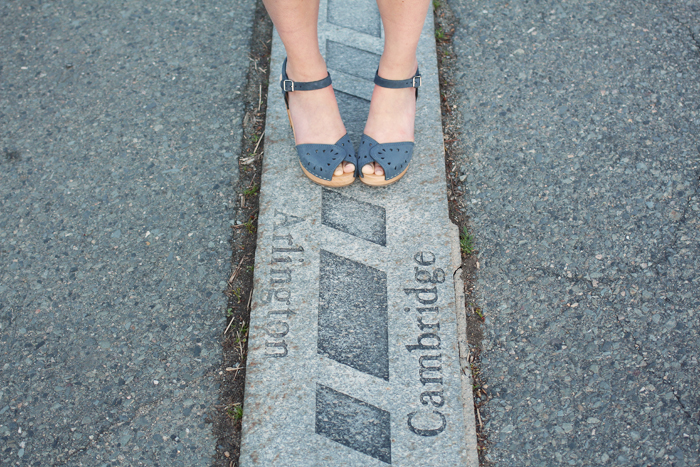
flats: Anthropologie