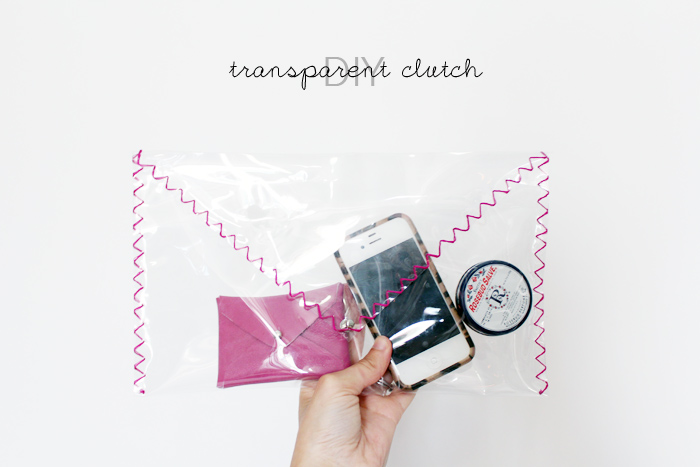
Geez, guys. I’ve been wanting one of these babies for awhile now. I actually bought some vinyl months ago. But you know, life. Better late than never, though! I’m actually thinking about doing one with white machine stitching too, for an almost completely transparent look. But for this one, I decided to start with a bolder, brighter look.
See how to make it after the jump, and don’t forget to check out how I styled it in yesterday’s post!
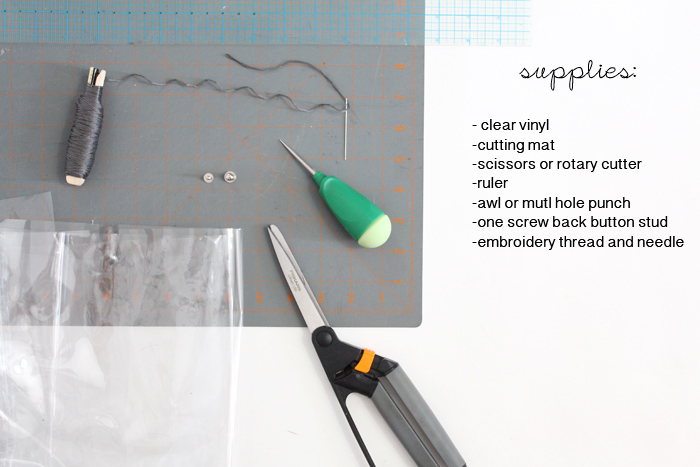
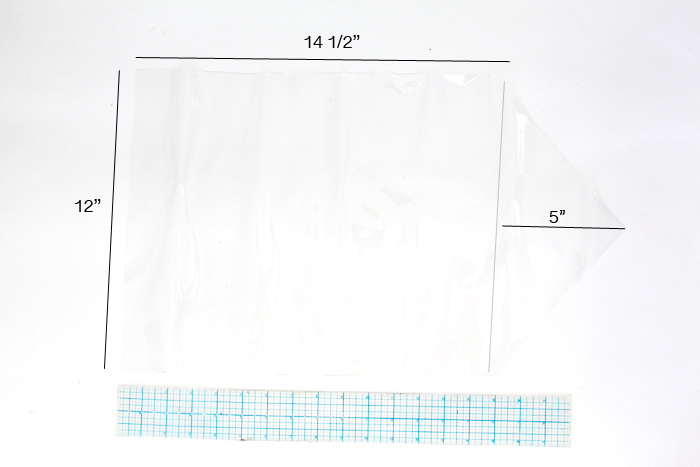
1. Cut your piece of pvc. Start with a 12x14 1/2” rectangle, and then add your triangular top, with the peak being 5” tall.
2. Fold the pvc up into the envelope shape, making sure to leave 1/2” at the top. My vinyl stuck to itself when I folded it over, but if it doesn’t, you could use a thin strip of clear-drying glue to hold it together.
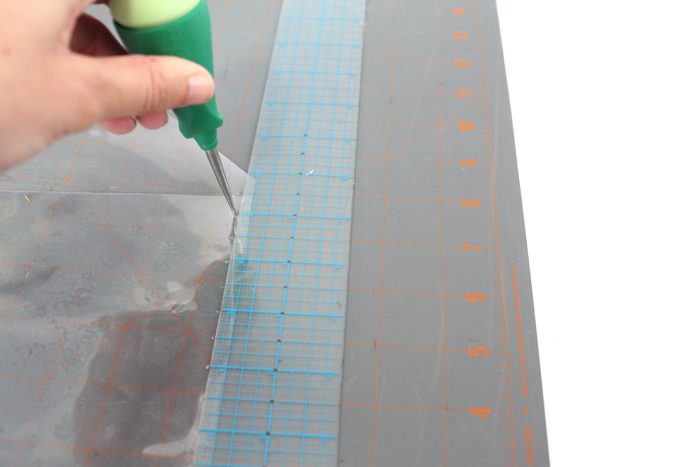
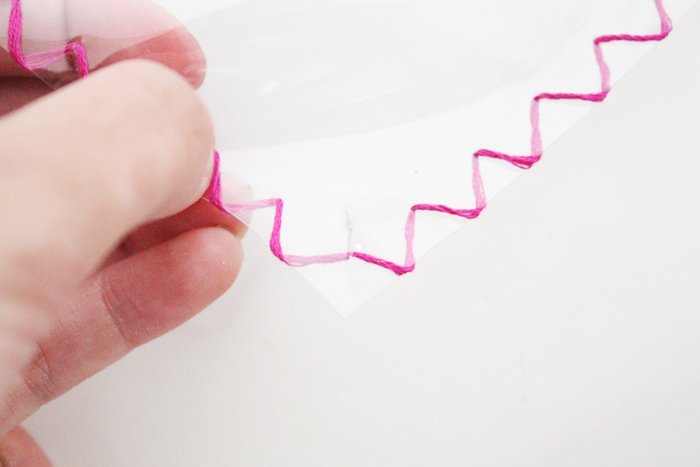
3. Use an awl or something pointy to mark where you want to stitch. I went with 1/4” in from the edge, 1/2” apart.
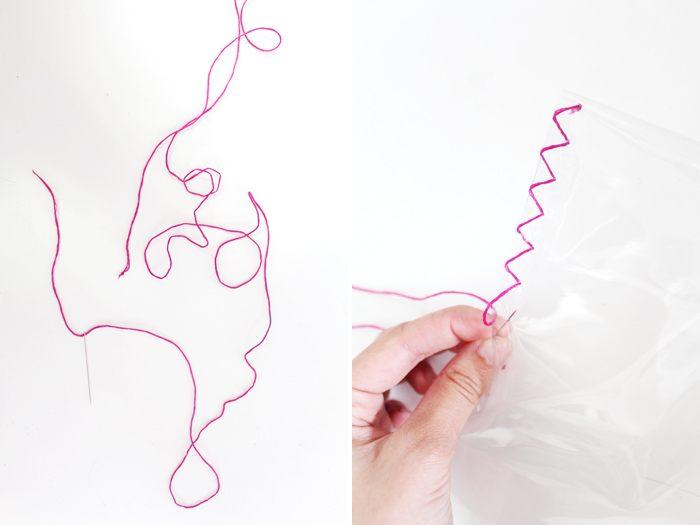
4. Cut a reeeeeeally long piece of embroidery thread and thread your needle. Knot the end. Start your stitching from the inside of the clutch, so that your know is hidden.
If you know some really neat edge stitches, by all means, be creative! After playing around with a few things, I decided to stick with a basic over under technique for a zig zag look.
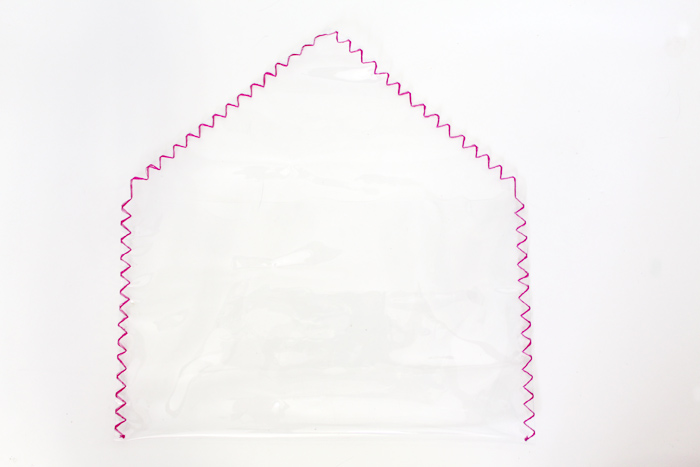
5. Work your way around the entire edge, finishing by bringing it back inside the clutch and knotting it.
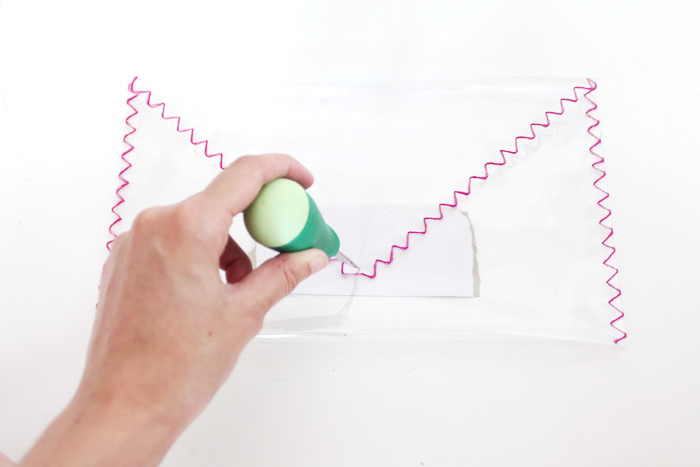
6. It’s time to mark your placement for your button stud. Place a small piece of cardboard, or something like it, inside. You only want to punch a whole in the first two layers - the flap and the front.
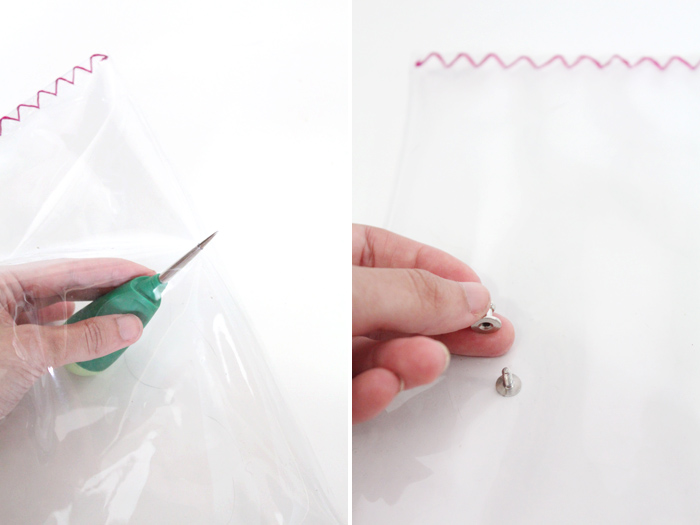
7. On the front, make your hole a little bigger by pushing the awl through farther. Place the screw threw the hole from underneath, and screw the button top on.
8. Make the hole on the flap just a tiny bit bigger by clipping it with a pair of scissors or exact knife.
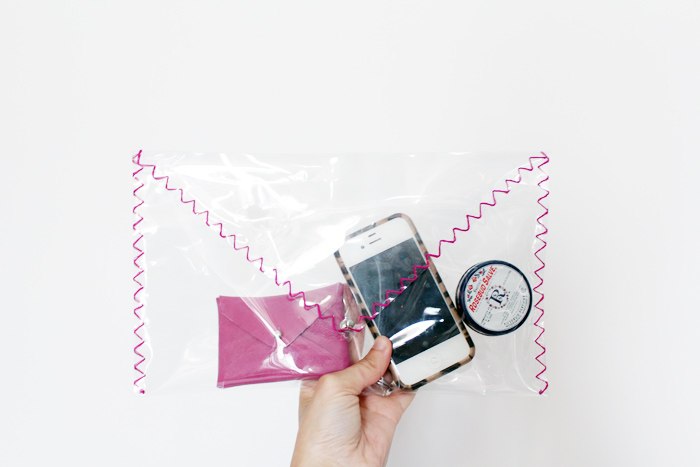
9. Done! Fill your clutch with all your goodies (what you want seen, at least).
P.S - see that little pink pouch? It’s a business card holder, and they’ll be coming to the shop soon!

