Jarrah, Erin, and Briar

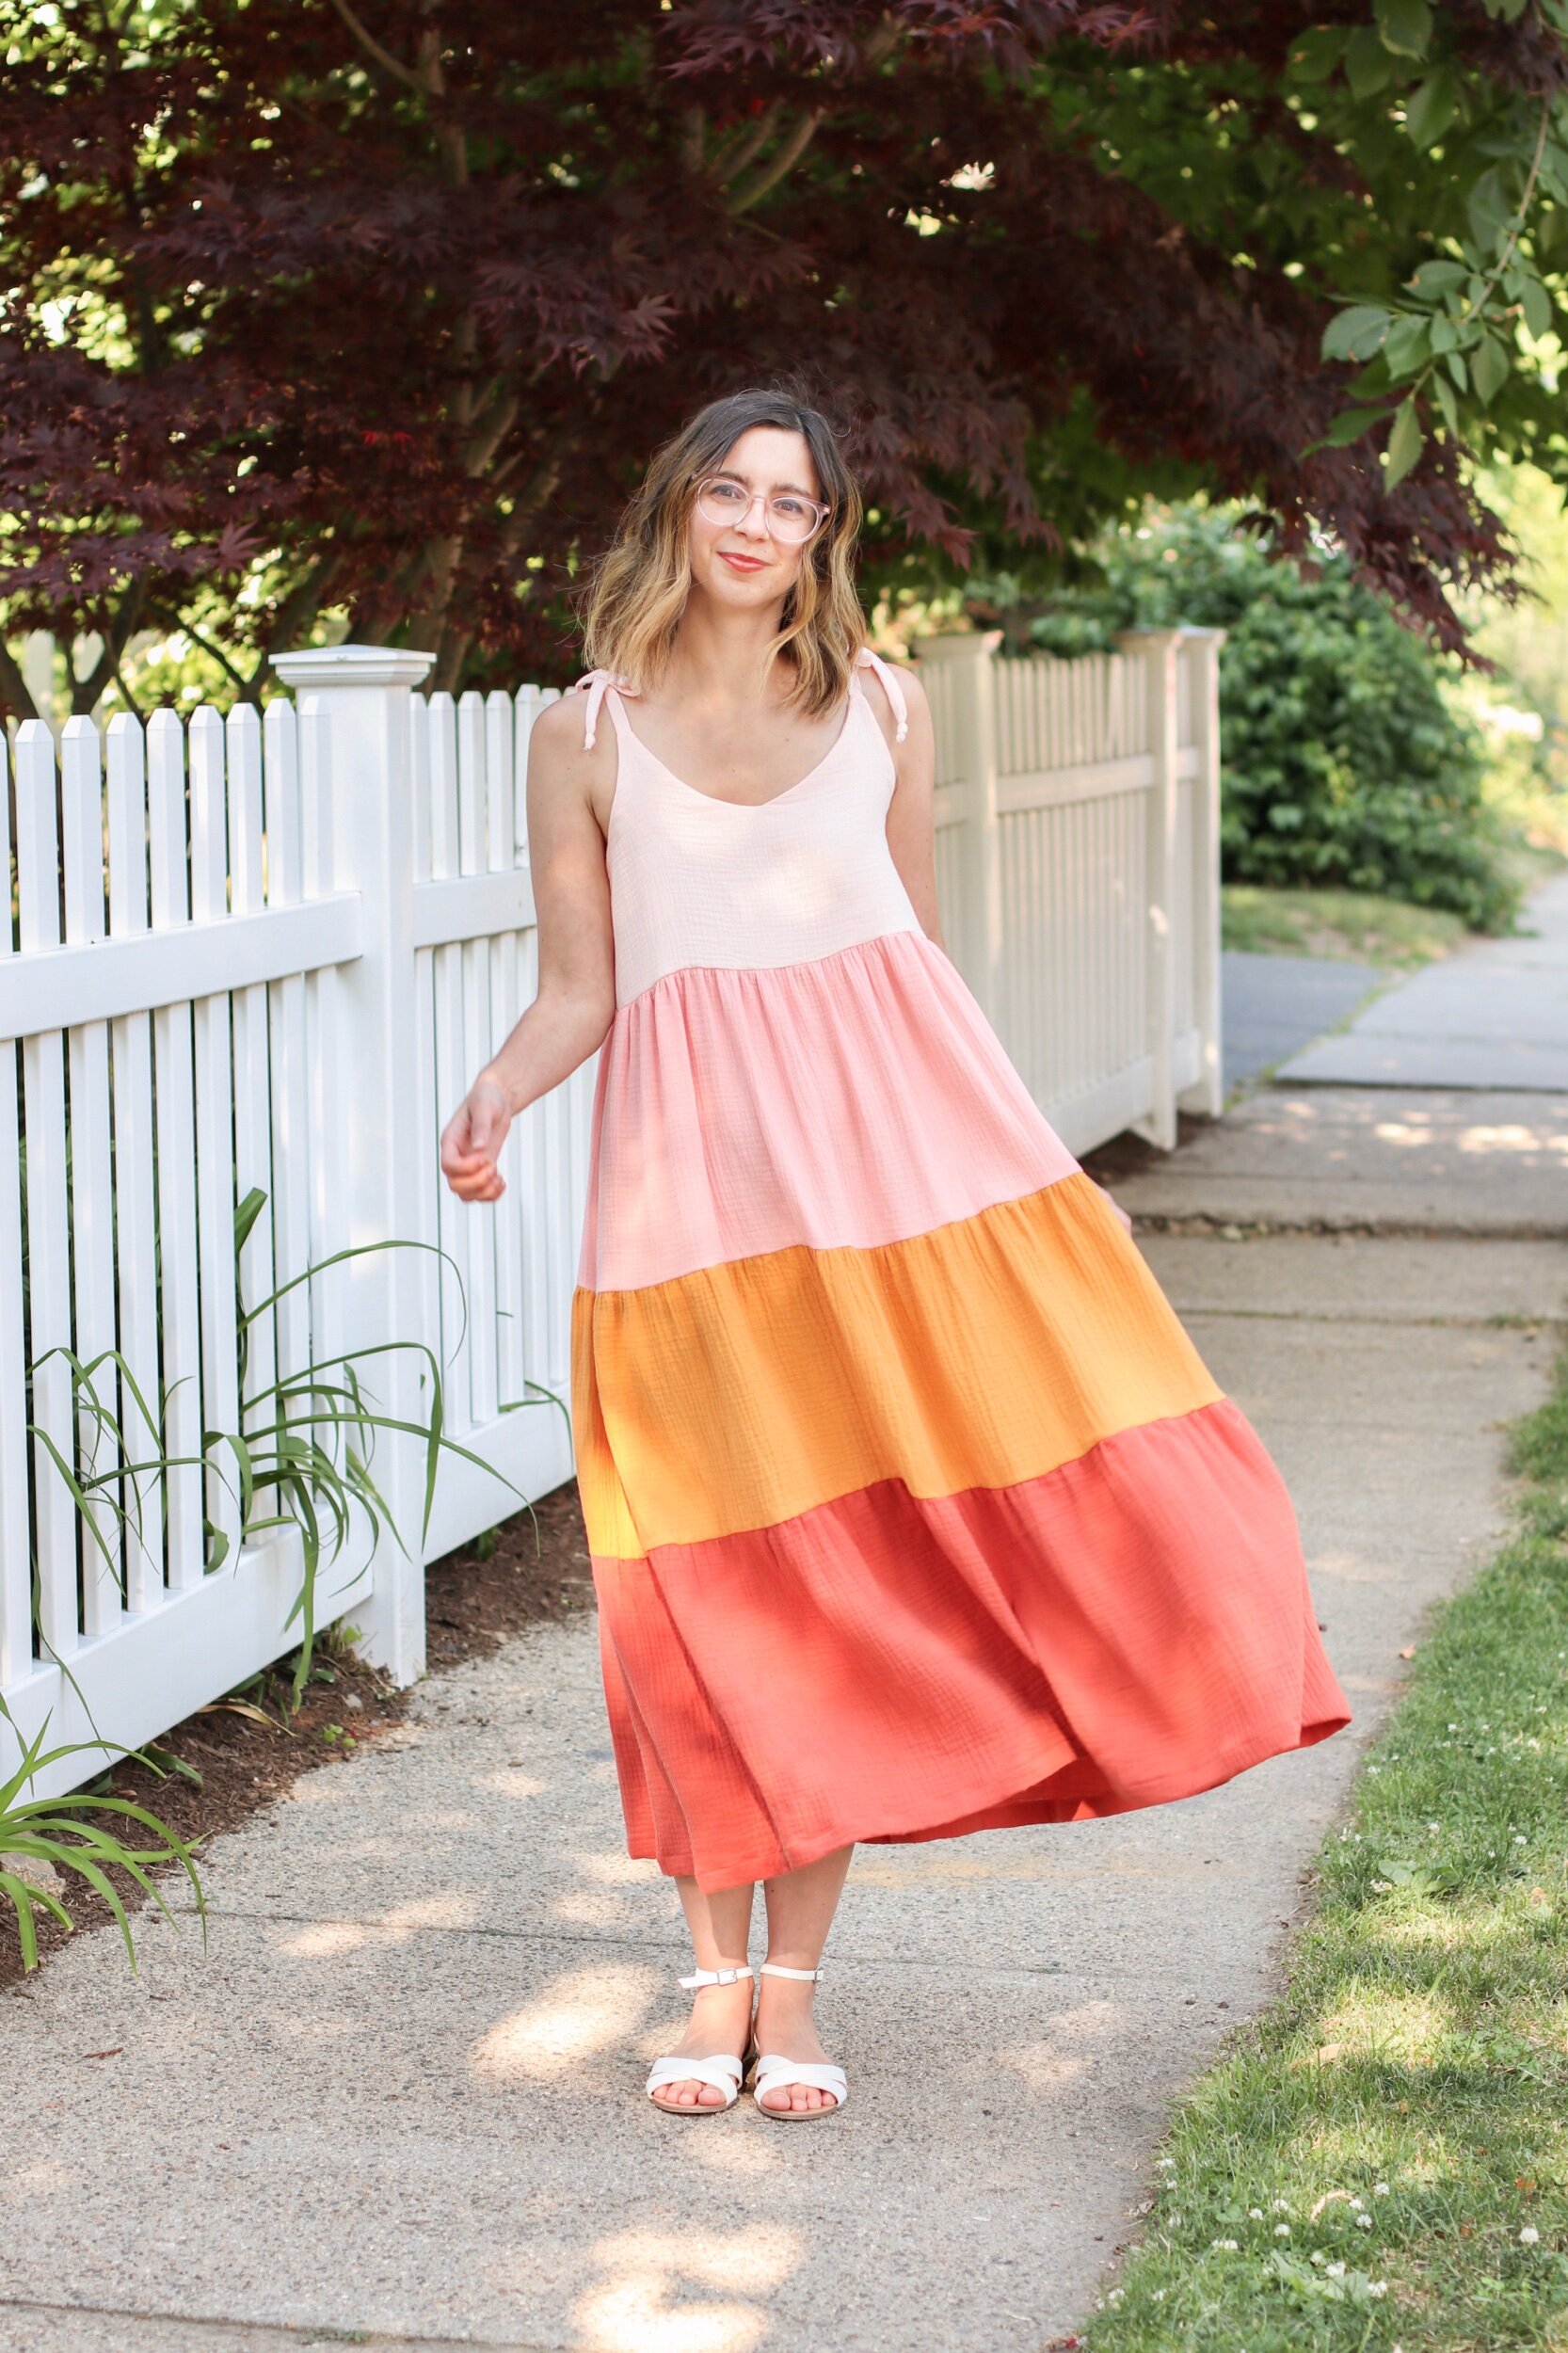
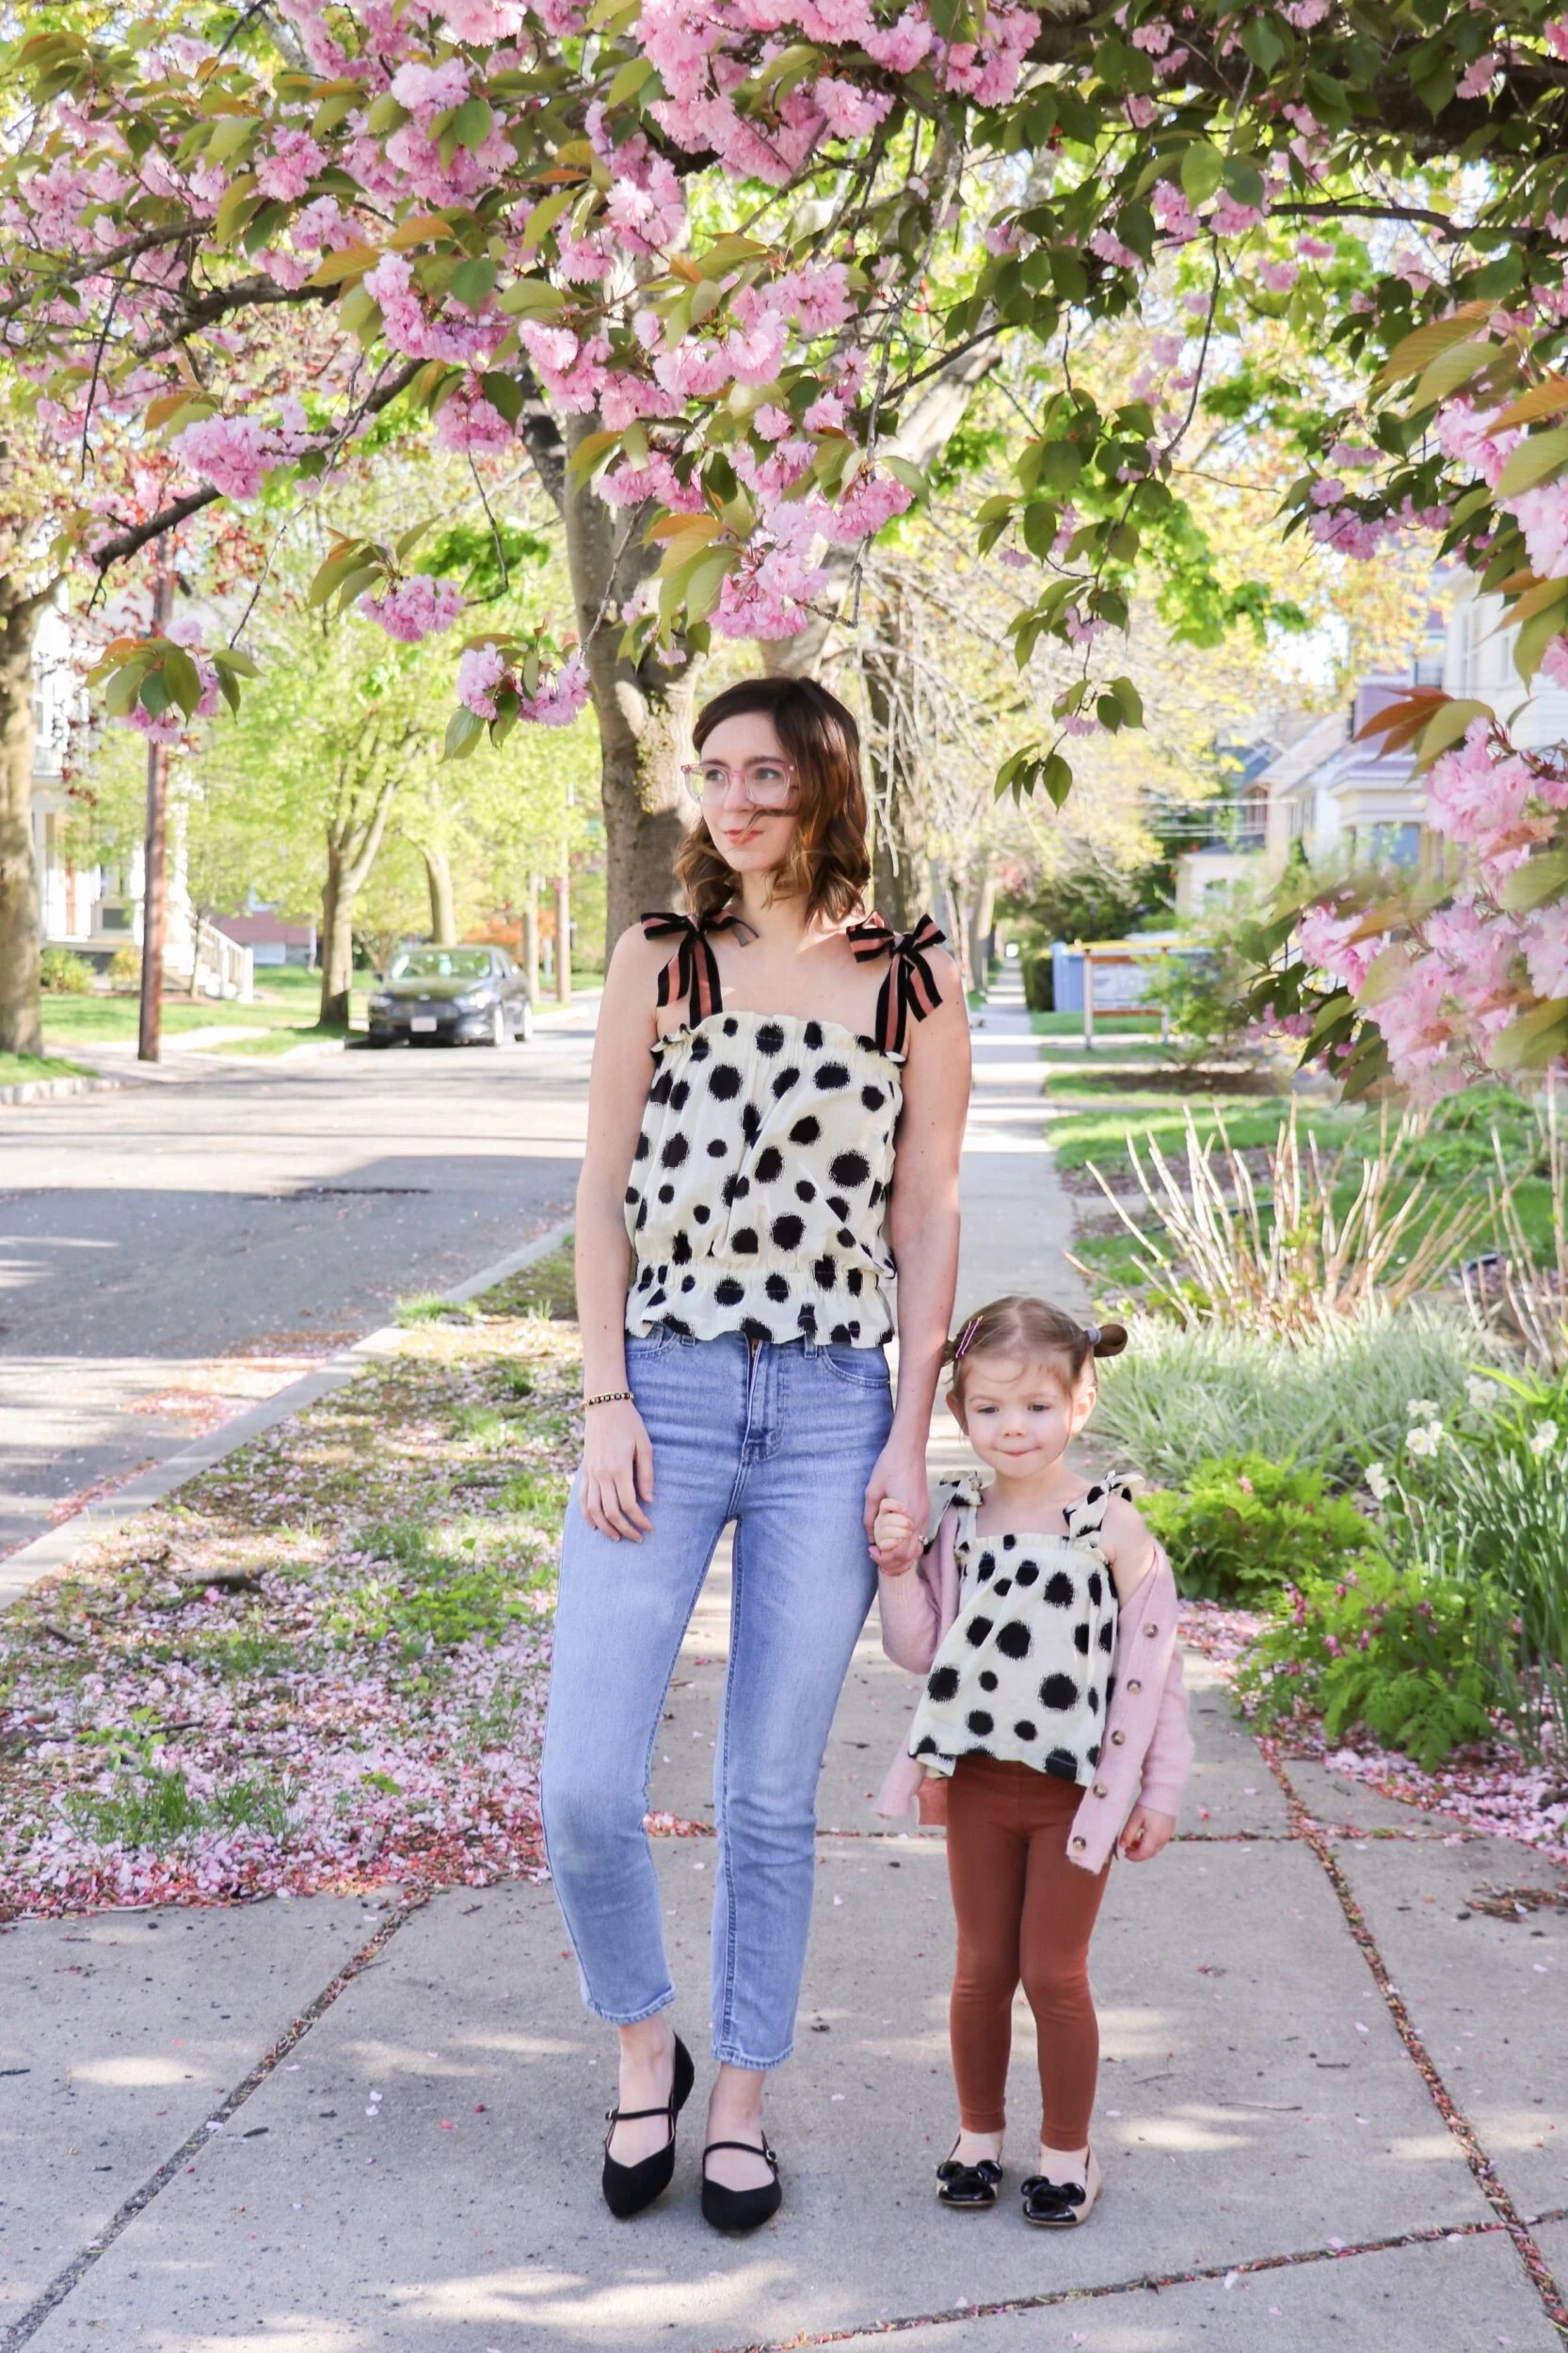
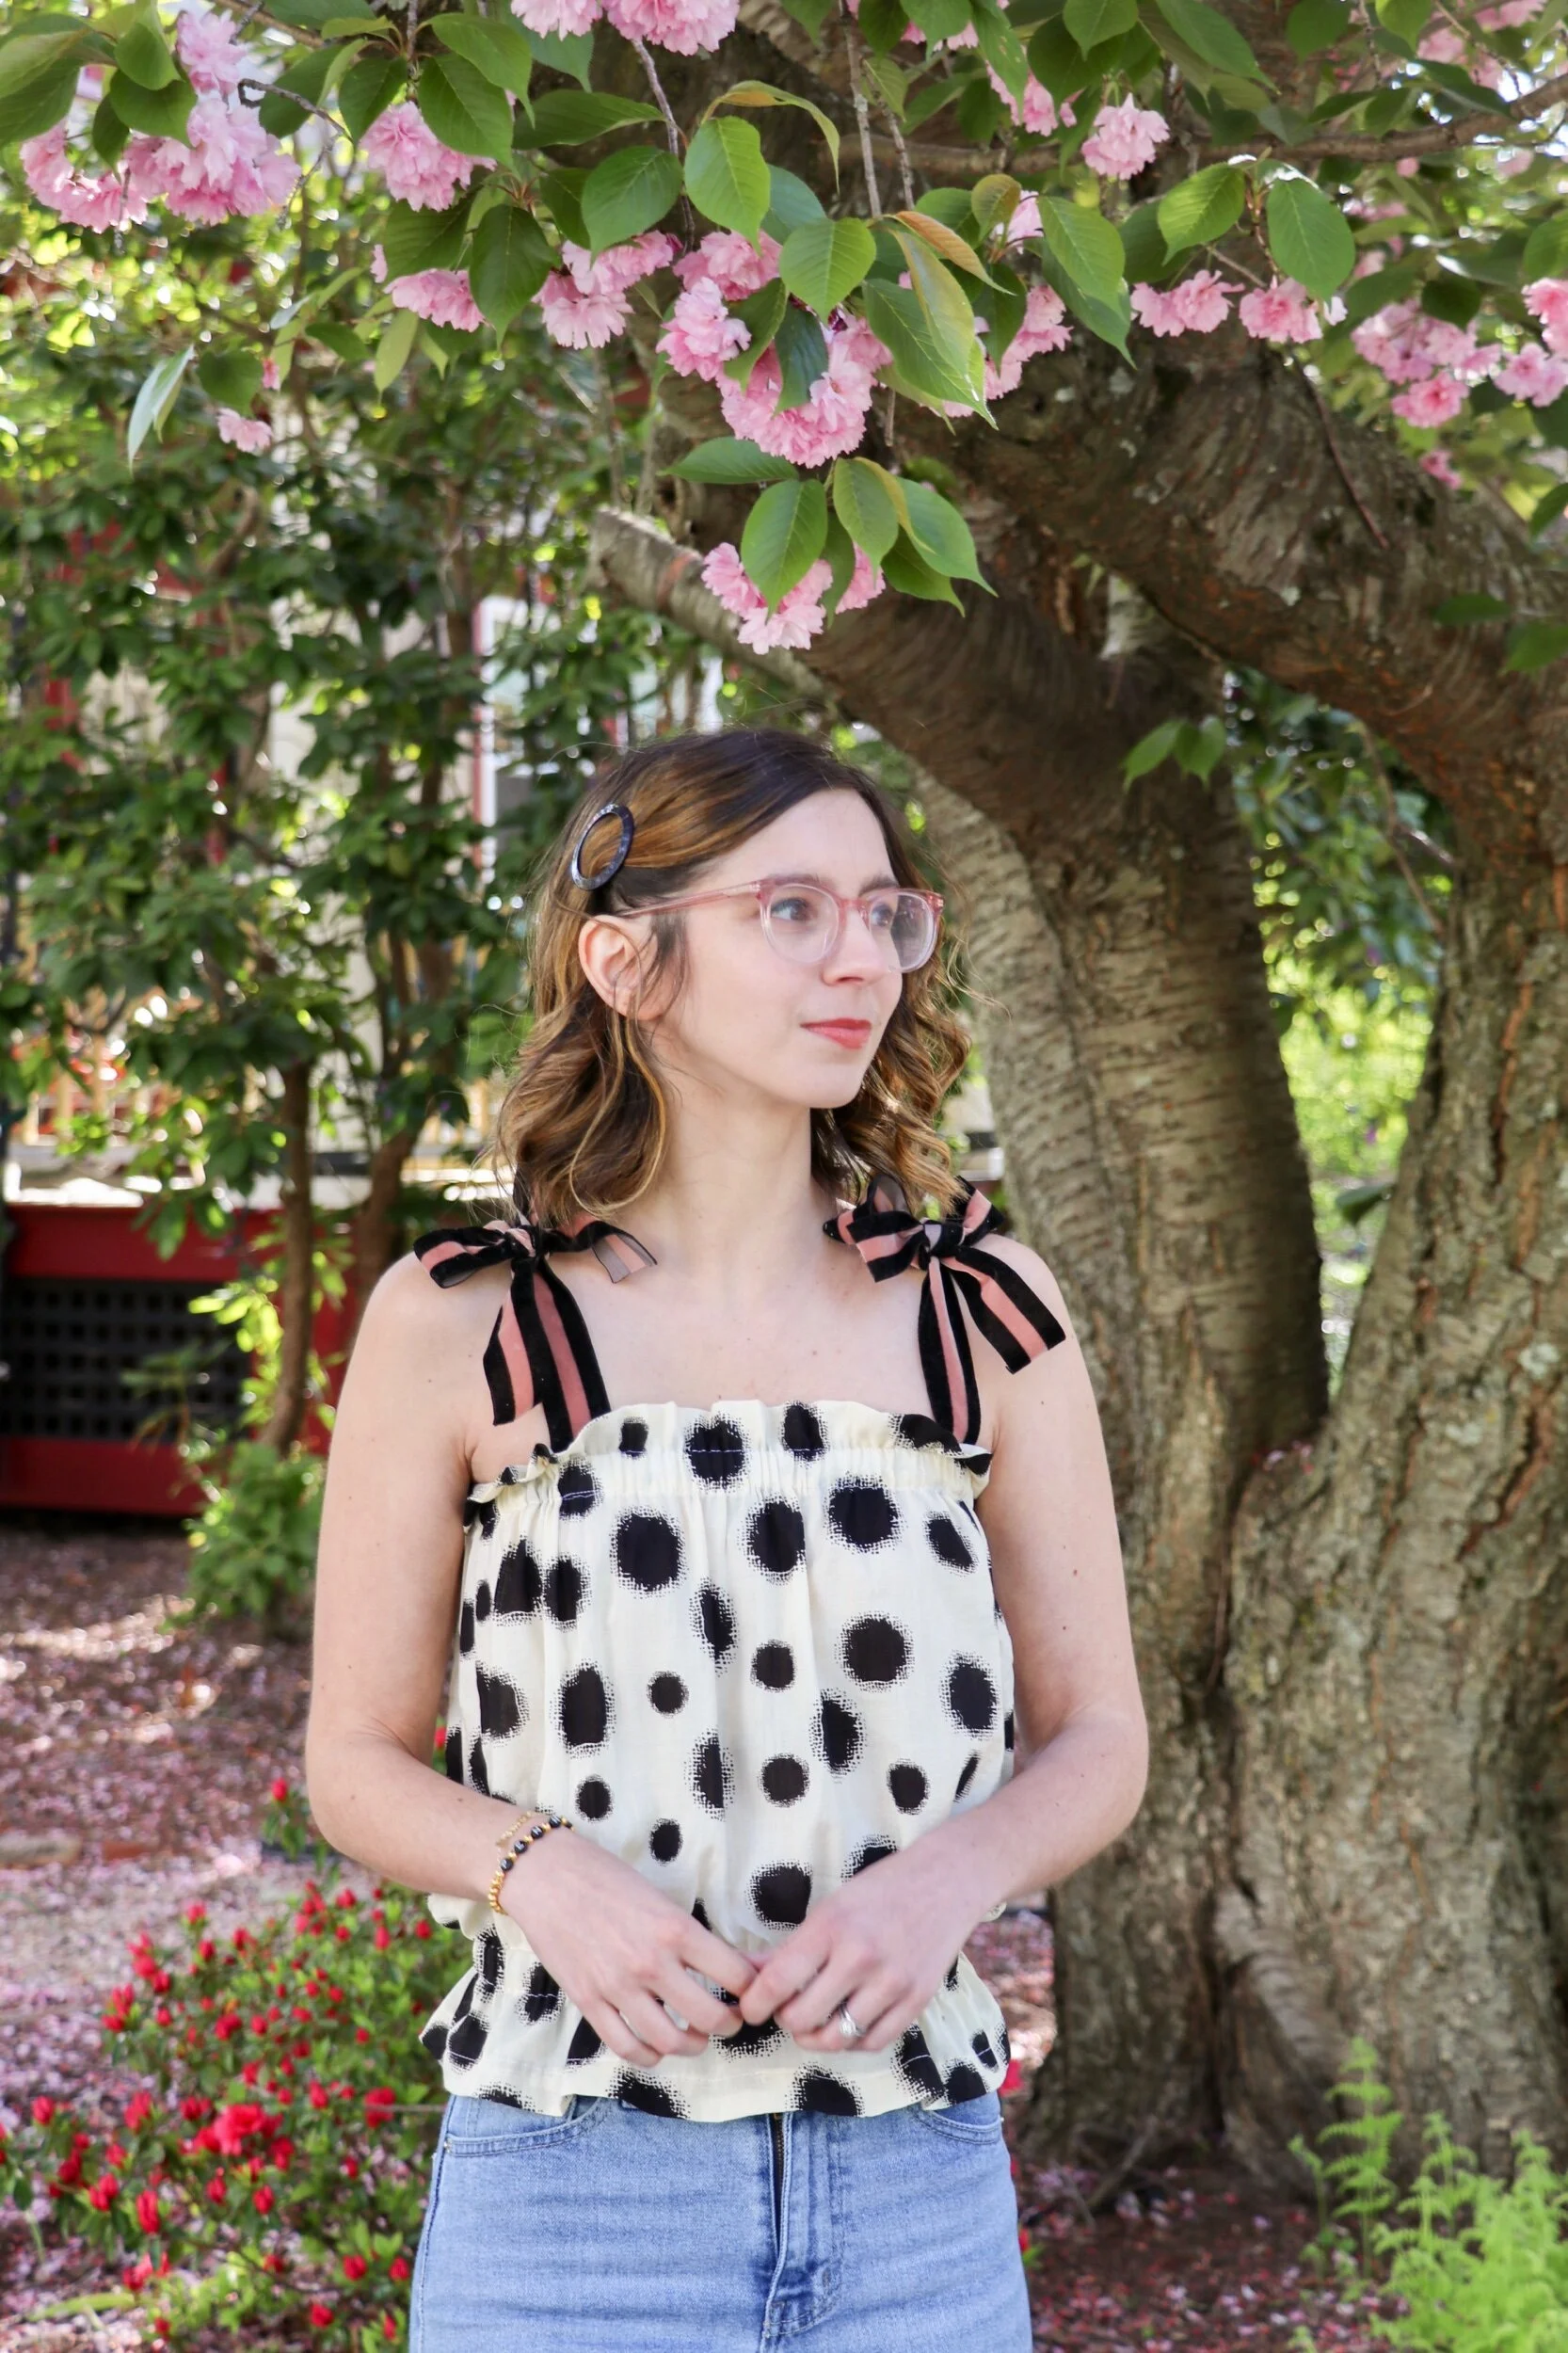
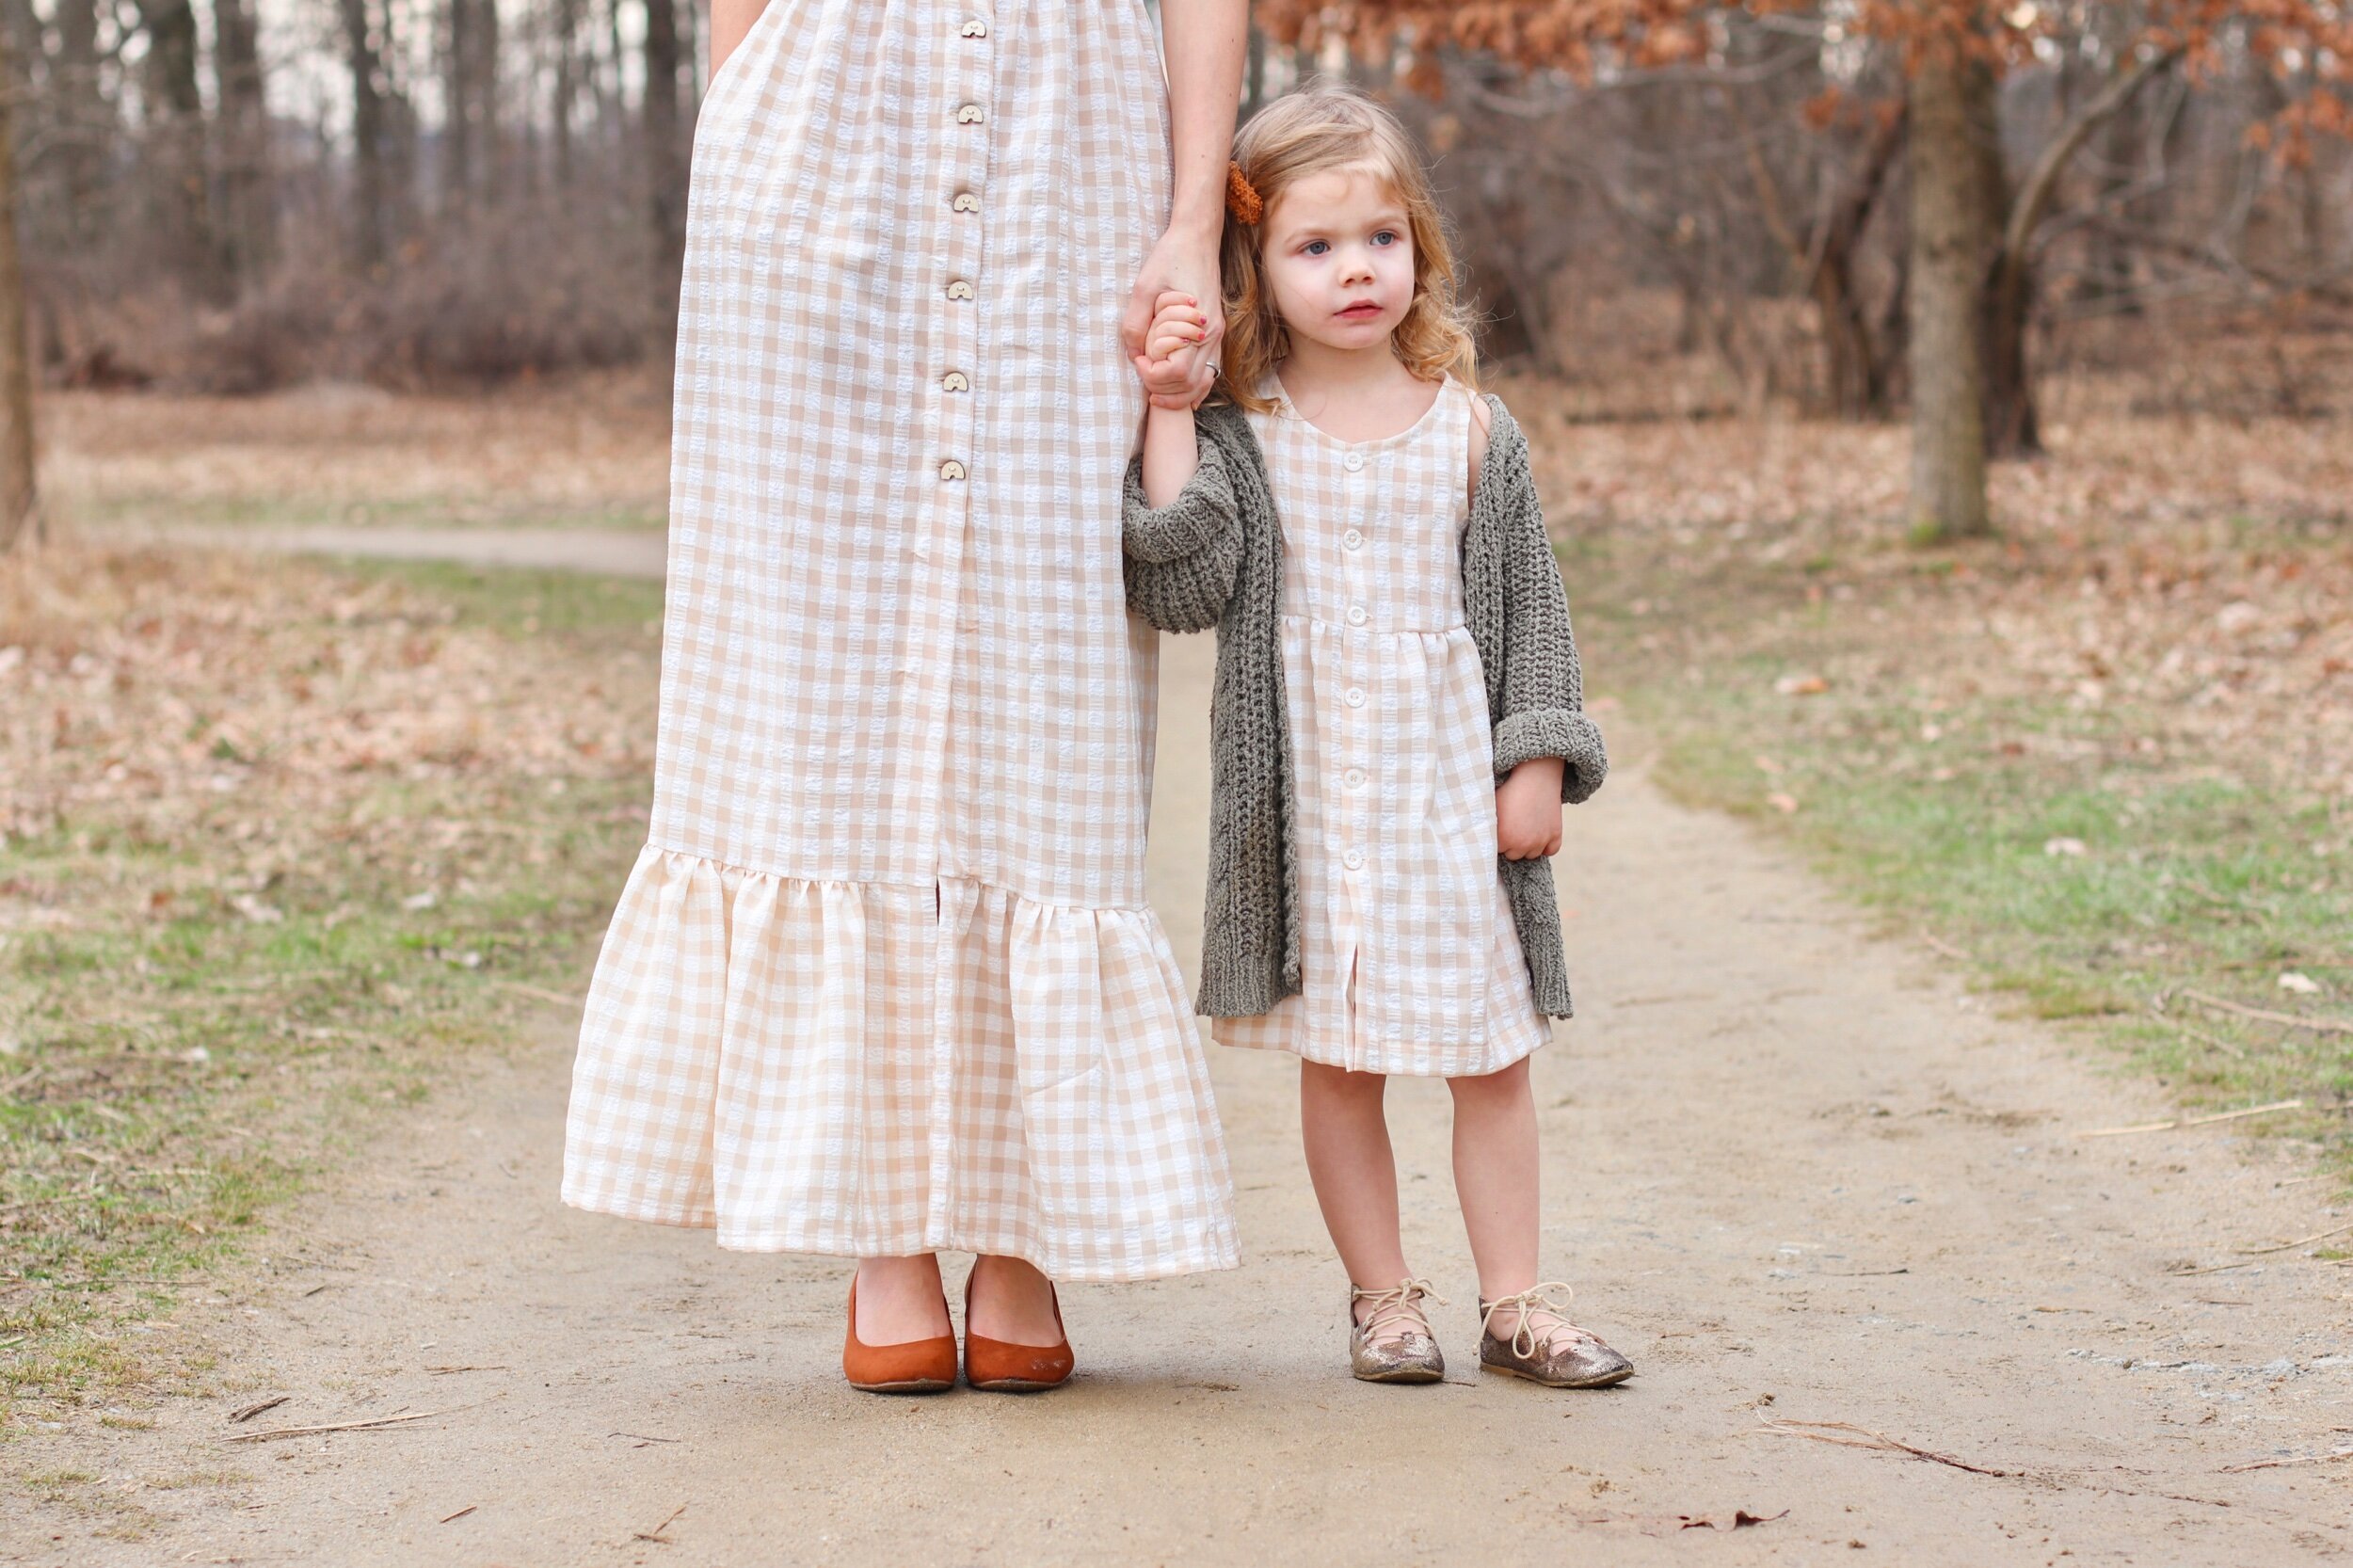
my top: Megan Nielsen Patterns Jarrah tee (without sleeves, bands around the armholes instead)

my skirt: Megan Nielsen Patterns Erin maternity skirt

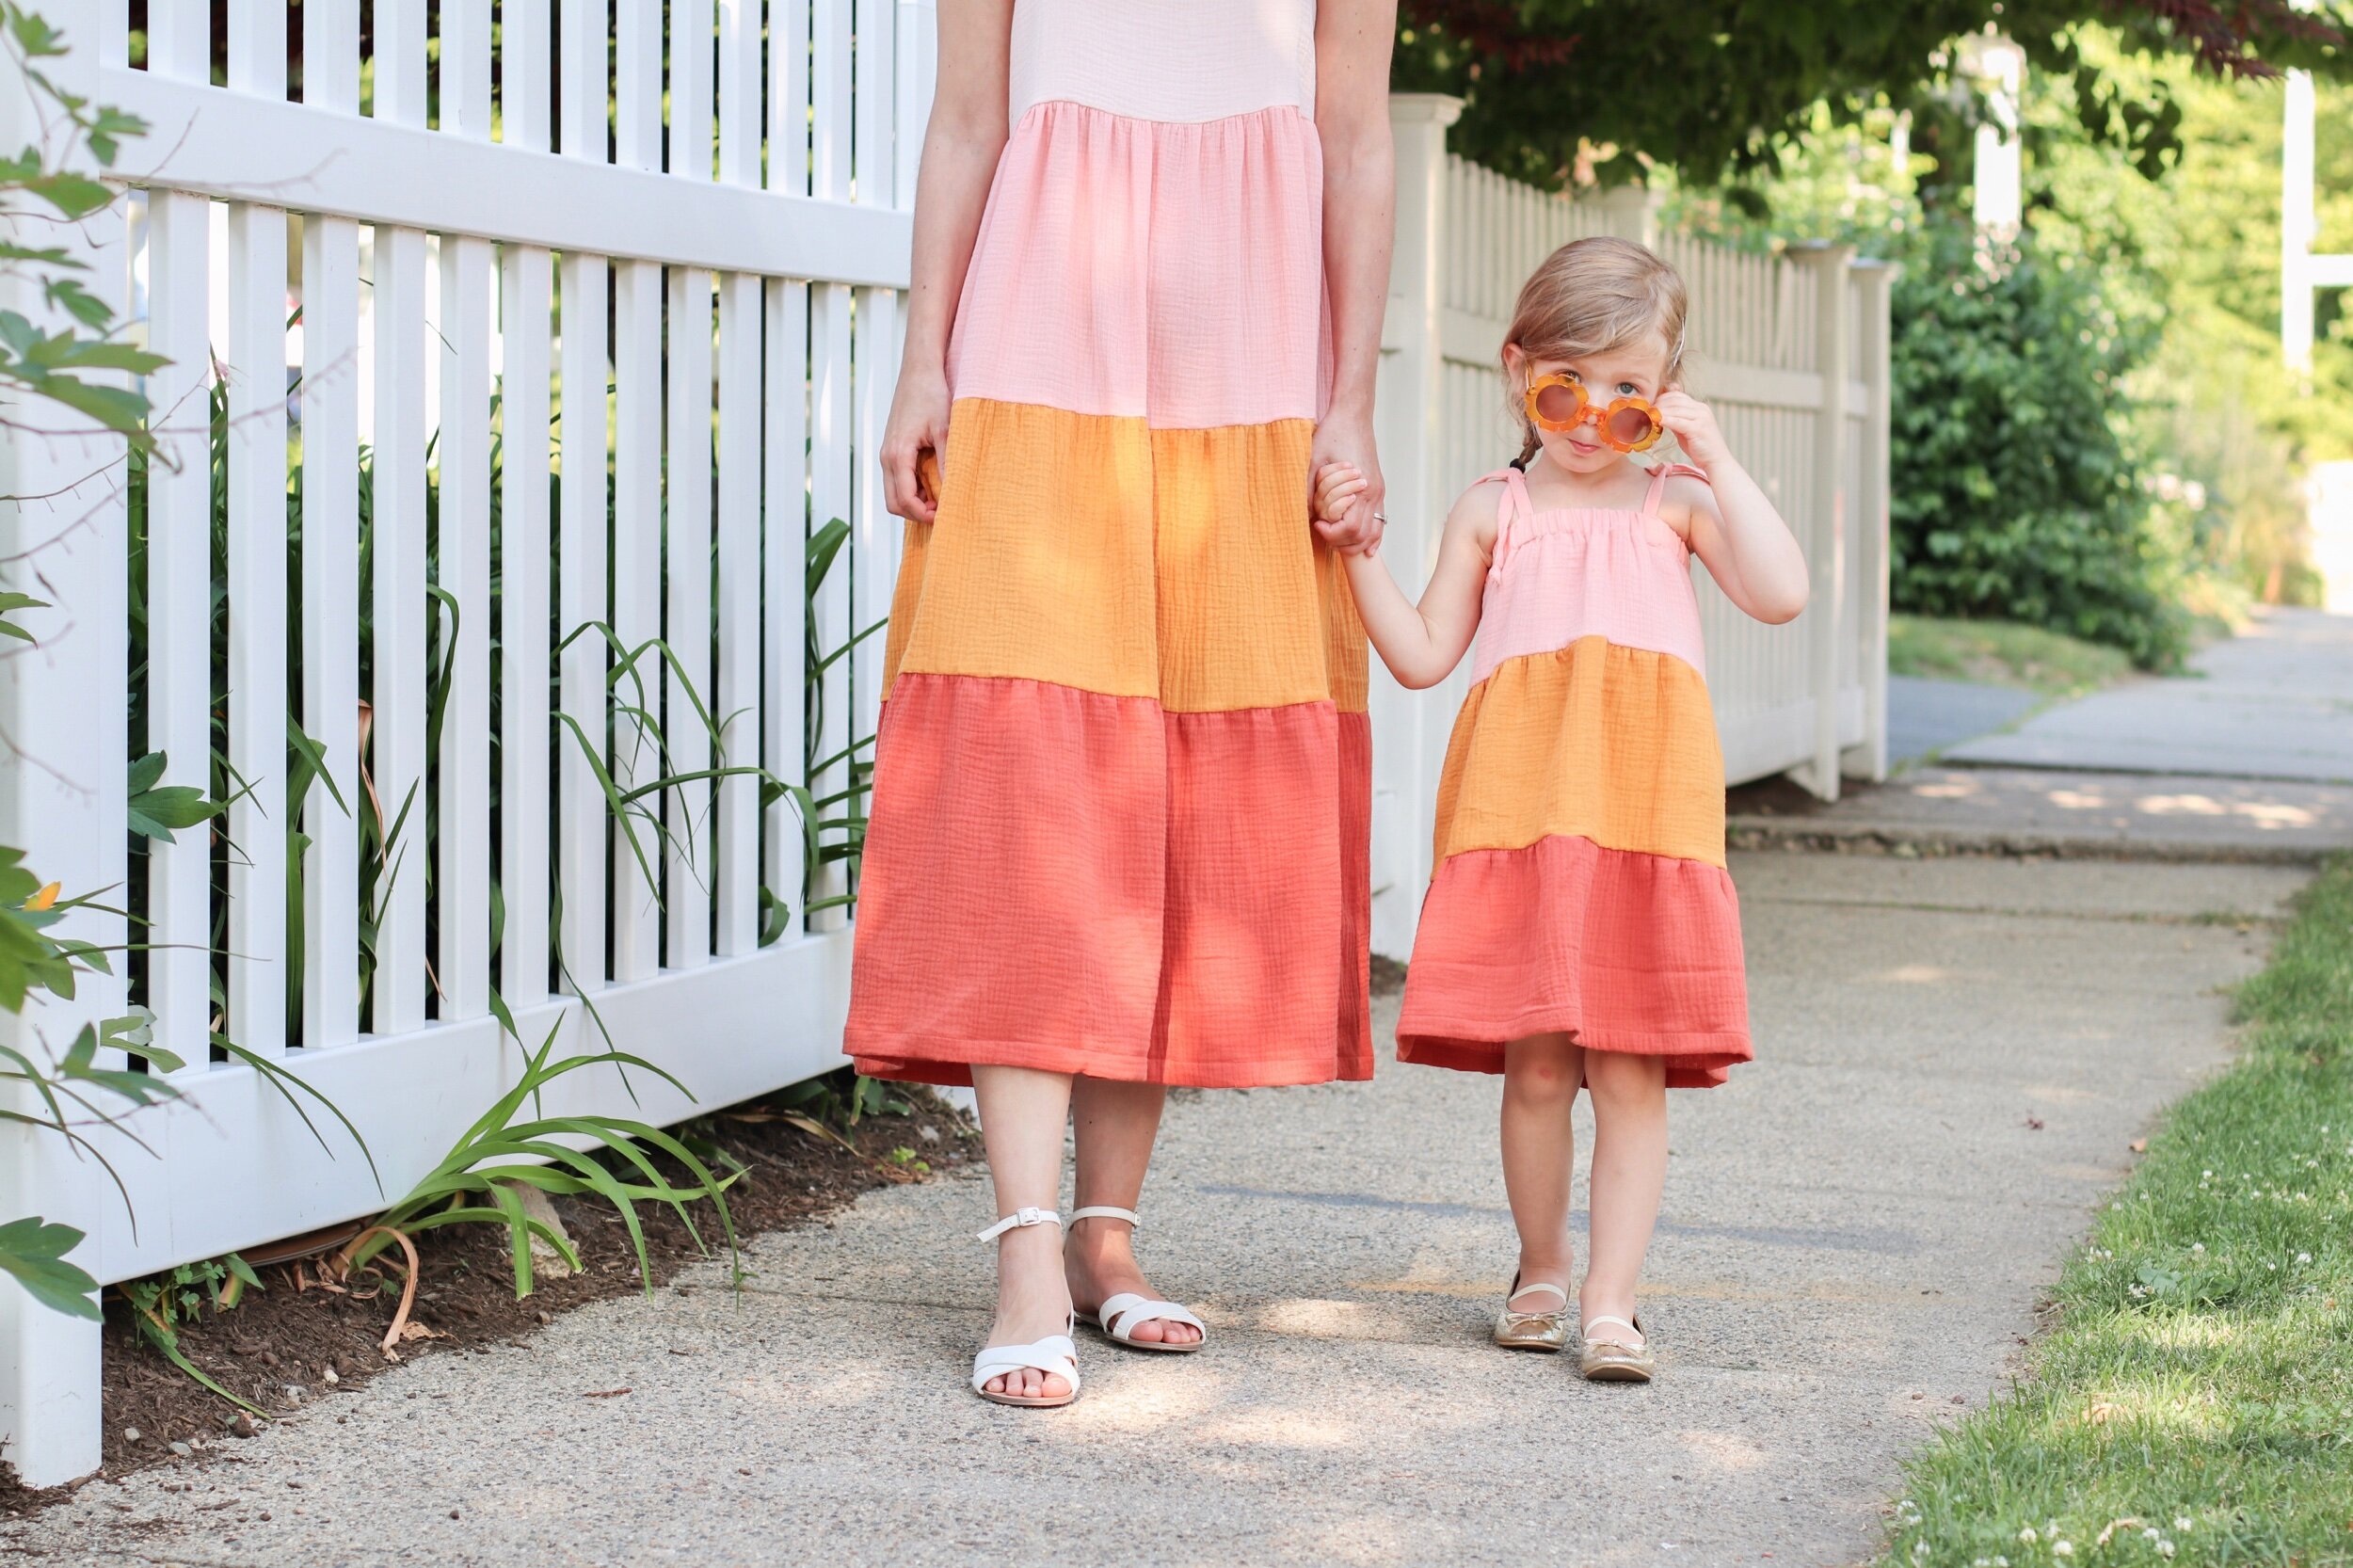
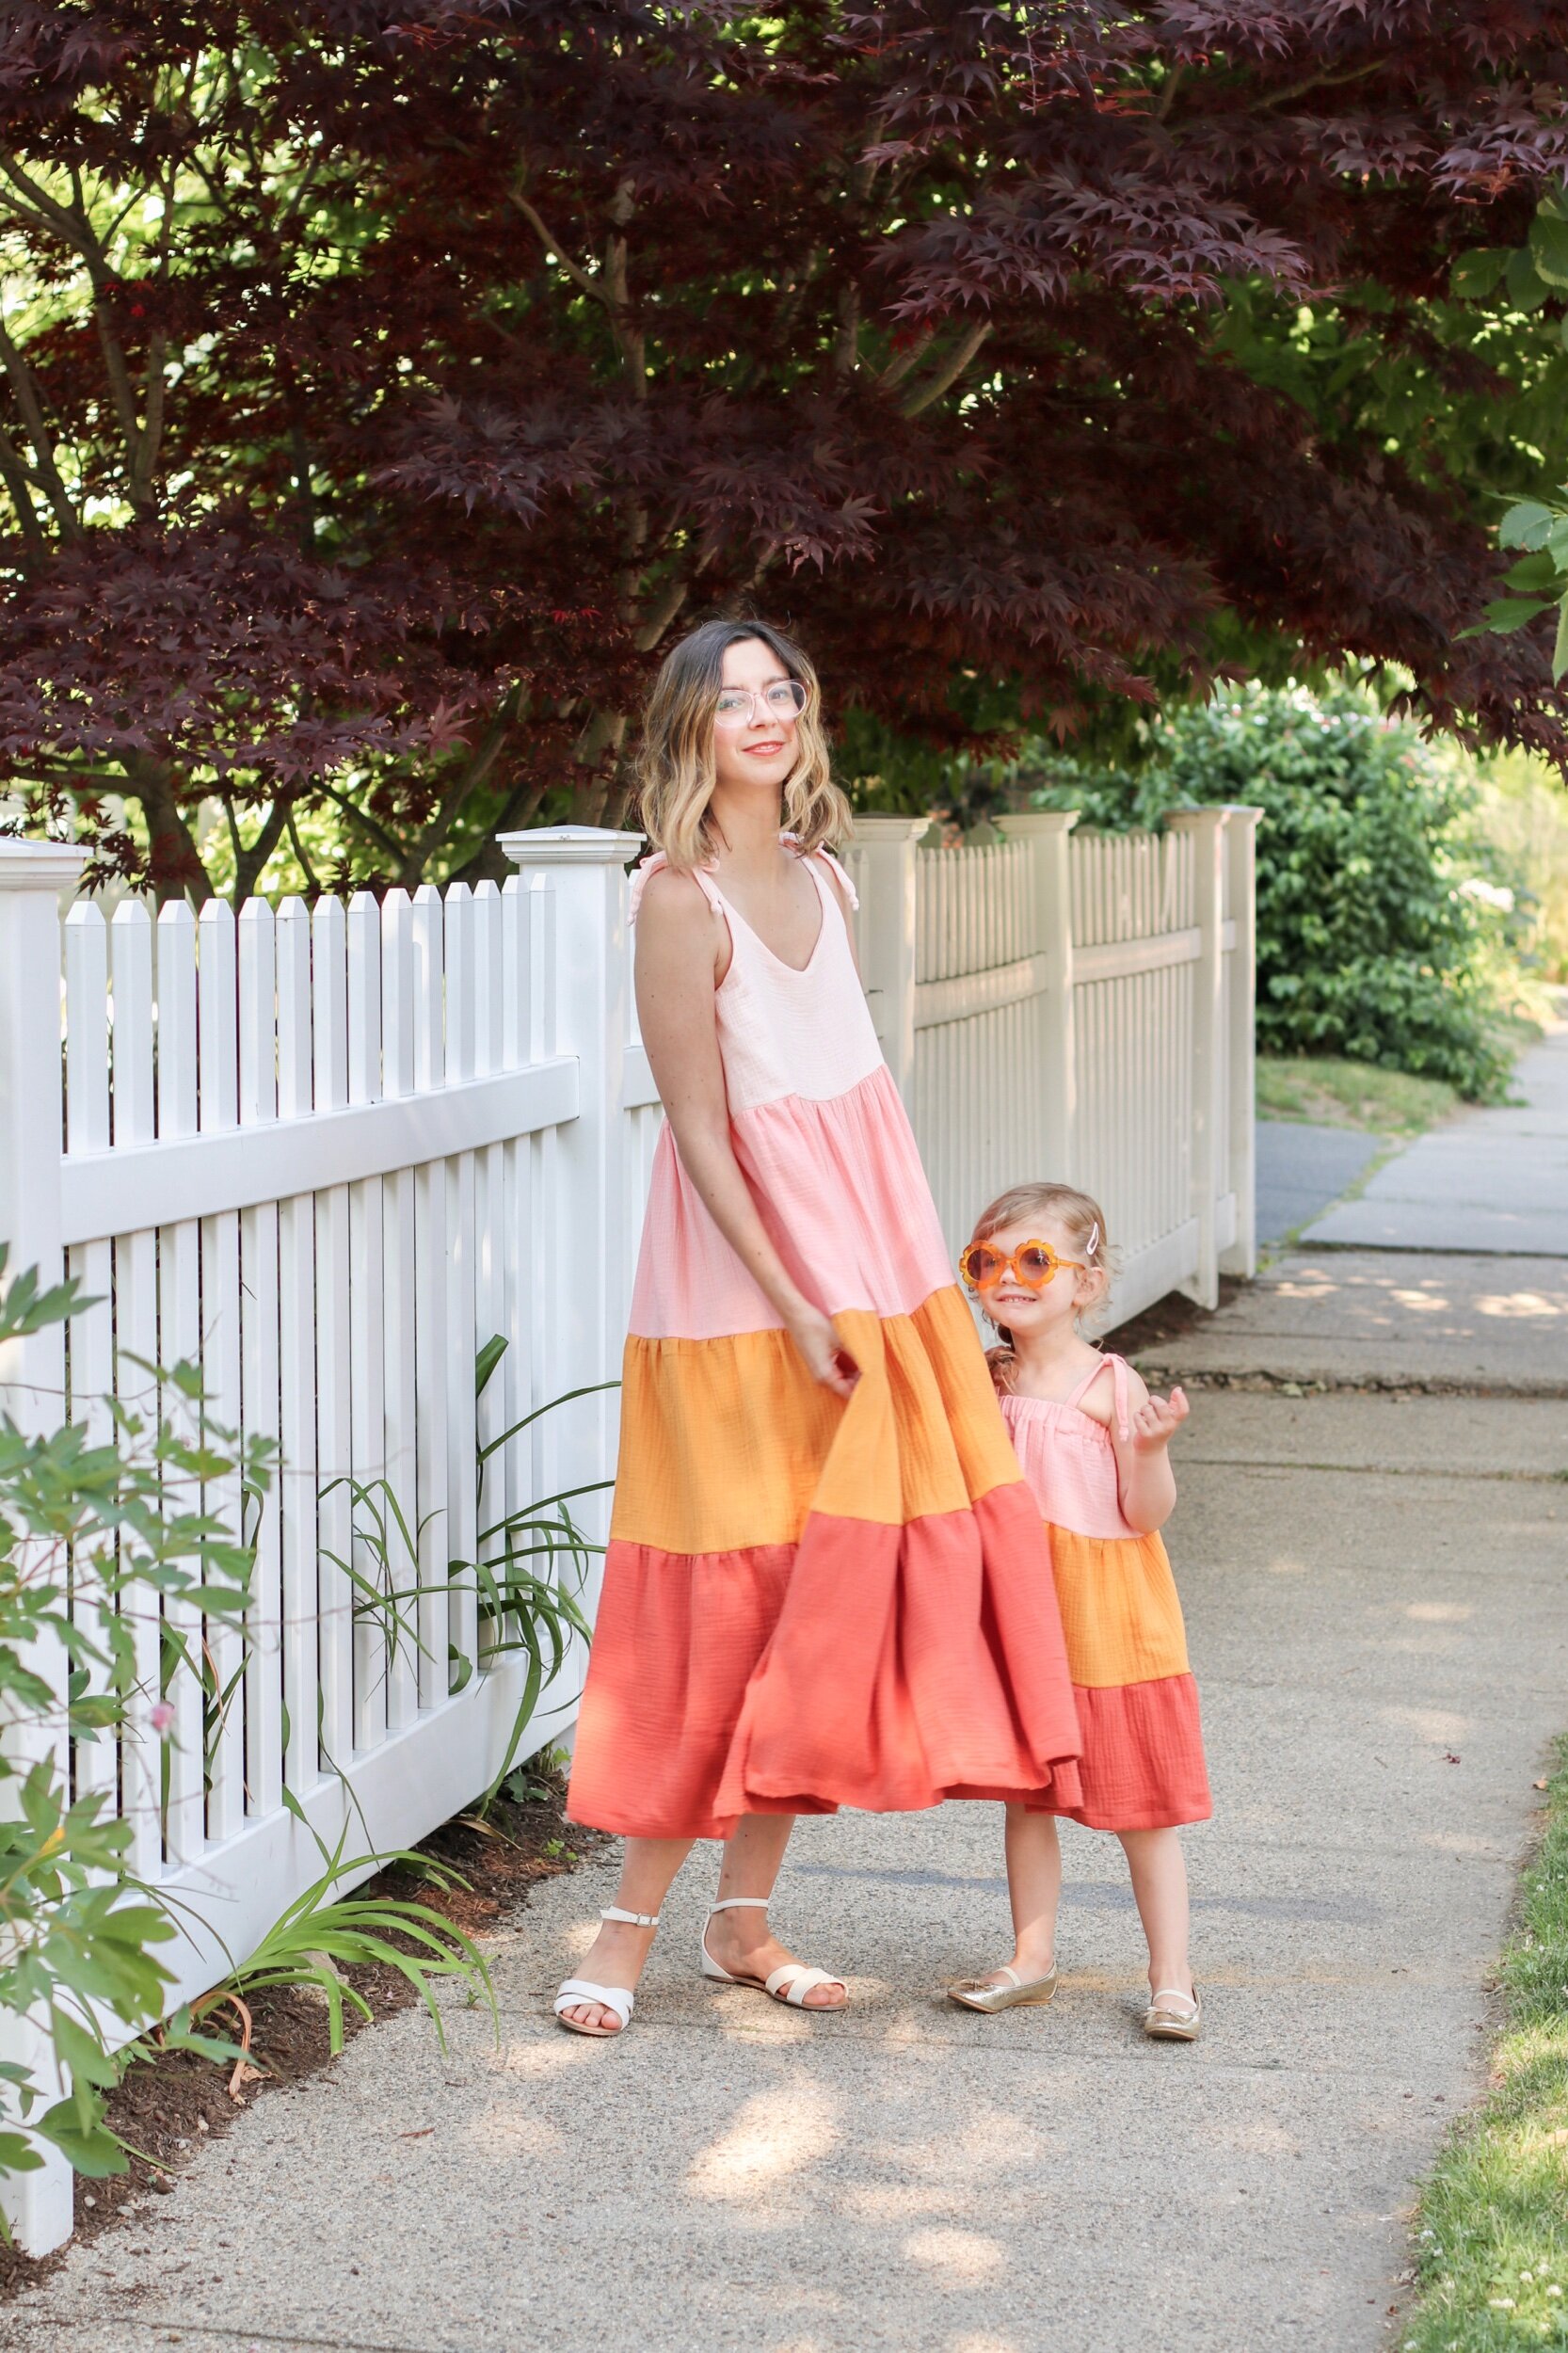
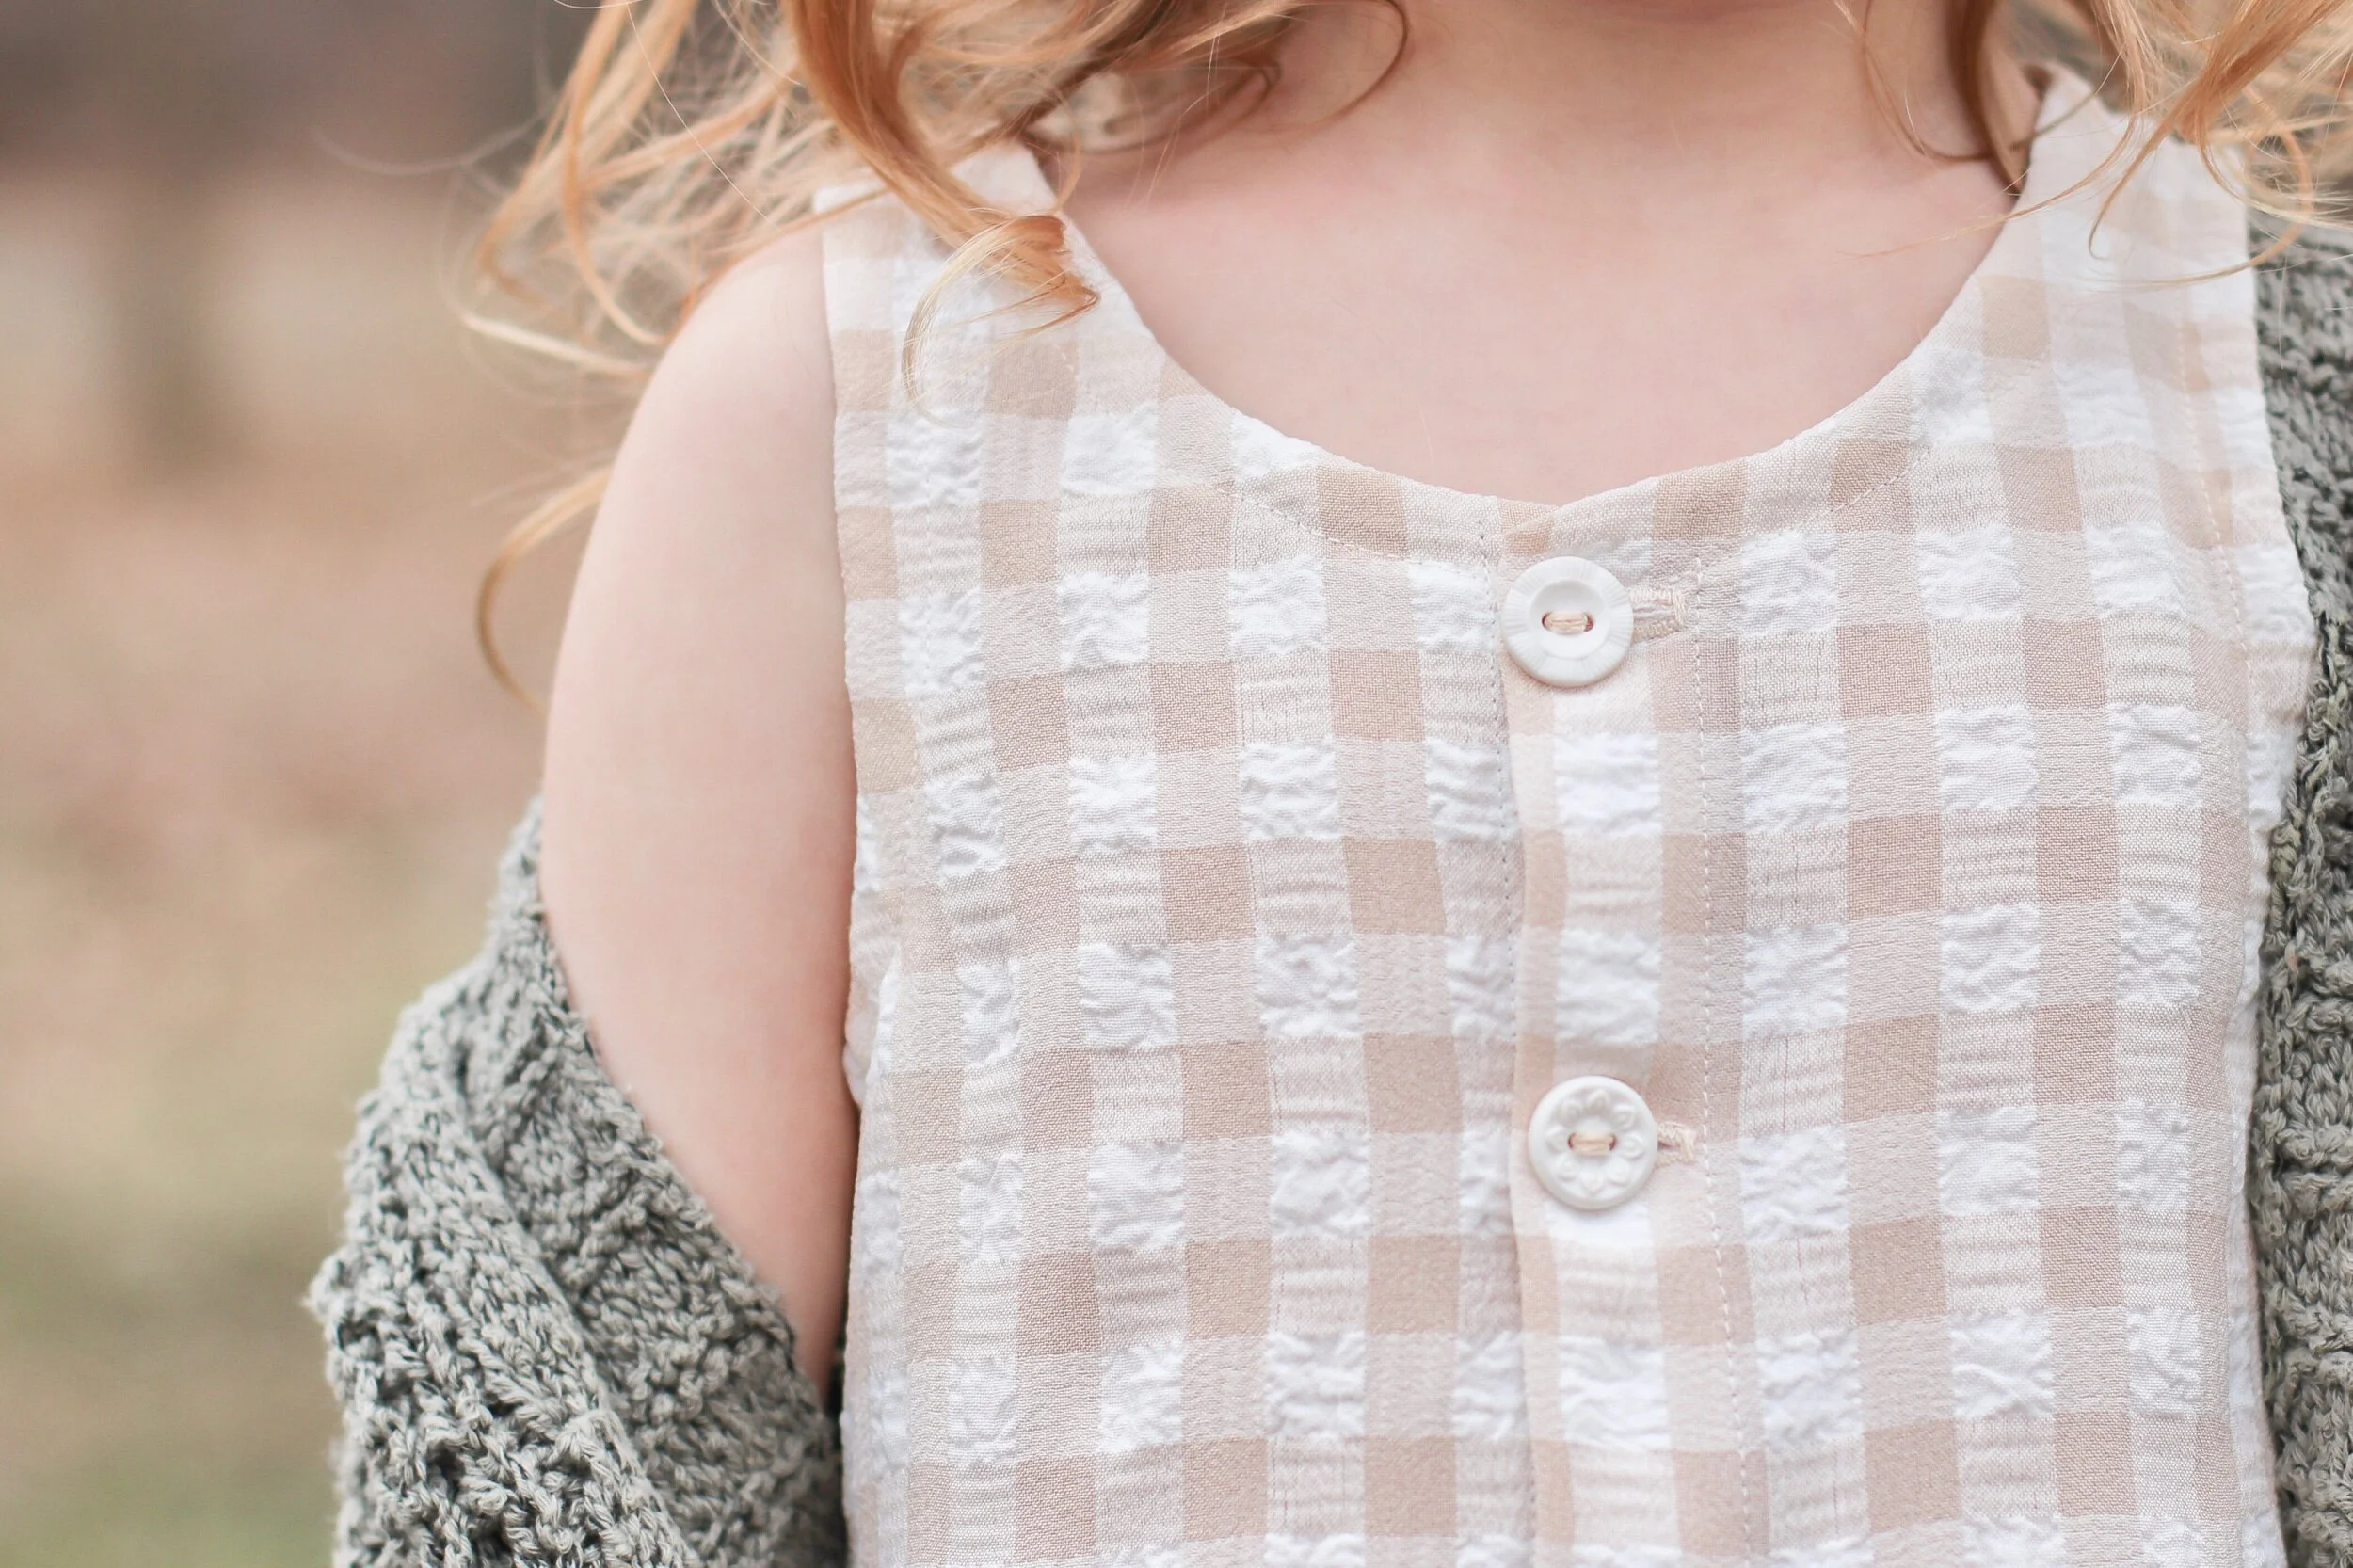
Penny’s tee: Megan Nielsen Patterns mini Briar tee

fabrics: cotton jerseys from D&H Fabrics

————————————————————————————

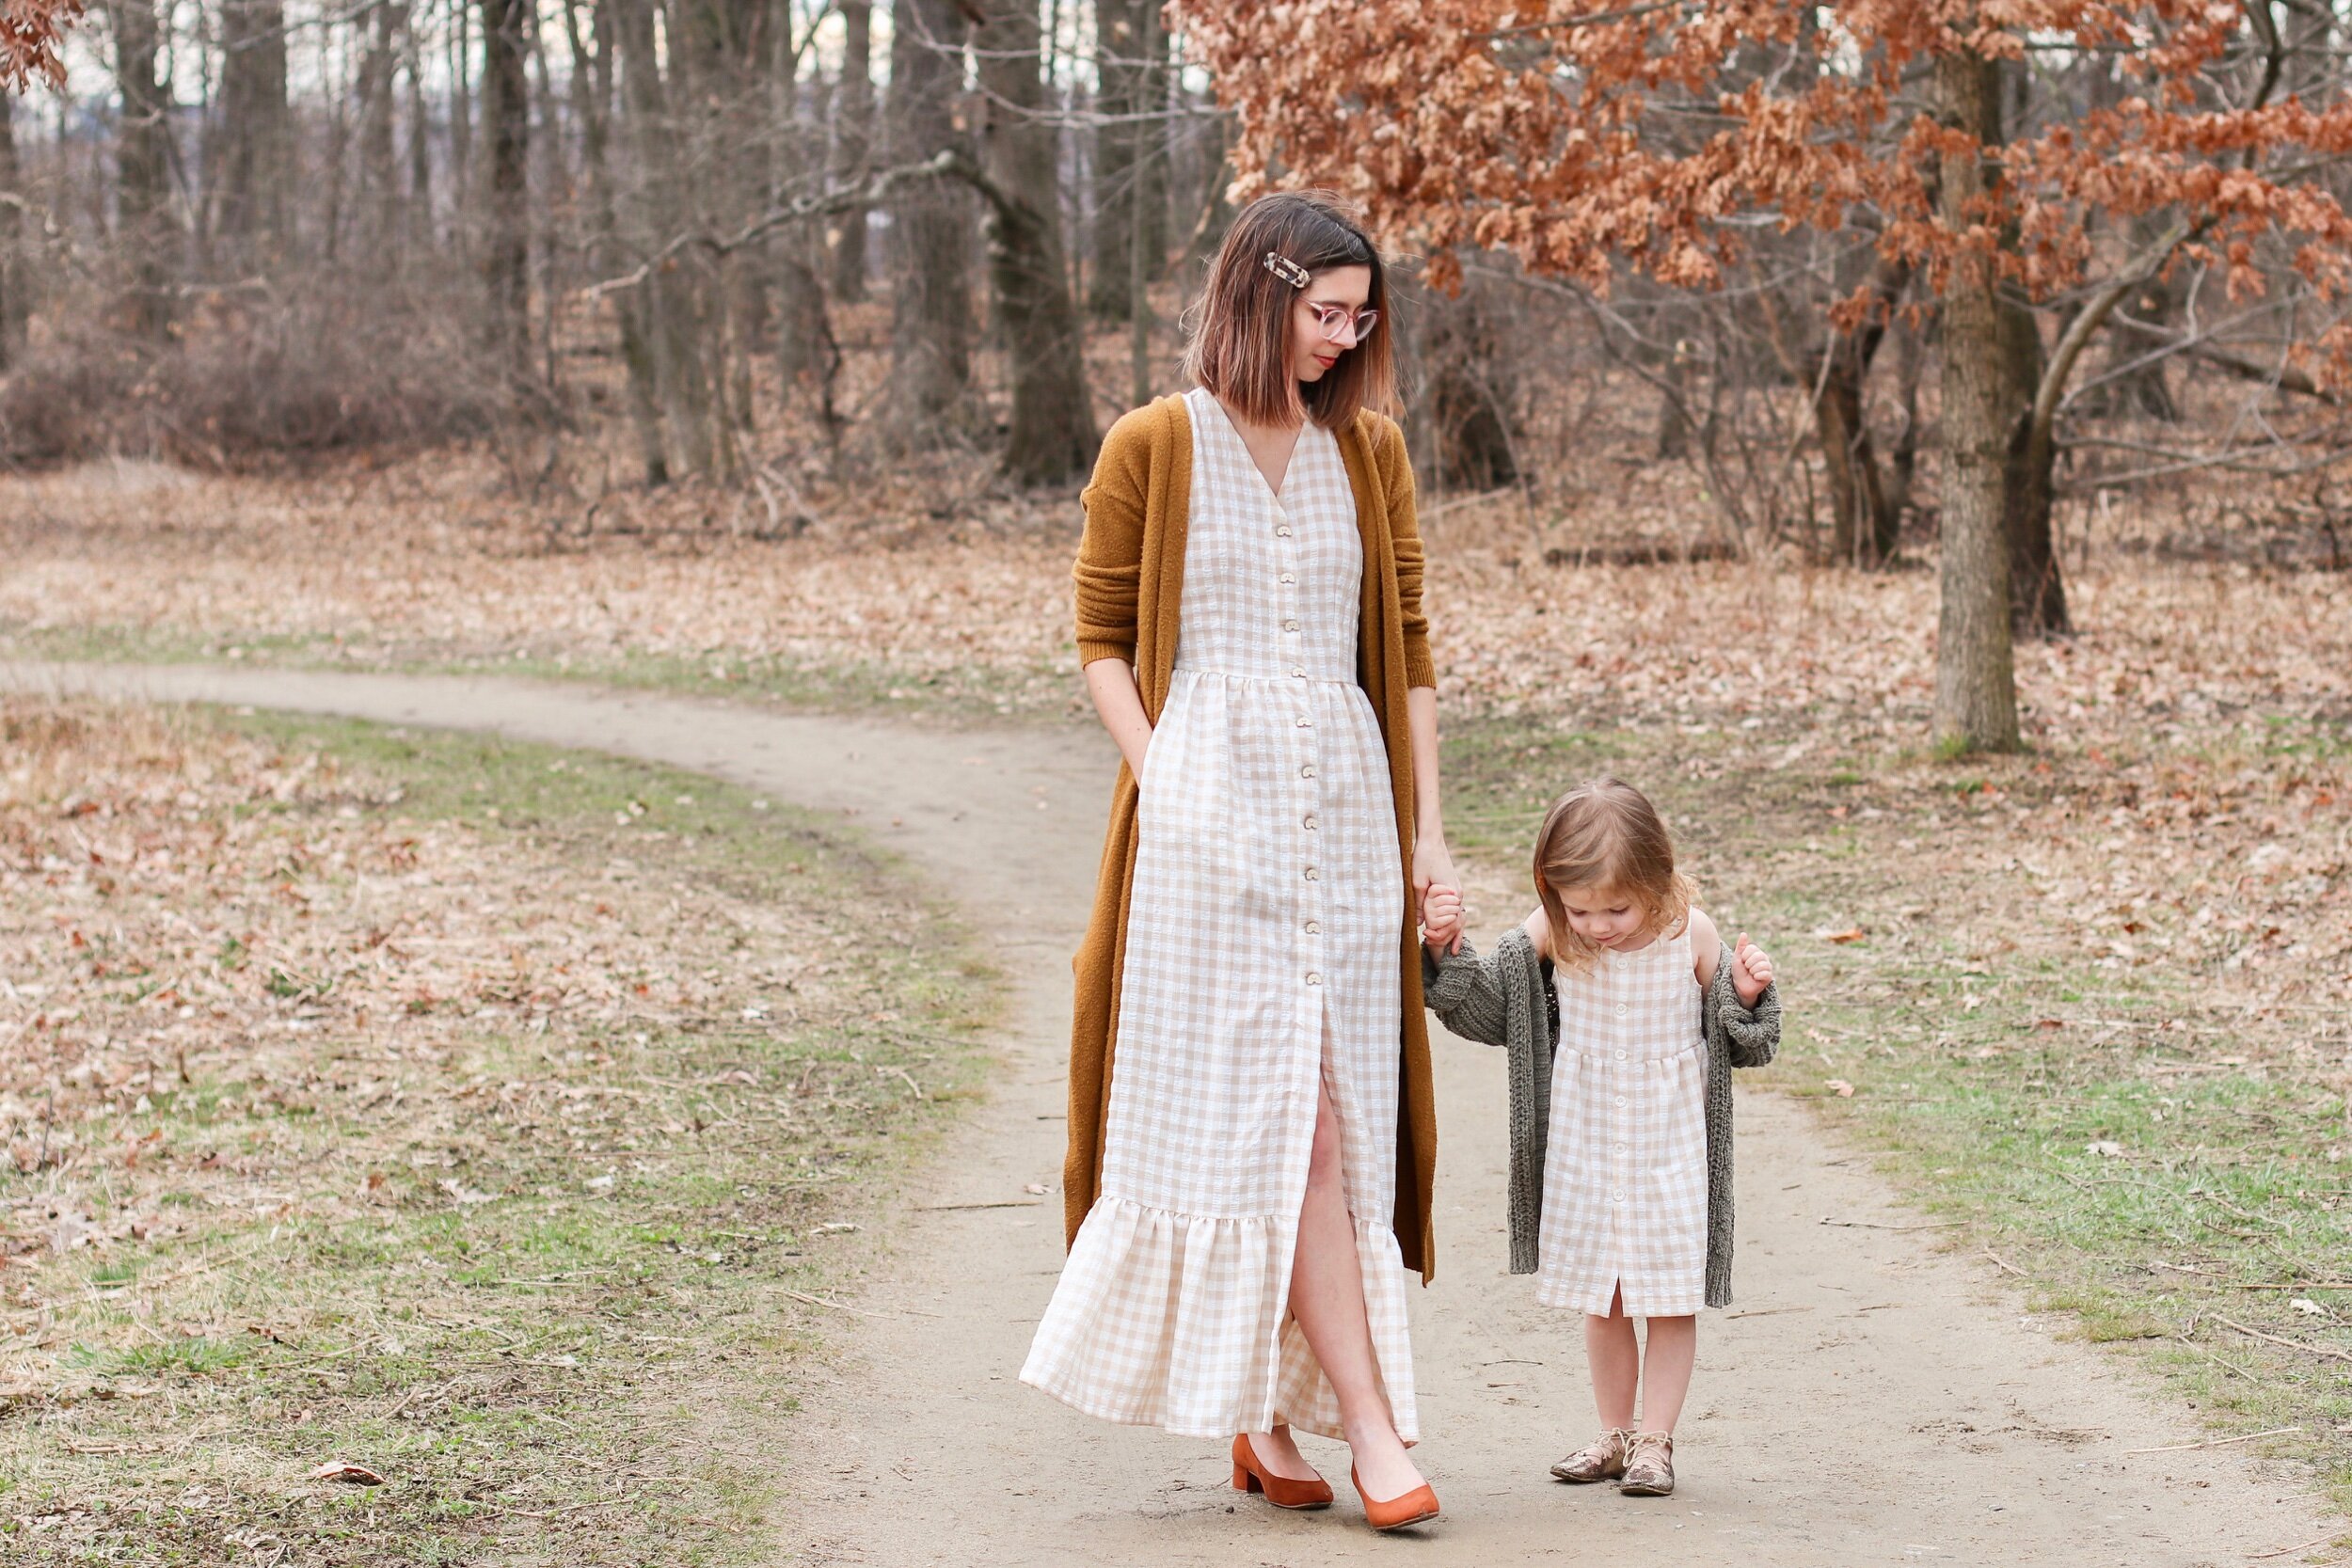
First ever real maternity make, and I’m in love! Especially with this color palette! An elastic ruched skirt like this is a must for any pregnancy, and I can’t believe I never made one when I was pregnant with Penny. Super easy and quick sew! I paired it with my favorite type of Jarrah tee to make - a short sleeve version. I just leave off the sleeves and either turn under the raw edge, or in this case, add bands around the sleeve hem. Just scrunched it up and knotted it and it sits perfectly over my bump.

Penny of course needed something to match, and the last Briar tee I made her no longer fits. So ta-da! We’re really into this lighter shade of purple lately, and it pairs so nicely with rust and brown colors.

Handmade Wardrobe // mommy and me

my dress: True Bias Ogden cami hacked into tiered dress with tie straps

Penny’s dress: self drafted

fabric: all colors of double gauze from Mood Fabrics

—————————————————————————————————

Are these not the ultimate mommy-and-me looks? I’ve done a lot of matching looks for us, but wearing these dresses with her just makes me melt.

My dress is a simple hack for the Ogden cami - just cut in a very cropped length, and then 3 gathered rectangles, each one longer than the other, to create the tiered look. And of course, I’m obsessed with tie straps. So I just lengthened the strap pattern piece and cut 4 instead of 2. I went back and forth a lot about which colors I wanted to use, but these ones definitely make me happy. And double gauze is my favorite fabric, so the combo is just soooo good.

Penny’s matching dress is just 3 rectangles, with the top one having an elastic casing along the top edge. Easy peasy!

Handmade Wardrobe // rio Daisy

Mine and Penny’s tees: True Bias Rio Tee and Mini Rio Tee in a floral knit from Style Maker Fabrics, ribbing from Isee Fabric

Penny’s shorts: self drafted

my jumpsuit: Mimi G free pattern with her Sew Def magazine (old) in a viscose linen noil from Blackbird Fabrics (old)

———————————————————————————

Well look who has a new favorite pair of matching t-shirts! It’s the latest pattern from True Bias- the ringer style Rio tee. Super cute and has a vintage-y vibe. The only issue I had i that I found it to run a tad bit small in sizing. I cut my usual size, and its a bit tight in the arm. I’m going to go up a couple sizes for the next one. Penny’s size 4 is perfect, though! And the ribbing binding was actually pretty easy and came out with a nice clean finish.

My jumpsuit is something that I’ve made two other times before, I just love this style so much. This time i lowered the neckline because I just want it to be a layering piece over cute tees. I also widened the leg by 1.5” each, and changed the length too. Oh yeah, and everyone always gets confused as to where to find this pattern. Click the link above to take you to the exact issue of the Sew Def Magazine. You have to pay for the issue, but the pattern is included free. (And yes, its the right one, even though it doesn’t list the free pattern in the description).

Handmade WARDROBE // Dove, Hacked

my top: Megan Nielsen Dove blouse, hacked with cap sleeves in a polka dot lyocell linen from Joann Fabrics

Penny’s top: self-drafted

my jeans: Megan Nielsen Patterns Dawn jeans

———————————————————————————————

Eeeeeeeeek! I’m so excited to finally share this one! If you haven’t heard, Meg recently re-released her Dove blouse pattern in her extended sizing, as well as in Curve sizes! With the re-release, I created two hack tutorials -one of them being this sleeveless/ little cap sleeve version. I looooove it. Probably my favorite woven blouse in my closet right now. You can find the hack tutorial (as well as the other hack for a rounded neckline) on Meg’s blog - Design Diary.

Also, how cute is Penn’y matching outfit this time?! I saw someone on Instagram (ack, I can’t remember who!), make a similar little dress/top in this fabric with tan colored gauze bloomer shorts to go with it, and it was so cute! Penny already had some thrifted bloomers in the same color, so it was fate <3.

Handmade wardrobe // solee

my top: DIY Solee top, instructions by Nataile Ebaugh

Penny’s top: DIY using the same method, just no elastic at the waist

fabric: rayon cotton voile from Blackbird Fabrics (no longer available)

straps: velvet ribbon from Mood Fabrics

——————————————————————————————————

So, funny thing : my top originally started out looking like Penny’s - loose and wide and floaty at the hem. I already had it finished and everything. But then I saw Natalie post her DIY Solee top on Instagram (and Star’s version, too!), which was a similar style, just with elastic at the waist too. And I fell in love. I decided I NEEDED THIS to have elastic at the waist. But I already had this cut and finished at an almost- cropped length, not enough to turn up the hem even more to add in the elastic. So instead, I simply took some scrap strips of fabric and made a separate casing that I stitched to the inside of the top, and then threaded the waist elastic through that. Voila! It worked!

It worked out fine for me in the end, but if you want to do it the easy way, Natalie has step by step instructions in her Instagram stories.

P.S - I love how mine turned out, but I’m OBSESSED with hiw cute Penny’s is. This is one of my favorite styles to make her, and its also one of the easiest since its just a rectangular piece of fabric with some elastic. Easy peasy!

Handmade Wardrobe // i made a raincoat

Pattern: Lara Sanner Truffle coat

fabric: water repellent raincoat fabric from Fabric Godmother UK (no longer available) Lining is just a black rayon I had in my stash

tee: older handmade Megan Nielsen Patterns Rowan bodysuit

skirt: H&M

—————————————————————————

I made a raincoat! I made a raincoat! I don’t know why I was so nervous about this one. Ive made a cold-weather coat before (for Miverva Crafts that hasn’t been posted yet) in cotton and sherpa, using the same pattern. So I knew what I was doing. But I think something about this slippery, almost plastic-y water repellent fabric kind of scared me. That, and I’d never applied snaps like these before. But the fabric was actually a breeze to sew and the snaps were easy to install. So there was nothing to be worried about.

We’ve had so many rainy days lately, so this is perfect timing getting this done. For a minute there, I thought I was going to have to hold off finishing it until mid-May! I had ordered the wrong zipper, and by the time I realized and went to re-order one, the shipping was saying it wouldn’t arrive to the second week in May. Cue tears, because I already had the coat started and I hate leaving projects half done. But then by some magical mystery, the zipper ended up showing up on my doorstep only a few days later anyway. A miracle! (the zipper was just ordered from Amazon, btw. And the snaps are just basic ones from Joanns).

Handmade wardrobe // thirty three

dress pattern: McCalls 8036

mask pattern: by Craft Passion

fabric: scribble dot by Erin Kendal on silky faille from Spoonflower

———————————————————————————————

Today’s my birthday, and obviously, it looks a little different this year. Some birthday stand out more than others, year to year. For example - I’ll always remember my 30th birthday because we got to spend it in Maui. And now I’m sure I’ll always remember my 33rd as the one where we had to stay home all the time and where face masks to go outside at all. But I was still determined to make myself a pretty dress and take pictures in front of this mural. So I whipped up a face mask to match and off we went.

I’ve been dreaming of a white with black dot wrap dress for awhile now, but I was pretty determined to find a specific dot print. I wanted black dots on white, but not white white. I wanted off-white/ivory/cream. And I wanted tiny dots, not big polka dots. And I wanted them to be scattered, and slightly farther a part, not uniform and close together. I told you - specific. And I was having trouble finding exactly what I wanted. I'd fond a fabric that was the right color and dot size, but uniform and close together. Or I would find one that actually had everything I wanted, but it was in a sheer chiffon, which I didn’t want. So I turned to Spoonflower, because you can find anything on Spoonflower. It’s not the most exciting print to have custom printed on fabric, but it’s finally what I wanted! I went with the silky faille, because I’ve worked in that substrate twice before and I was familiar with it and it was close to the weight I wanted (although I almost went with double gauze!).

I decided to go with McCall’s Sasha dress for the pattern, and went with the shorter, ruffled hem view. I didn’t alter anything, so this is pattern as-is. I only have two complaints: 1. it is shoooort. Or atleast for me. Maybe I’m just not used to wearing this length. But where it wraps in the front does make me feel like the slightest breeze will cause a wardrobe malfunction. and 2. I don’t think I love the shoulder pleats on the front bodice. I think I would definitely prefer for it to be laying flat there. Especially with the poof in the sleeves, the extra poof at the front feels a tad excessive. But I l do ove the big poofy sleeves! And all the ruffles! And overall its a very wearable and cute dress and turned out really well!

handmade Wardrobe // mayfair showcase

fabric: Piccadilly rayon designed by Amy Sinibaldi for Art Gallery Fabrics

my skirt: SewDIY Lela skirt

Penny’s skirt: self drafted

————————————————————————————

Hey everyone! Today, I am the next stop in the Mayfair Showcase! Amy Sinibaldi is one Art Gallery Fabrics talented designers, and her latest collection is called Mayfair. It is a collection reminiscent of flower filled neighborhoods around London, and it is gooooorgeous.

I got the chance to sew up these skirts using the rayon option in the collection - the Picadilly in sunset rayon. The coloring definitely comes across as more of a brighter orange-red in the photos, but IRL, its more rust-y, and a tiny bit more muted than in the photos. The print is so delicate and elegant and so pretty. I wanted to let the print shine, without to much frill, so I went with a simple skirt for my look. The pattern is the Lela skirt by SewDIY with the knee length curved hem, angled pocket, and a widened waistband so I could add a little paperbag waist ruffle detail. Pretty simple overall, but oh so cute. Now, the rayon fabric is opaque enough, but it is very lightweight. I didn’t add a lining because I have a few slips that I usually wear under skirts. But you may want a lining, depending on what you’re making and your comfort level.

Penny’s skirt is a quick DIY skirt - just a a rectangular piece with an elastic casing for the waist, and an added second rectangular piece that has been gathered for the bottom ruffle. I love how my skirt has a little ruffle at the top, and hers has one on the bottom. Oh, and I did line hers with a lightweight white lining.

That’s it! Hope you enjoy them. Make sure you check out Amy’s instagram to see the other makers participating in the showcase. There are some super talented quilters using all of the pretty cottons in the collection!

Handmade Wardrobe // first of spring

Fabric : pucker gingham from Joann

my dress: Megan Nielsen Darling Ranges dress lengthened and with added ruffle hem, buttons by Tabitha Sewer

Penny’s dress: Oh Oh My Sewing Sunflower dress

———————————————————————————

We may be living in a crazy time right now - self isolating, staying at home, etc, but I can’t stop making pretty things. Sewing keeps me occupied and sane. So while we technically don’t have anywhere to wear these pretty dresses right now, it makes me pretty happy to have them made and in our closets.

My dress is an old tried and true for me - the Darling Ranges dress. I made it maxi length by simply extending the skirt pattern (its a rectangle, so easy to do), and adding an additional rectangular piece ruffle on the bottom. I also brought the neckline up by 1”, and made it sleeveless by just leaving the sleeves off and finishing the raw edges with bias facings instead. I probably should have brought the armscye and shoulder seam in a little bit, so that the shoulders are not so wide. Bt alas, I forgot to.

I was so excited to use these Tabitha Sewer buttons with this fabric! They are called the ‘macaroni’ wood buttons, but I actually see little rainbow shapes. My only regret is not purchasing just one more pack of them to use on P’s dress too. I actually didn’t realize I would have enough fabric left to make anything for P, so that’s why I didn’t. But I suppose that’s an easy thing to swap out if I decided to go back and purchase more later! For now, I’ve used some vintage mix-and-match white buttons from my my grandma’s old stash for hers. Still cute!

handmade wardrobe // lucky green and (rose) gold

dress: M7947 in a viscose linen slub from Blackbird Fabrics

buttons: Tabitha Sewer rose gold buttons

shoes: Old Navy

——————————————————————

All of our St. Paddy’s day plans have been cancelled due to Covid-19 (rightfully so, they definitely should be), but that doesn’t mean I can’t still wear and show you the cute dress I made, right?

I actually had an inspo photo of a green dress just like this saved in my photo album for quite awhile now, and it turns out that this pattern is an exact match for that look. Like, EXACTLY. Lucky lucky! I made the midi length view with the shorter elastic sleeves. I also added a sash belt, which is not included in the pattern. The only alteration had to make is shortening the length of the front elastics. With the elastic length provided by the pattern, it was too wide and gaping up front. But it was an easy fix!

And these mirrored rose gold buttons are the perfect accent for this lucky little dress! Have you seen Tabitha’s button collection yet? They are soooo perfect and modern and cool. I snagged a few different ones and I can’t wait to use them.