Handmade wardrobe // solee

my top: DIY Solee top, instructions by Nataile Ebaugh

Penny’s top: DIY using the same method, just no elastic at the waist

fabric: rayon cotton voile from Blackbird Fabrics (no longer available)

straps: velvet ribbon from Mood Fabrics

——————————————————————————————————

So, funny thing : my top originally started out looking like Penny’s - loose and wide and floaty at the hem. I already had it finished and everything. But then I saw Natalie post her DIY Solee top on Instagram (and Star’s version, too!), which was a similar style, just with elastic at the waist too. And I fell in love. I decided I NEEDED THIS to have elastic at the waist. But I already had this cut and finished at an almost- cropped length, not enough to turn up the hem even more to add in the elastic. So instead, I simply took some scrap strips of fabric and made a separate casing that I stitched to the inside of the top, and then threaded the waist elastic through that. Voila! It worked!

It worked out fine for me in the end, but if you want to do it the easy way, Natalie has step by step instructions in her Instagram stories.

P.S - I love how mine turned out, but I’m OBSESSED with hiw cute Penny’s is. This is one of my favorite styles to make her, and its also one of the easiest since its just a rectangular piece of fabric with some elastic. Easy peasy!

Handmade wardrobe // cat lace

coral fabric: cat print by Mirabel Print on silky faille c/o Spoonflower

blue mesh fabric: old, been in my stash forever

my dress: New Look 6616

Penny’s dress: Jilly Atlanta Rosie dress

———————————————————————————————————————

I made these matching dresses for us to wear to my brother’s wedding! You may recognize this print if you follow me on Instagram. I had the black and white version printed on cotton knit and made it into some undies and lounge bra back in January. But I loved it so much that I needed it in coral, too! It was perfect for their wedding, because they are cat lovers AND coral was one of their wedding colors. Perfect!

This is my second time making this New Look dress. I think it is my favorite big-4 pattern ever. Like, my perfect style dress, hands down. The pattern also has a jumpsuit version that I want to make, too. I found that it ran really big in the bust/underarm though. I simply took it in a bit at the side seam/underarm and it took car of it.

I only had a little bit of fabric left when I was done, only enough for half a mini dress, so I knew Penny’s dress was going to have to include another fabric. I pulled a handful of options from my stash and let her choose, and she had her heart set on these blue dots as soon as she saw it! I simply lined it with a solid baby pink knit underneath and also used it for the straps. I love how it turned out!

handmade wardrobe // Adirenne, Dawn, and a matching mini

top: Friday Pattern Co. Adrienne blouse in a waffle knit from Fabric Mart Fabrics (sold out)

jeans: Megan Nielsen Dawn jeans in a denim from Style Maker Fabrics

booties: Target

Penny’s tee and pinafore: Simplicity 8706

————————————————————————————————

First off - yes, my hair is pink! Kinda crazy, right? For me, anyway haha. But I’ve always wanted to try it out so I finally did it!

So these outfits were originally meant to be made back in November - I had the fabrics as part of my November fabric collection. But the holiday months got so crazy, and I had to skip quite a lot of projects. So here we are in January, and I finally got around to making this Adrienne blouse and Dawn jeans! This is my third Adrienne blouse, and probably my favorite one yet in the textured waffle knit. I just love this pattern! One day, I’m just going to have a closet full of Adriennes haha.

And speaking of third versions of a pattern, this is also my third pair of Dawn jeans! Well, fourth if you count the canvas shorts I made, too. But as far as my denim jeans, this is the first time making the tapered leg -both of my other pairs are wide leg. And I don’t know why it took me so long to make this style, because they are soooo good! Fit like a glove. Well, maybe a teeeeeny bit too tight, but I’m hoping they loosen up a bit with wear. As a note - I made my usual size - a straight size 0 with no grading. I did take out just a tiny bit at my hips just in the seam allowance, but that’s it. I do think that next time I might try to pinch out a tiny bit in the back yoke (I may have a bit of a swayback?), just to see if the fit in the back could be a tiny bit better than it already is. But that’s it! For a few little details, I freehand machine stitched a leaf design on the back pocket that I thought was cute and mimicked the print I used for the pocket bags, and I also left the bottom edges un-hemmed to let fray naturally over time.

And then, of course, there is Penny’s matching outfit. The pattern I used is baby/toddler size pattern. So I graded it up a bit to fit her (not very professionally, just by eyeing it). I may have graded the jumper up just a little too much, though, because it is a bit big. But hey - she’ll just get more use out of it as she grows!

I’m going to make a mental note to re-photograph this set outside in better light once we reach warmer months. I don’t think these grainy-ish indoor photos do it justice!

Handmade Wardrobe // Forget Me Not

fabric: leopard print sweater knit from Stonemountain & Daughter Fabrics (sold out. yellow version available here)

my dress: Forget Me Not Patterns Clementine dress (c/o)

Penny’s dress: self drafted

——————————————————————————————————

I recently was asked to review the Clementine dress from Forget Me Not Patterns, and here is what I made! The Clementine dress (or top) is a princess seam, fit and flare style, with the option for a scoop neck or cowl neck. I love a good cozy knit dress, so I was intrigued. Honestly, most of the tee dressed I tend to make and wear are loose fitted and swing-y. This style is very fitted in the bodice and arms, and then flares out from the waist. Different from I normally make, since it is so fitted up top, but I actually like the change and different addition to my closet. The fit ended up being perfect. I cut out my usual size, with no changes, and it fit like a glove. Even though it’s drafted for a B cup, my smaller A-cup bust still fit fine with no adjustments (and a padded bra haha). The only thing I would change for next time is to add a little bit of length. The pattern as-is, it ended up being just a taaaad bit shorter than I normally would like for my 5’6” height. Not too short by any means, just shorter than I prefer. I’m actually thinking I might make a short sleeve version later on for summer!

But for these ones, I chose a sweater knit fabric from my stash that had just enough stretch to really work for this type of fitted garment. I was limited with the yardage I had. So in order to squeeze out a matching dress for P, I had to cut the front bodice for her as two pieces, instead of on the fold. So there is a cetner front seam. But I kind of like the little detail! I also didn’t have enough for the back bodice, so I cut it out of a solid black knit instead for a contrasting panel. Cute, right?!

Oh, and one more thing - did I mention the Clementine dress pattern has pockets?! I actually had to leave them out (I know, for shame!) because of fabric yardage limitations. Although I relaized after the fact that I could’ve easily just used the solid black fabric that I used for P’s back panel. Doh! Definitely something I will actually be including next time.

hanndmade wardrobe // family holiday robes

pattern: Simplicity 9021 , also available at your local Joann store

mint sweatshirt fleece: Cali Fabrics

grey sweatshirt fleece: Fabric Mart Fabrics

buffalo check flannel: Joann Fabrics

———————————————————————————————

** sponsored post **

Two of my favorite things are handmade gifts and matching with my mini. Even better? When we get Daddy involved!

If you’re trying to figure out what to gift someone this holiday, I’m here to tell you that everyone loves cozy pajamas and loungewear! Especially handmade cozywear. Whether you make them to gift to other people, or for you and your own family to match as you sit around the Christmas tree - can anyone really resist some matching pajamas? Even if you’re a beginner, you can find some super easy-to-sew patterns from Simplicity or McCall’s. Think - some fun basic drawstring pajama pants in a quirky holiday print- super easy and a great beginner project! Or maybe you want to step it up a notch and try some fun matching zip-up onesies. Or you could go the route I did and go for matching robes!

So about these robes. I loooooooooove how these came out. And yes, the pattern is considered an easy-to-sew pattern. It can be a bit intimidating just because it does take a lot of fabric to make a robe, especially a family of robes, but the construction is simple and easy. I would still recommend it to someone at a beginner level. And it is double layered/reversible, so you don’t have to worry about seam finishing and making the inside look pretty because everything is enclosed and hidden! The only thing i would suggest, because it is two layers of fabric, is to choose one thicker cozy fabric, and one lighter-weight fabric. I originally was going to go with two contrasting thick fuzzy fleeces, but I think that would’ve been a loooot of fabric. I’m glad I went with the sweatshirt fleece on one side and lighter flannel on the other. It’s a good balance! I cut and XS for me (my usual size), a S for Zach, and the smallest size for P, which I think is closer to a size 5. Yes, I technically could’ve graded the pattern down to a size 3. But I figured - its a robe, its supposed to be big and comfy. Plus, she’ll get a lot more wear out of it if I kept it a bit bigger. So all I did is take off a couple inches off the bottom hem so it wasn’t too long, and about an inch off the sleeve hem. It’s actually perfect! I’ve had these finished for about 5 days now, and at least one of us has been wearing ours every time we are at home lounging. I have a feeling that they will be getting a lot of wear and love this winter.

Now let’s talk about another aspect of this kind of gift - customization! While I love being matchy matchy, I also having little details to make each piece specific to each person. So for ours, I decided to embroider ‘mama’ ‘daddy’ and ‘Penny’ on each of our robes? And guess what? Even this shouldn’t be intimidating for a beginner. I have actually never hand embroidered before this - this was my first time! I decided to just go for it and try, and honestly it was a lot easier than I thought and turned out pretty good, if I do say so myself. I’m pretty proud of them!

Now scroll down to see just how cute a three year old looks on her own custom bathrobe. I’m telling you, it is next level cute.

handmade wardrobe // family Hudson pants

all three sweatpants: Hudson pants, men’s Hudson pants, and mini Hudson Pants by True Bias, in a navy blue terry velour from Style Maker Fabrics

———————————————————————————————

Zach has been bugging me to make something for him for awhile now. I mean, I am always sewing for me and P, it’s about time I incuded something for him. And of course, I couldn’t make something for just him - I had to take the opportunity for all of us to match! The Hudson Pants were the perfect project for this since it comes in sizes for the whole family.

I’ve made one pair for me before, so I knew the sizing was perfect for me in the women’s. Zach fell in between sizing in the men’s, so I went with the bigger of the two sizes, thinking that it was better for sweatpants to be a a little loose rather than a little tight. He says he likes the fit, but they seem just a tad bit baggy to me, so next time I might try one size down for him. I also think I will make the pocket bags bigger for him next time. He always carries his phone in his pocket, and they are just a tad bit too small - his phone falls out in these ones. And lastly - Penny’s is pretty much perfect in the size 3! I just need to cut a smaller piece of elastic next time for her little waist. I really relied on the drawstring for these ones, tying them extra tight to keep the pants up on her. But the length and fit were perfect!

In general, this was a succesful project! I still have quite a bit of this terry velour left, so I’m going to make us all matchig sweatshirts too, so we have full sweat sets haha. And I see more Hudson pants in our future. We are a lounge-y family, after all.

handmade wardrobe // Mommy and Me Tania

both of our sweaters: H&M

both of our culottes (not skirts!): Megan Nielsen Tania culottes and mini Tania culottes in a rayon blend dot print from Stonemountain & Daughter Fabrics

—————————————————————————————

Ok, I’m just going to start off by saying that I’m obsessed with this set of photos and these outfits! I mean, look at that chunky sweater on Penny, omg.

But anyway, could you guys tell that these were both culottes and not skirts? That’s my favorite thing about this pattern. Look Ma - they’re pants! And guess what, Megan is currently offering Mommy & Me bundles for both the adult and mini patterns! So now is your chance to grab them now, If you want to try some twinning, too.

handmade wardobe // checks and apples

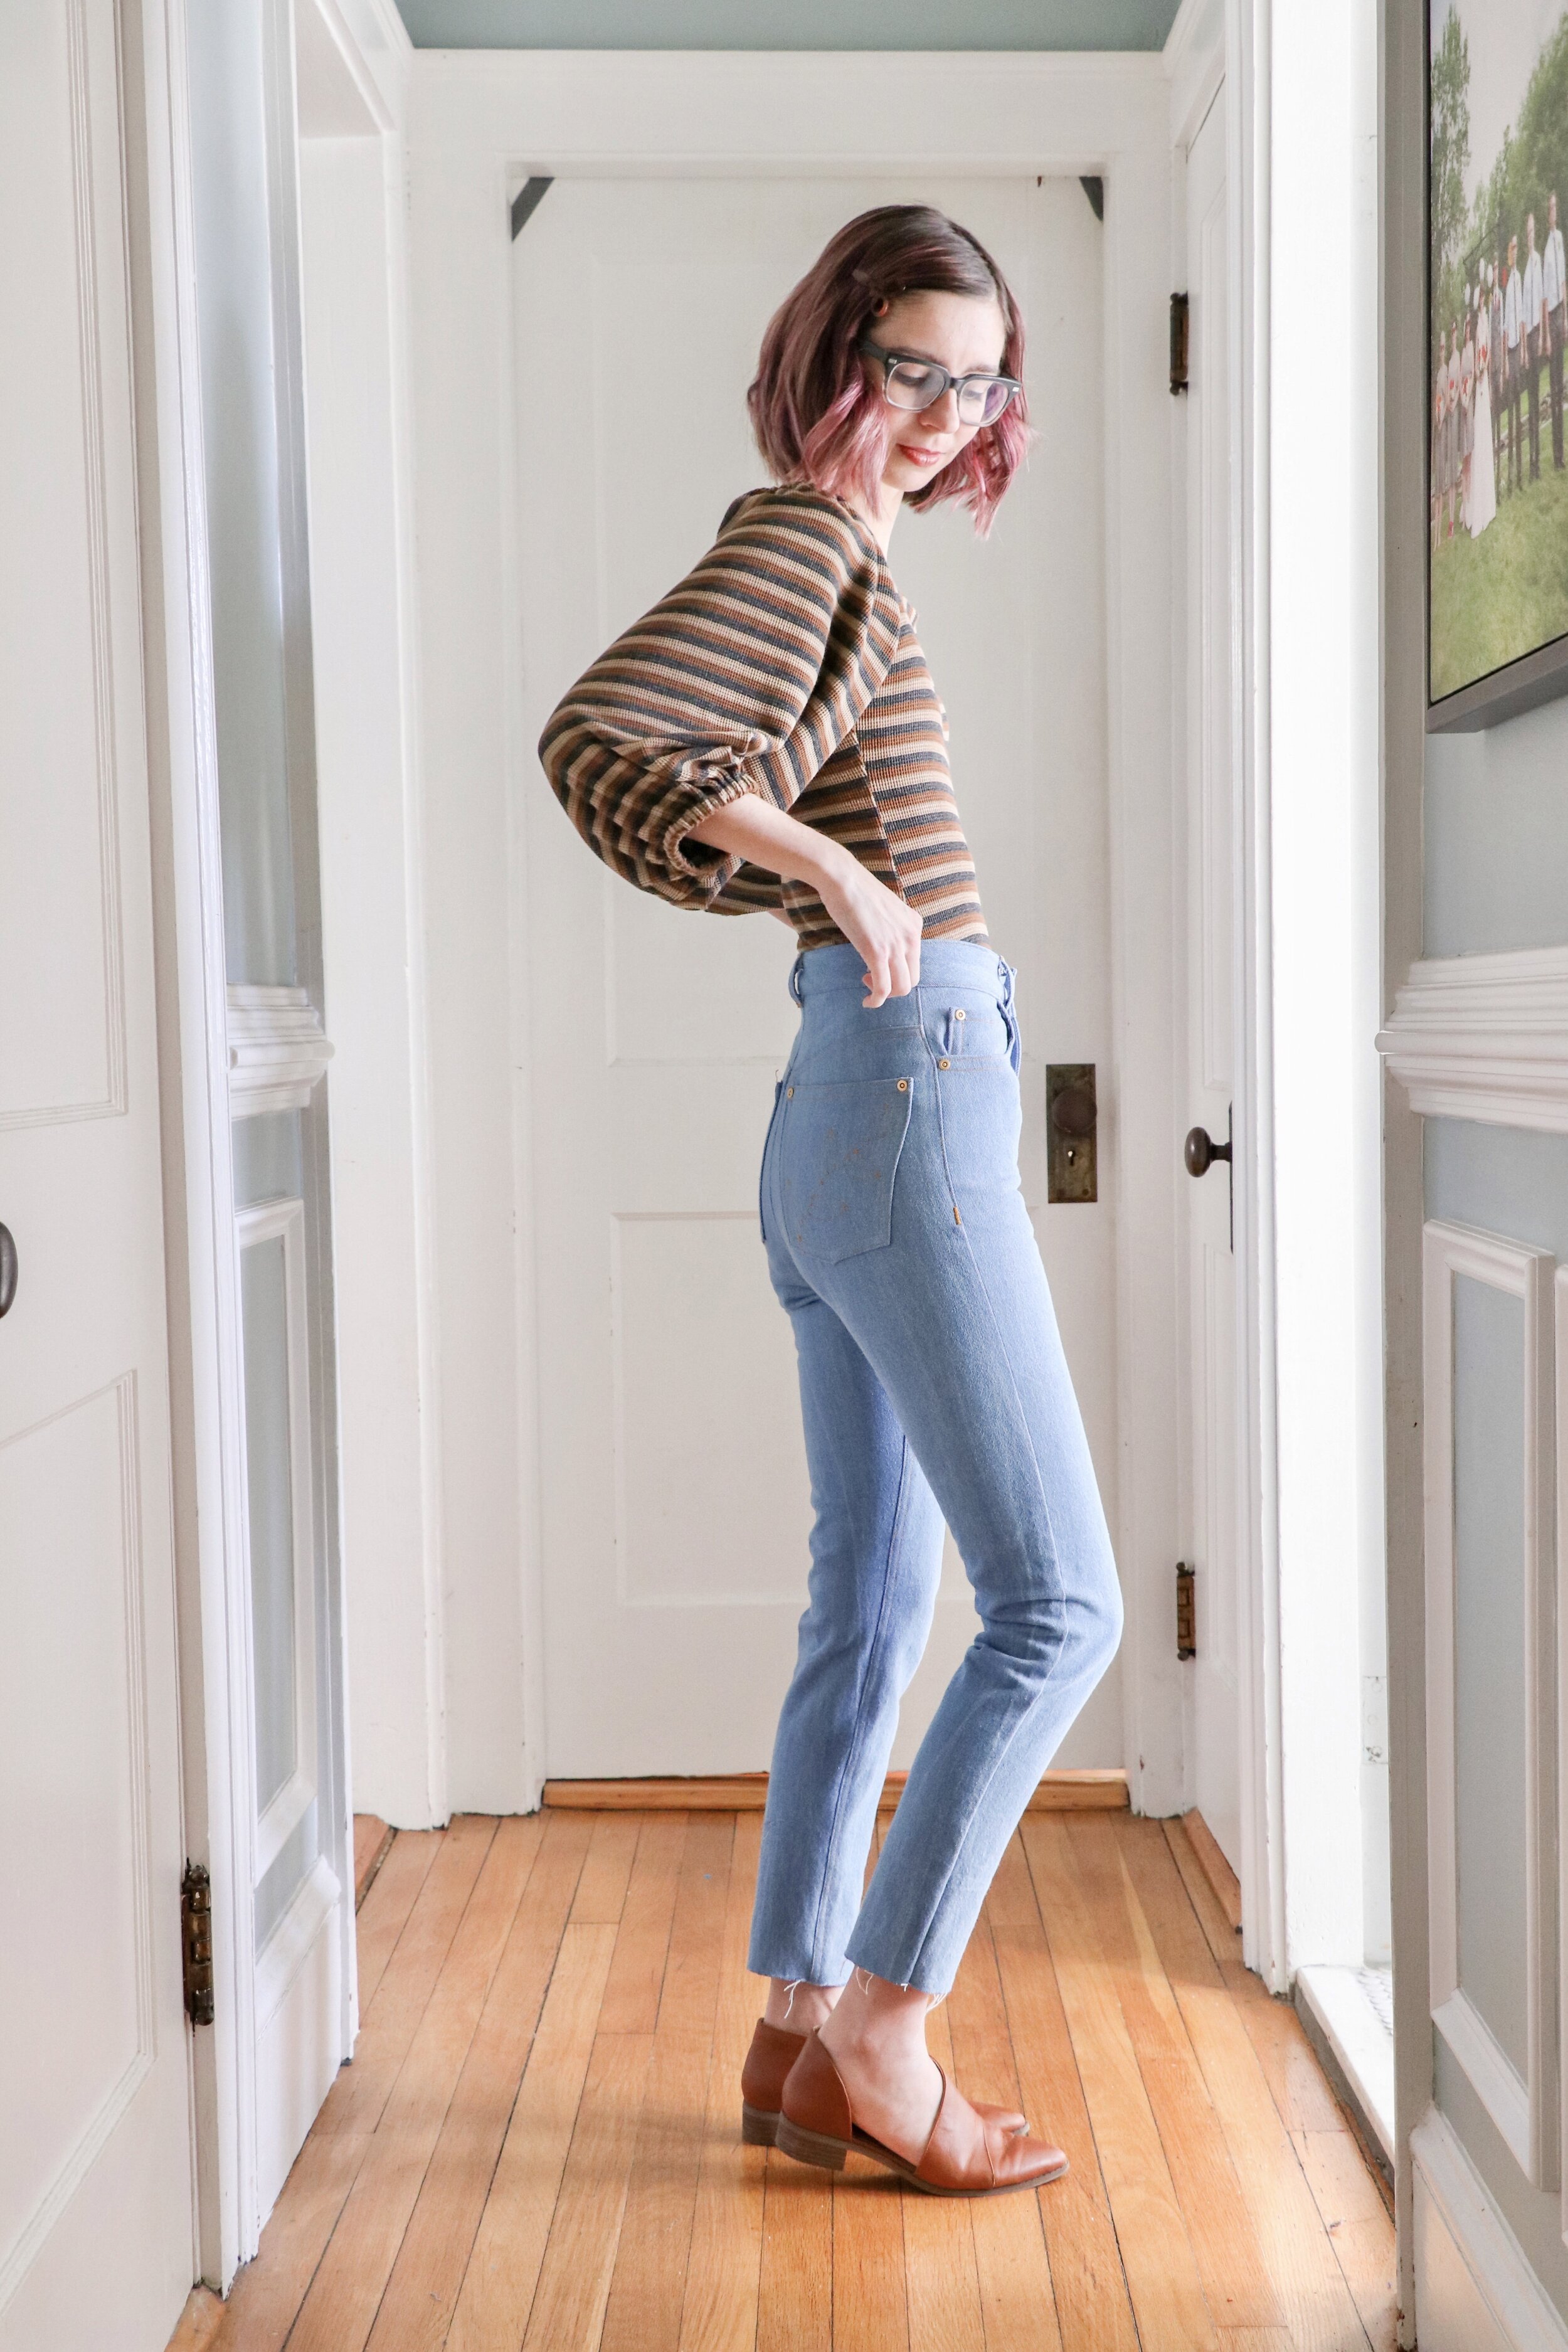
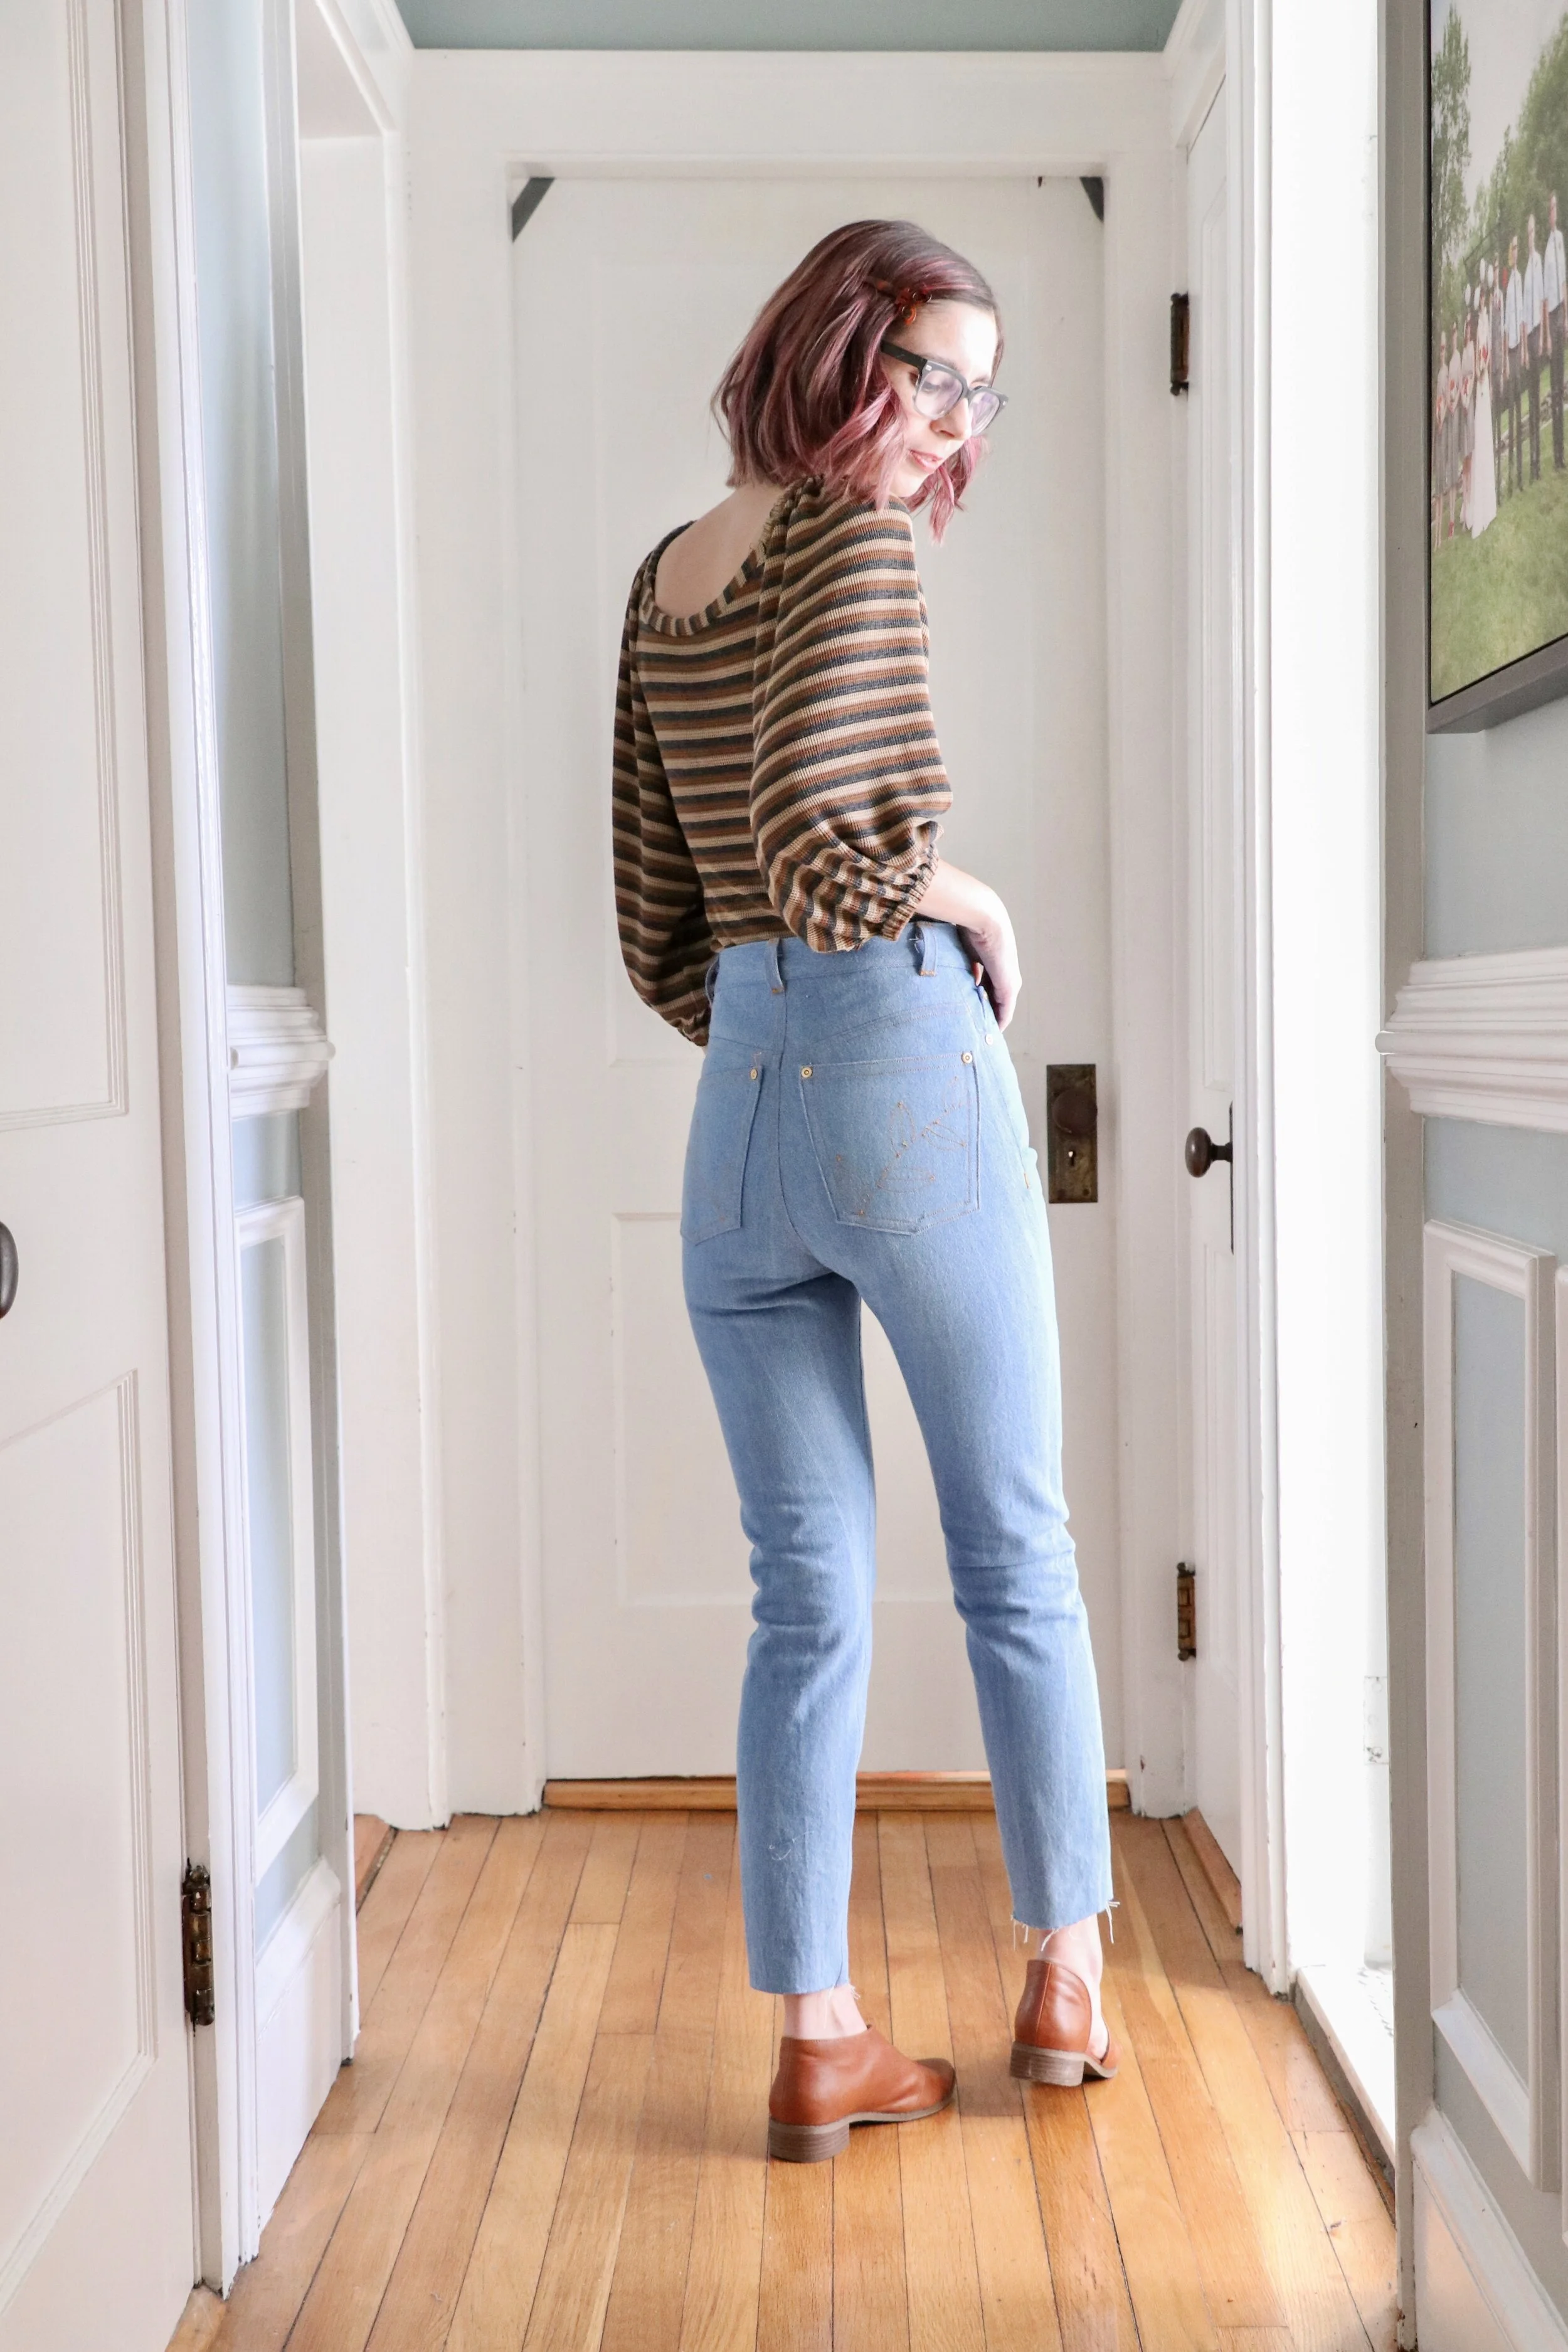
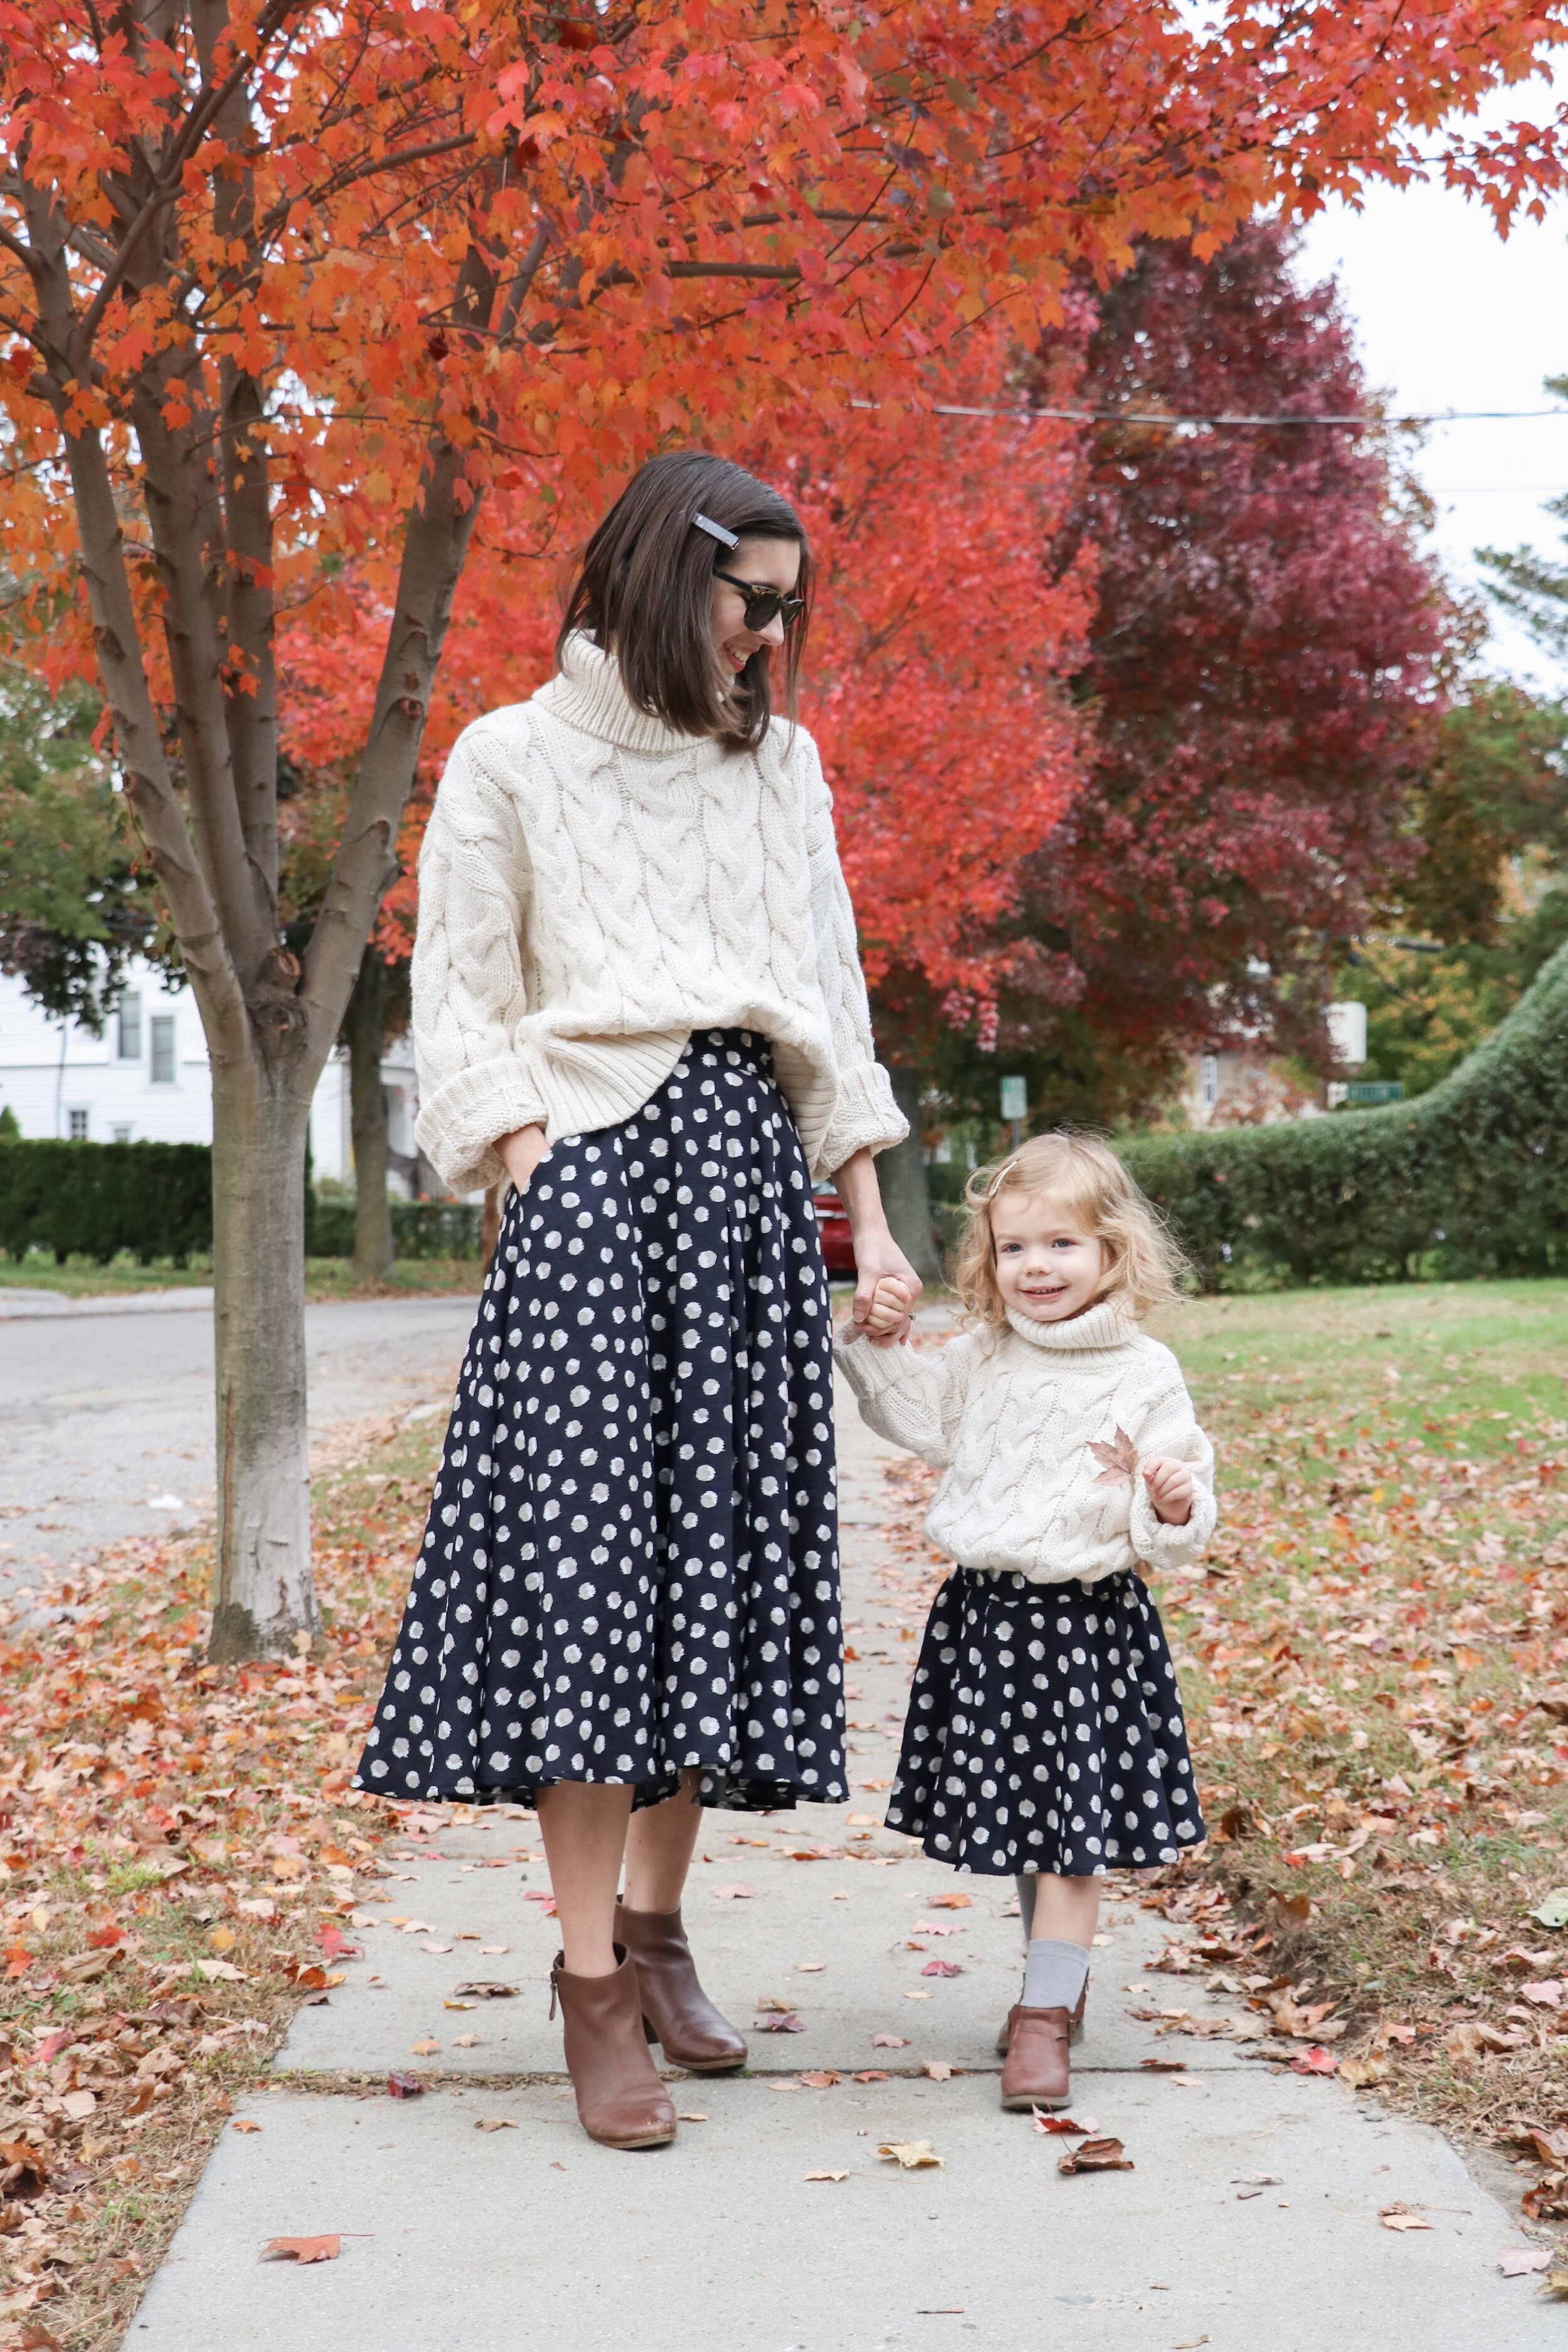
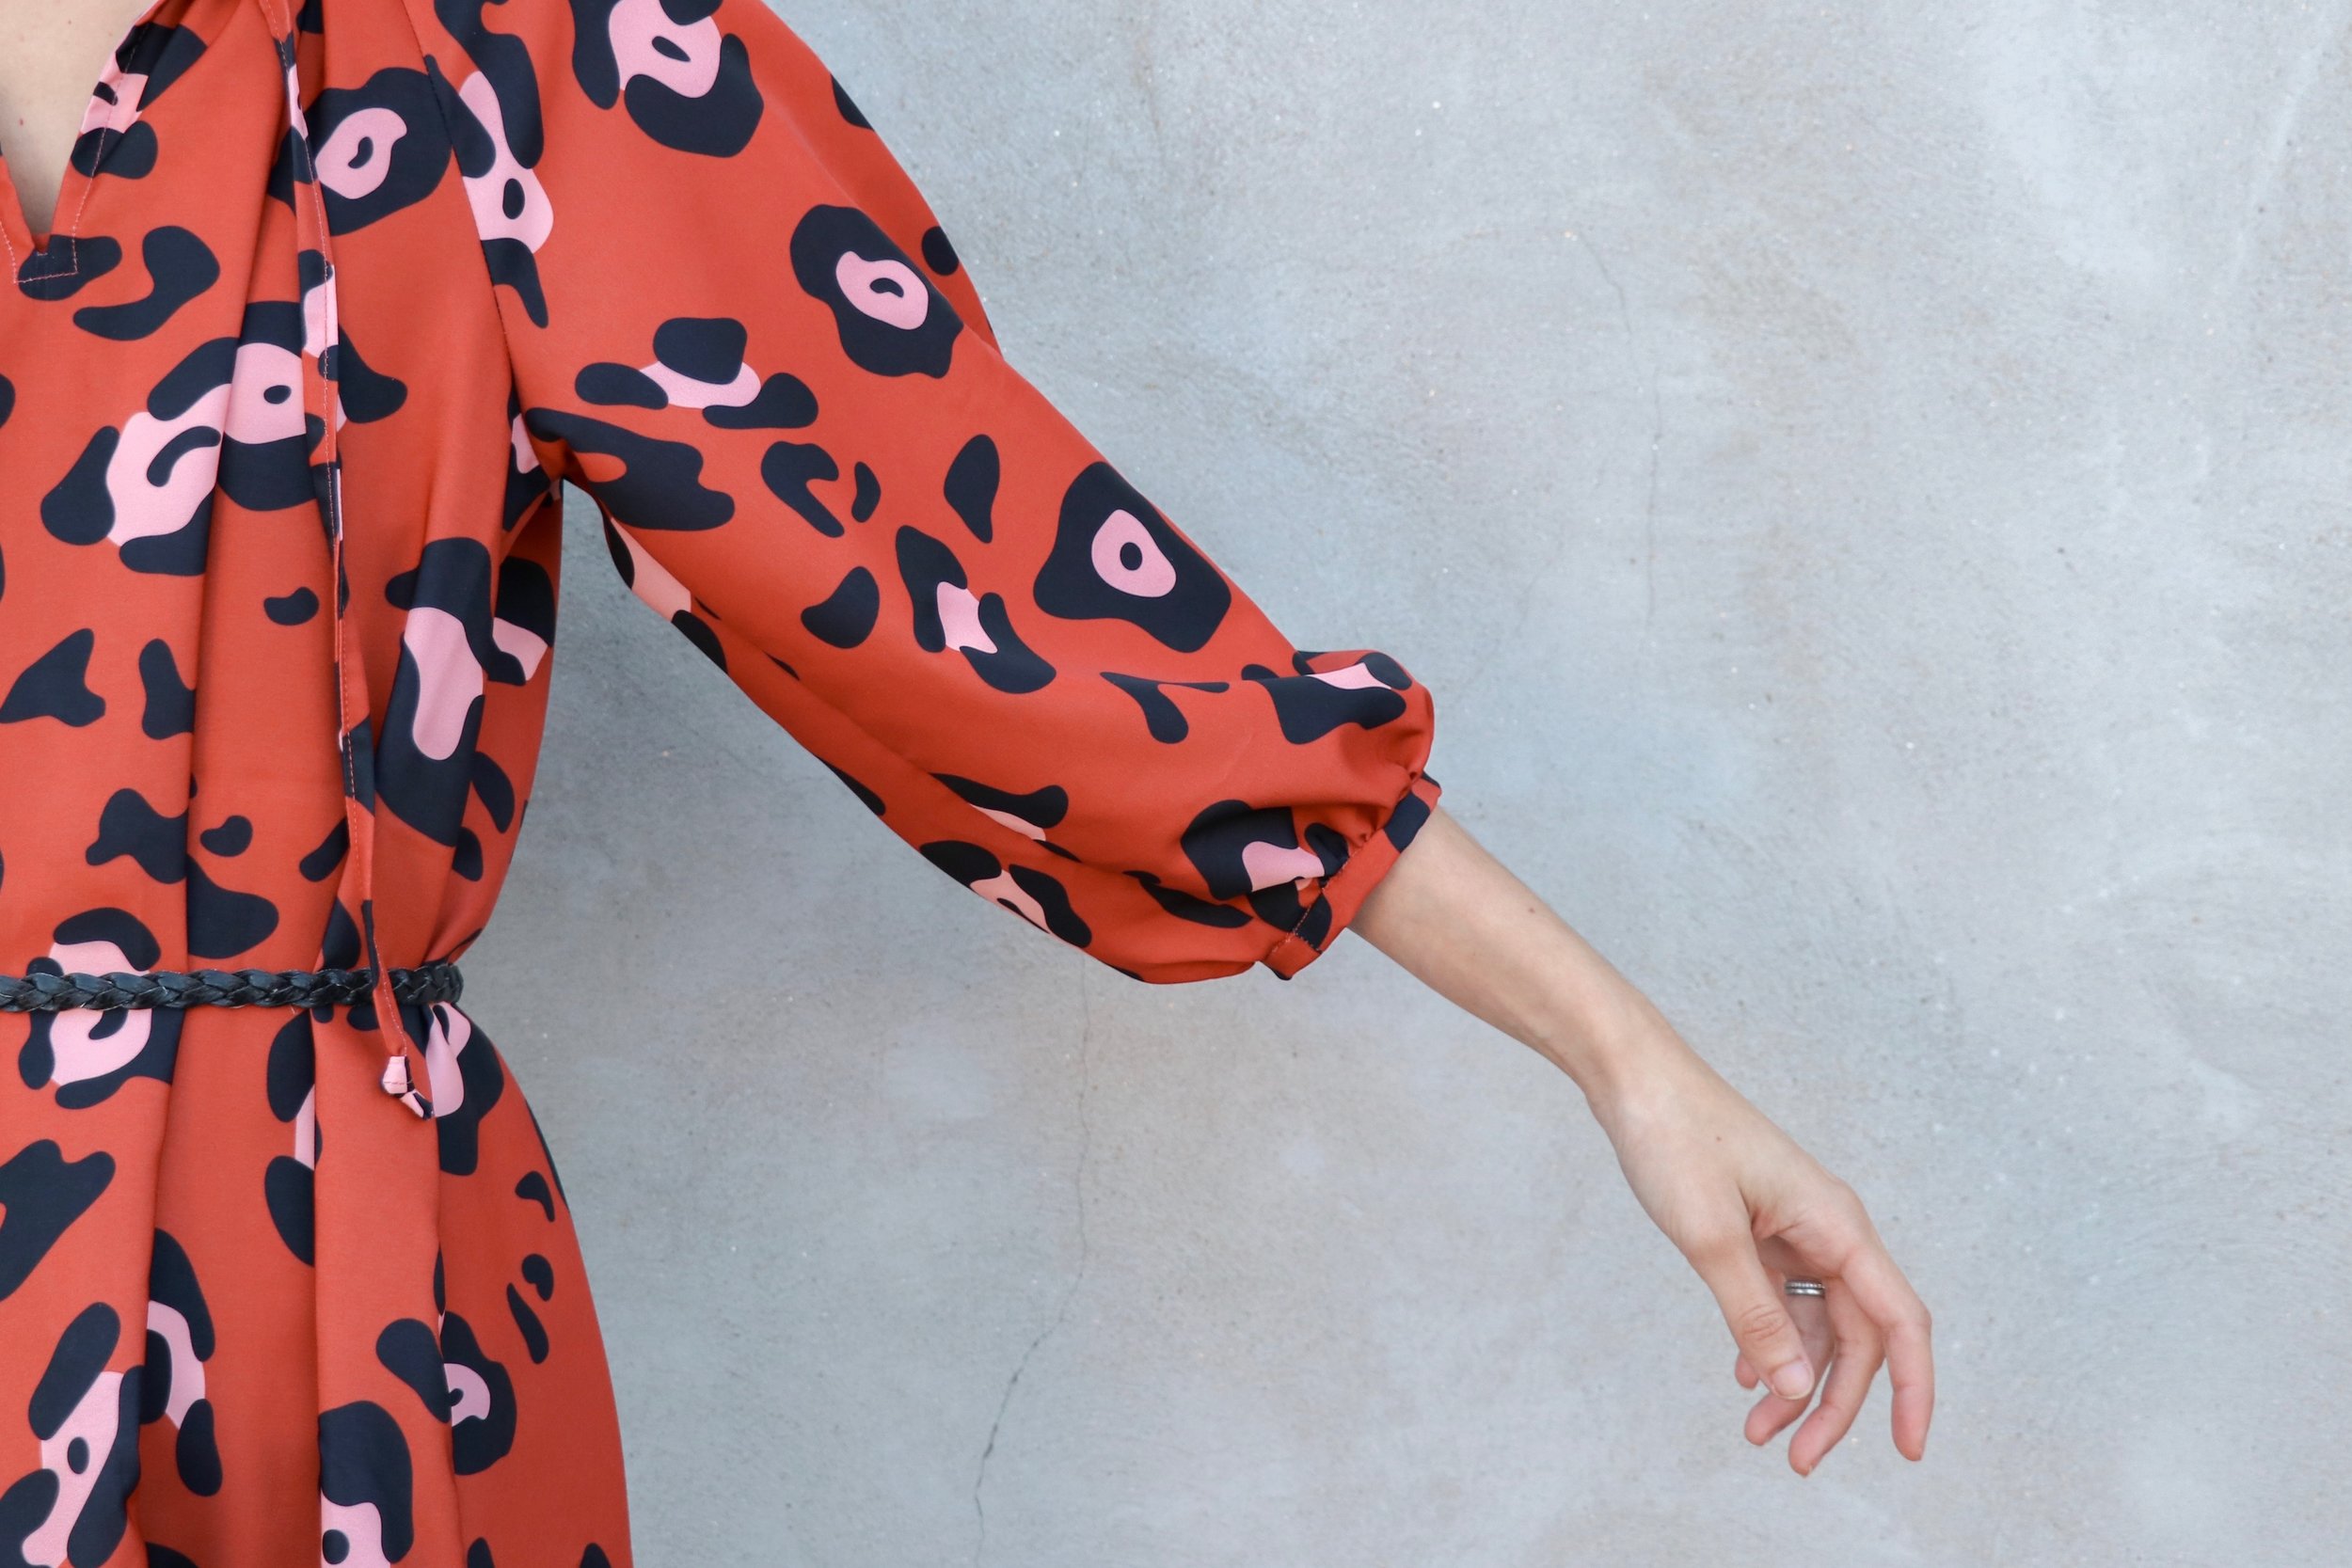
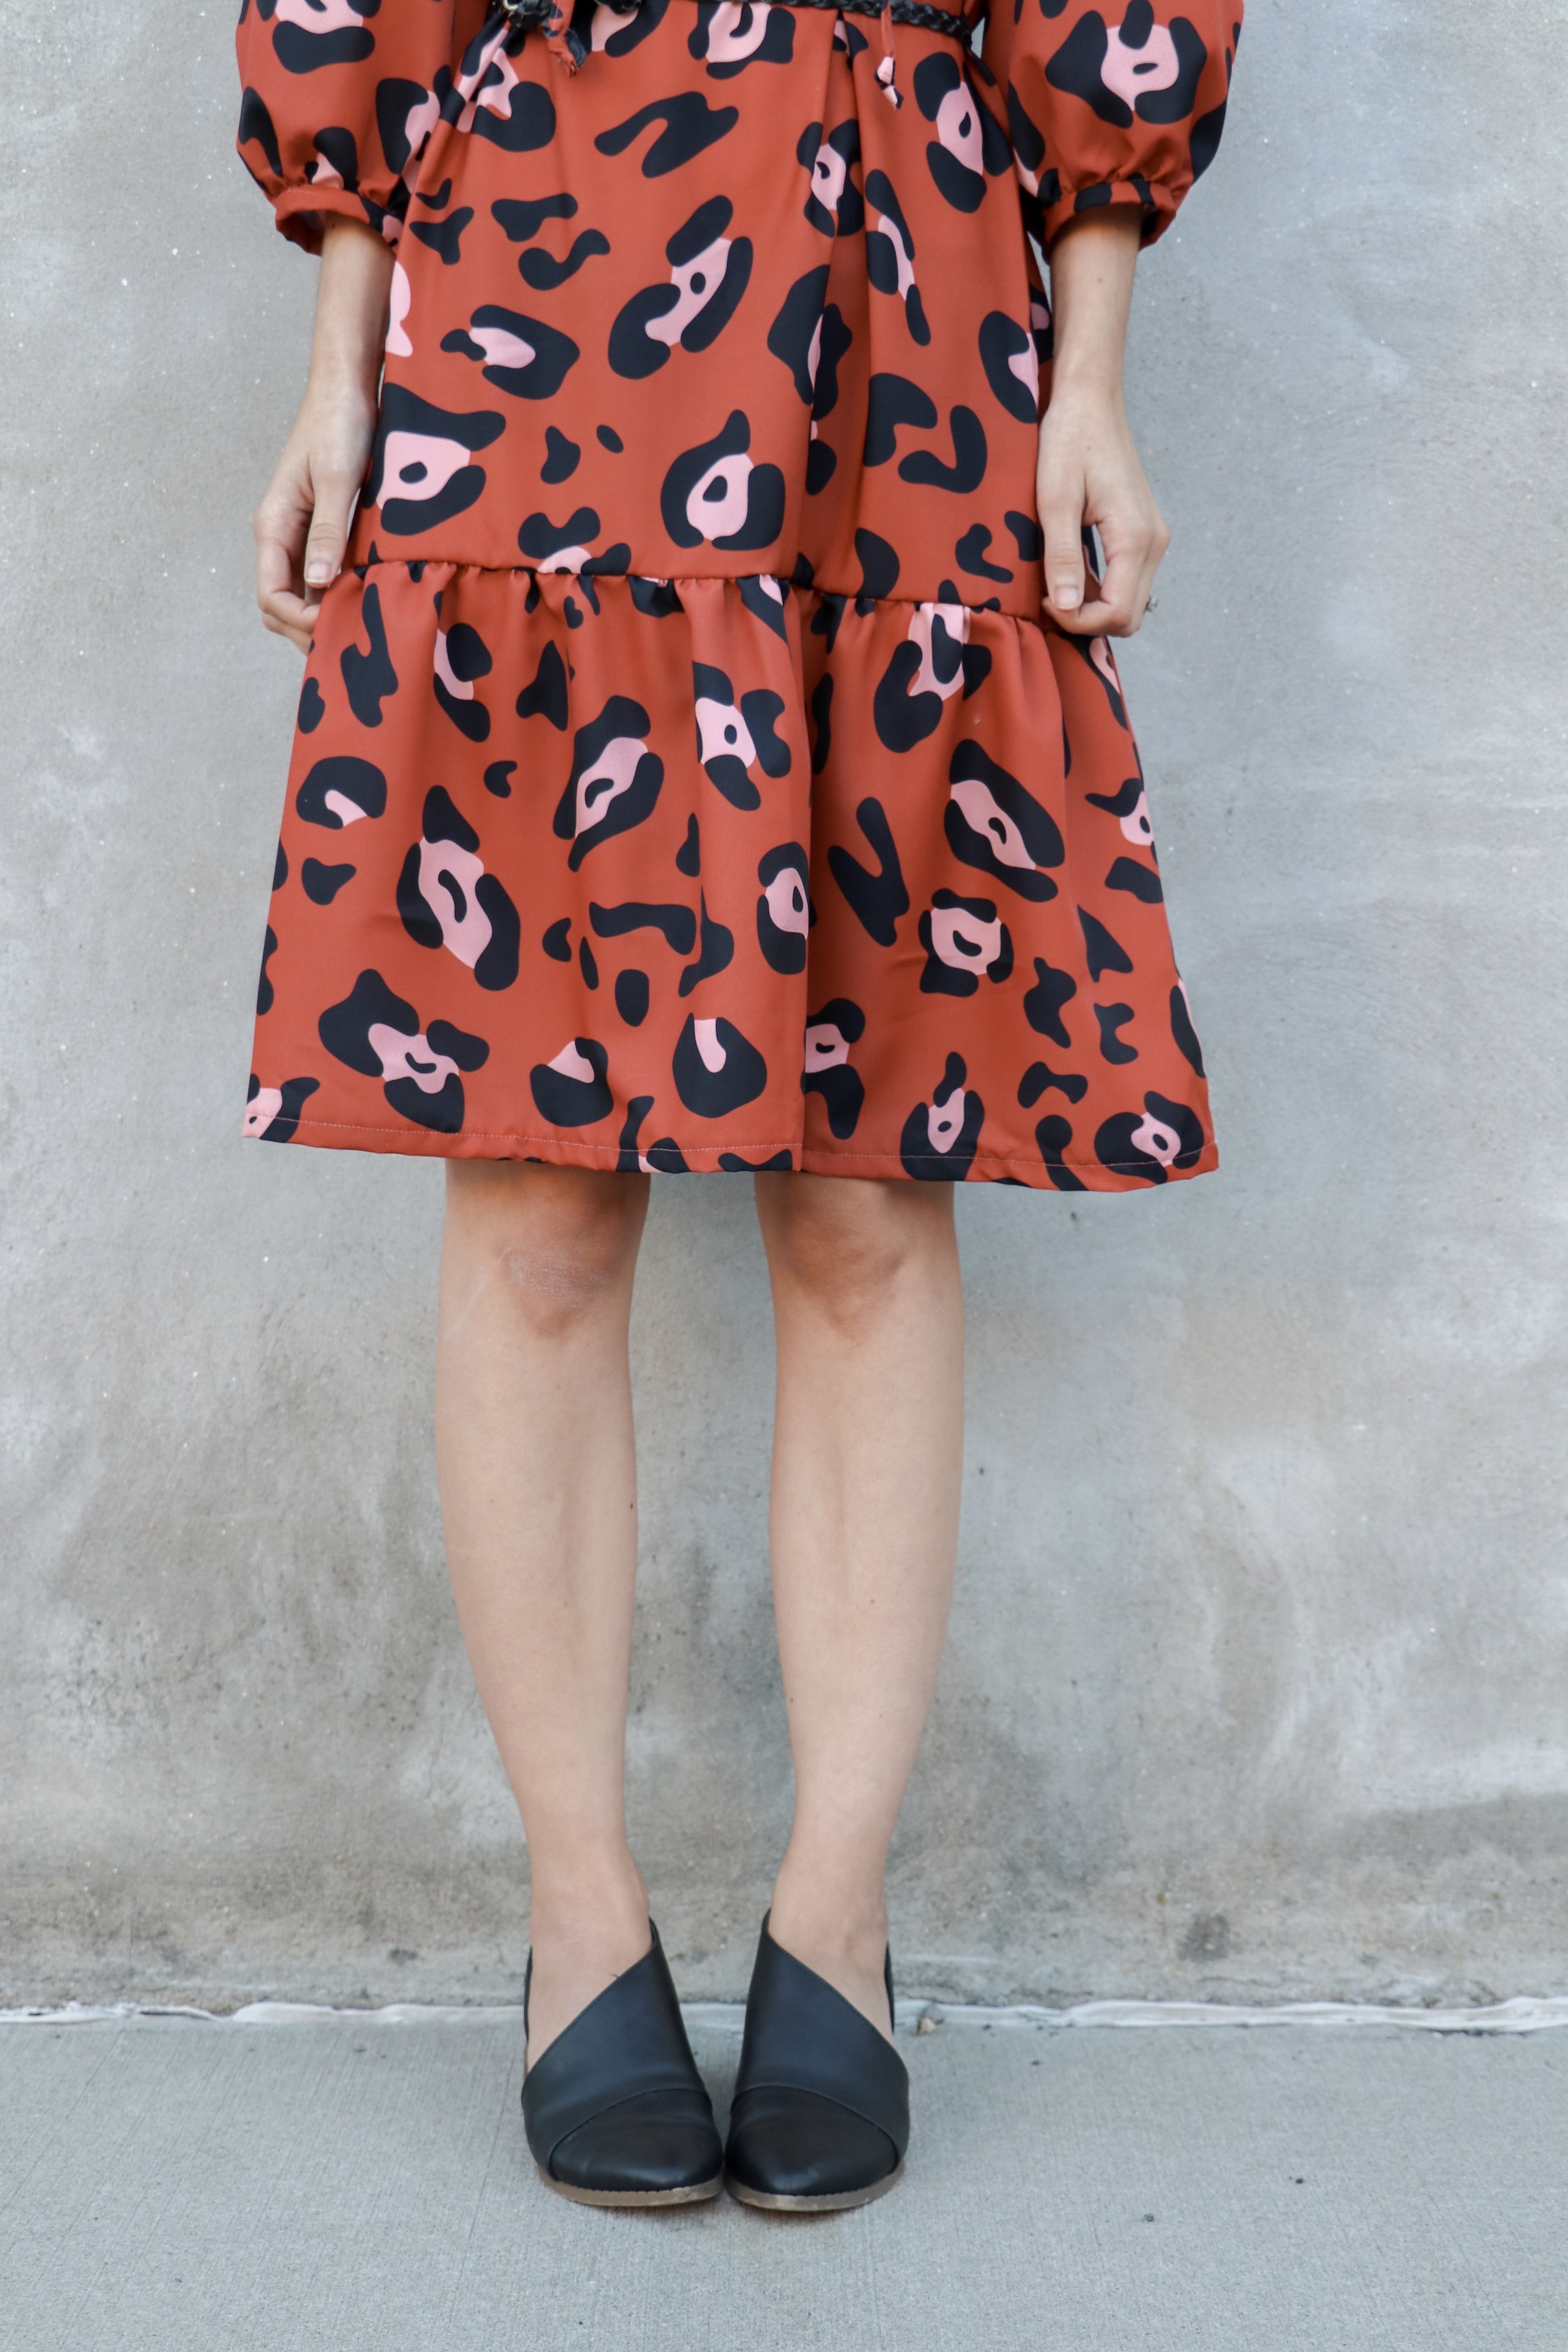
my overalls: Marilla Walker Roberts Collection dungarees in gingham seersucker (plus lining) from Stonemountain and Daughter Fabrics

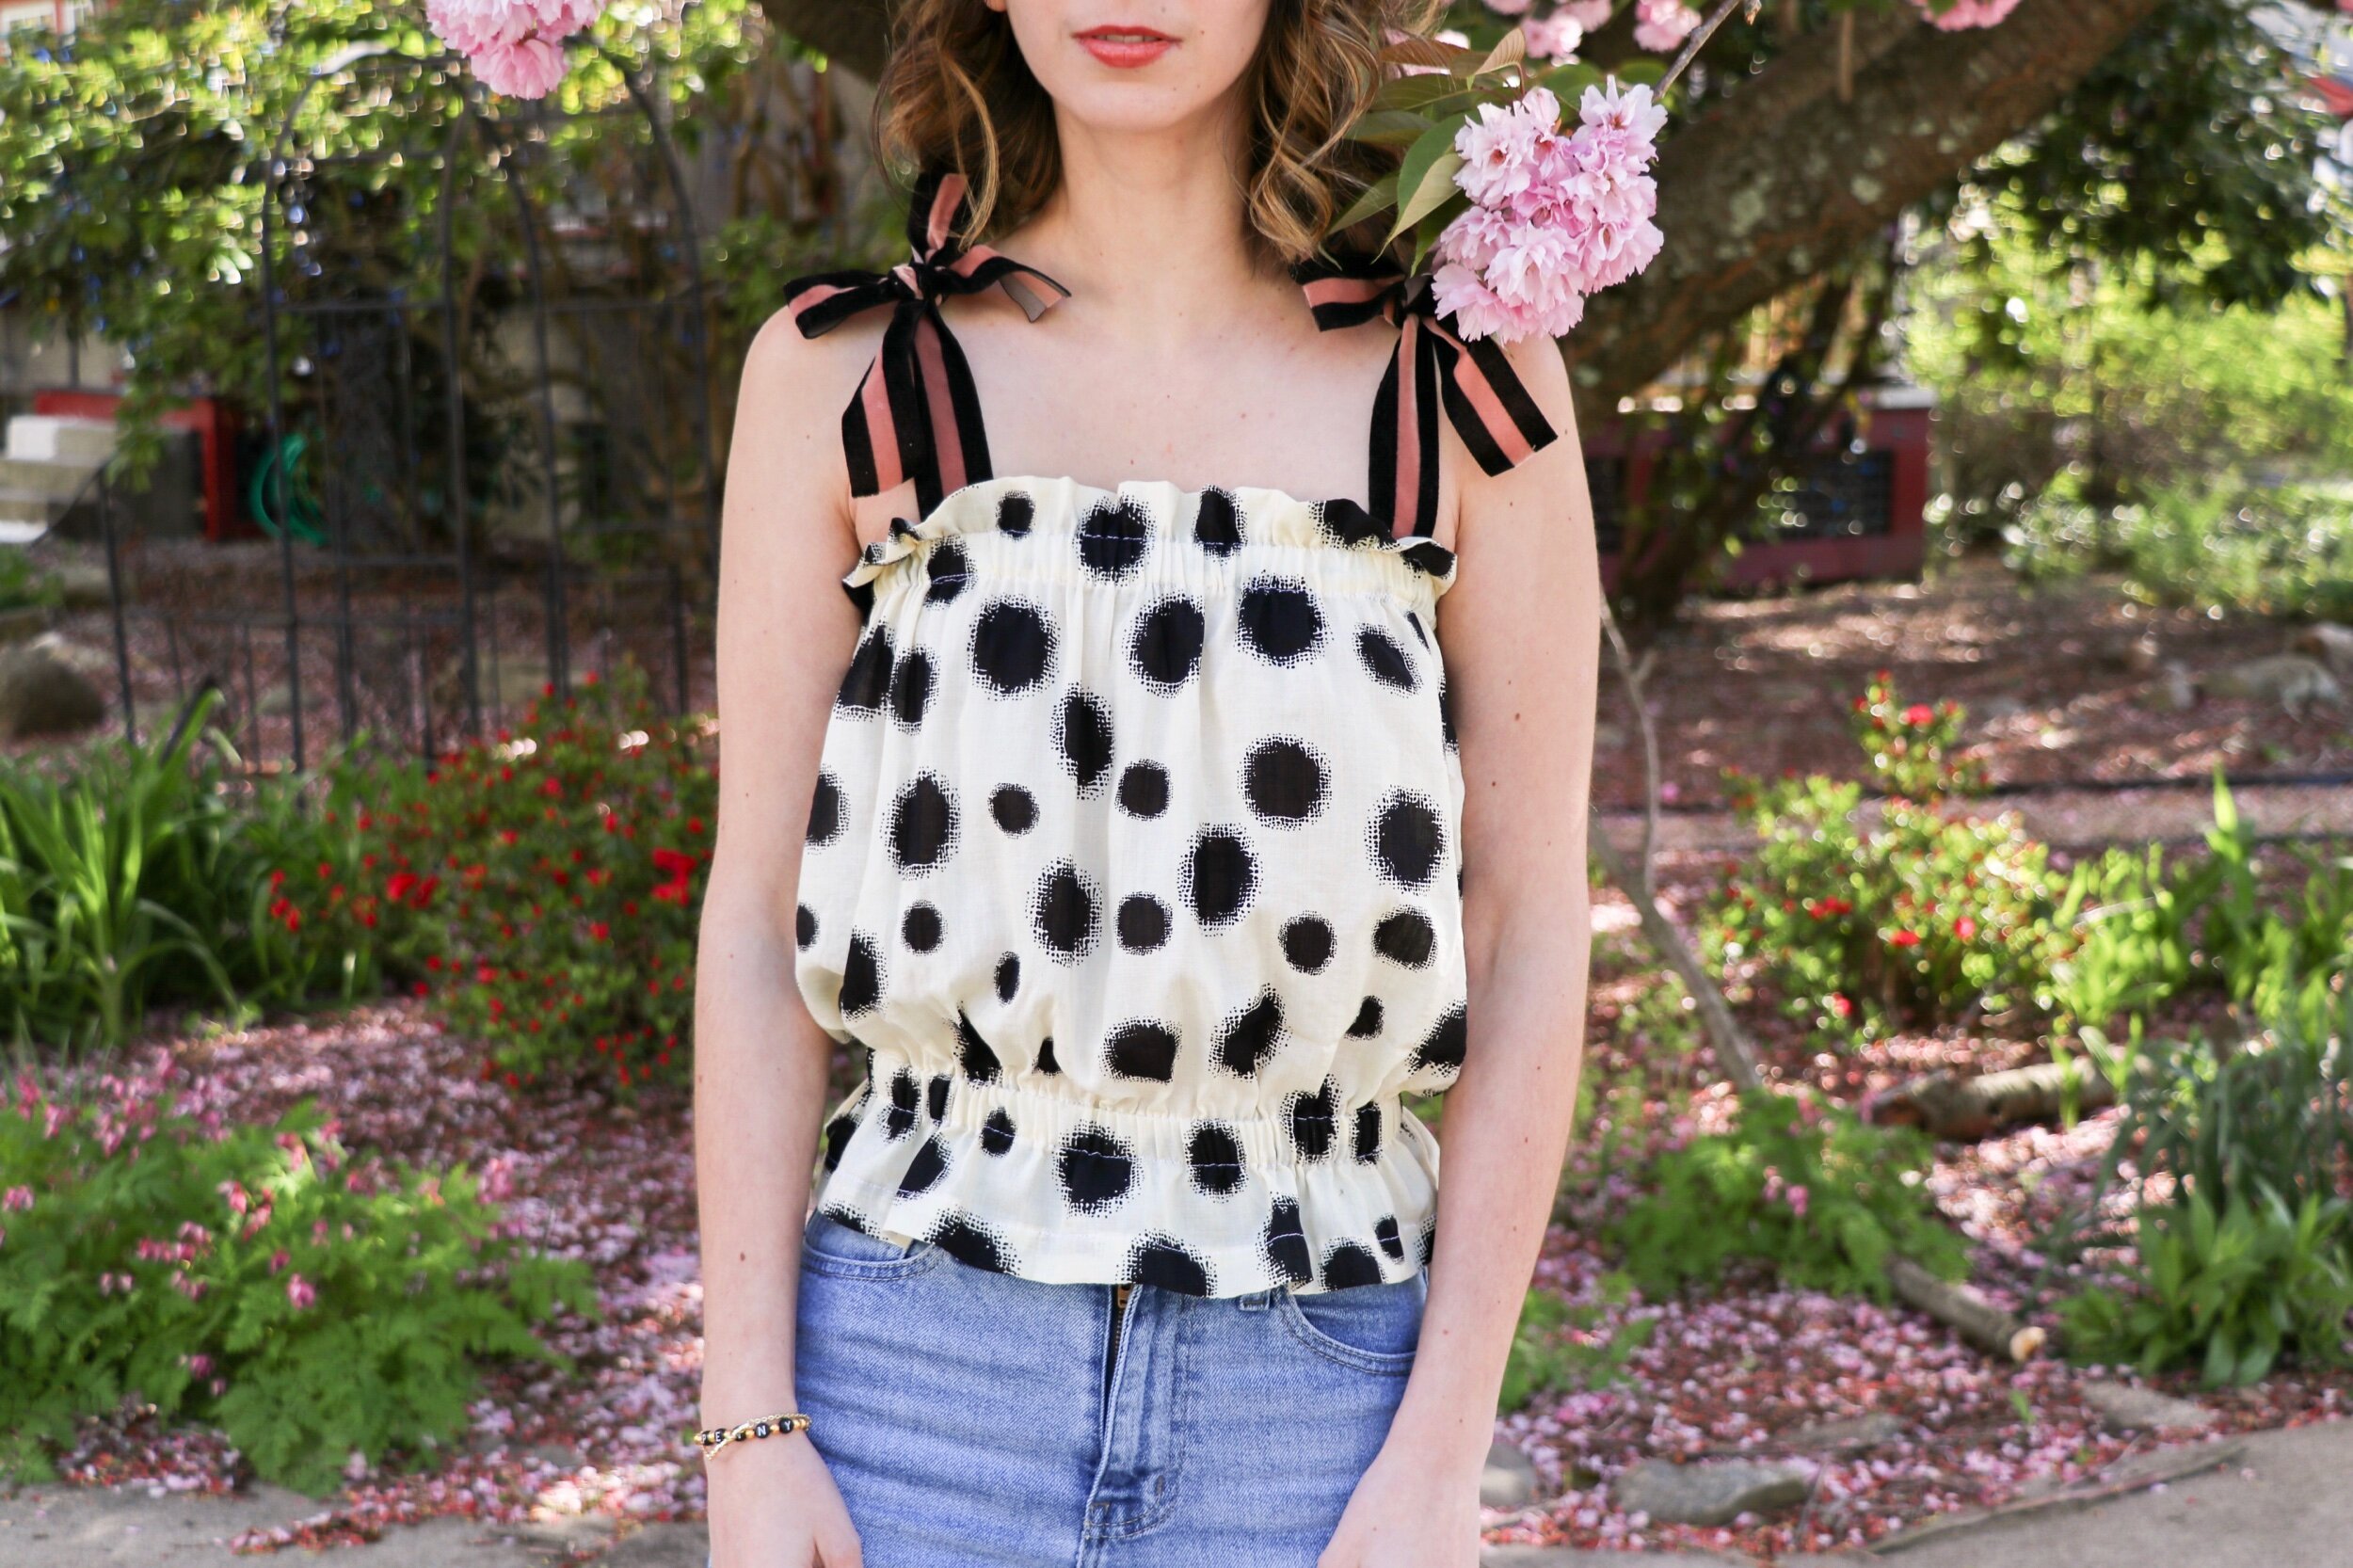
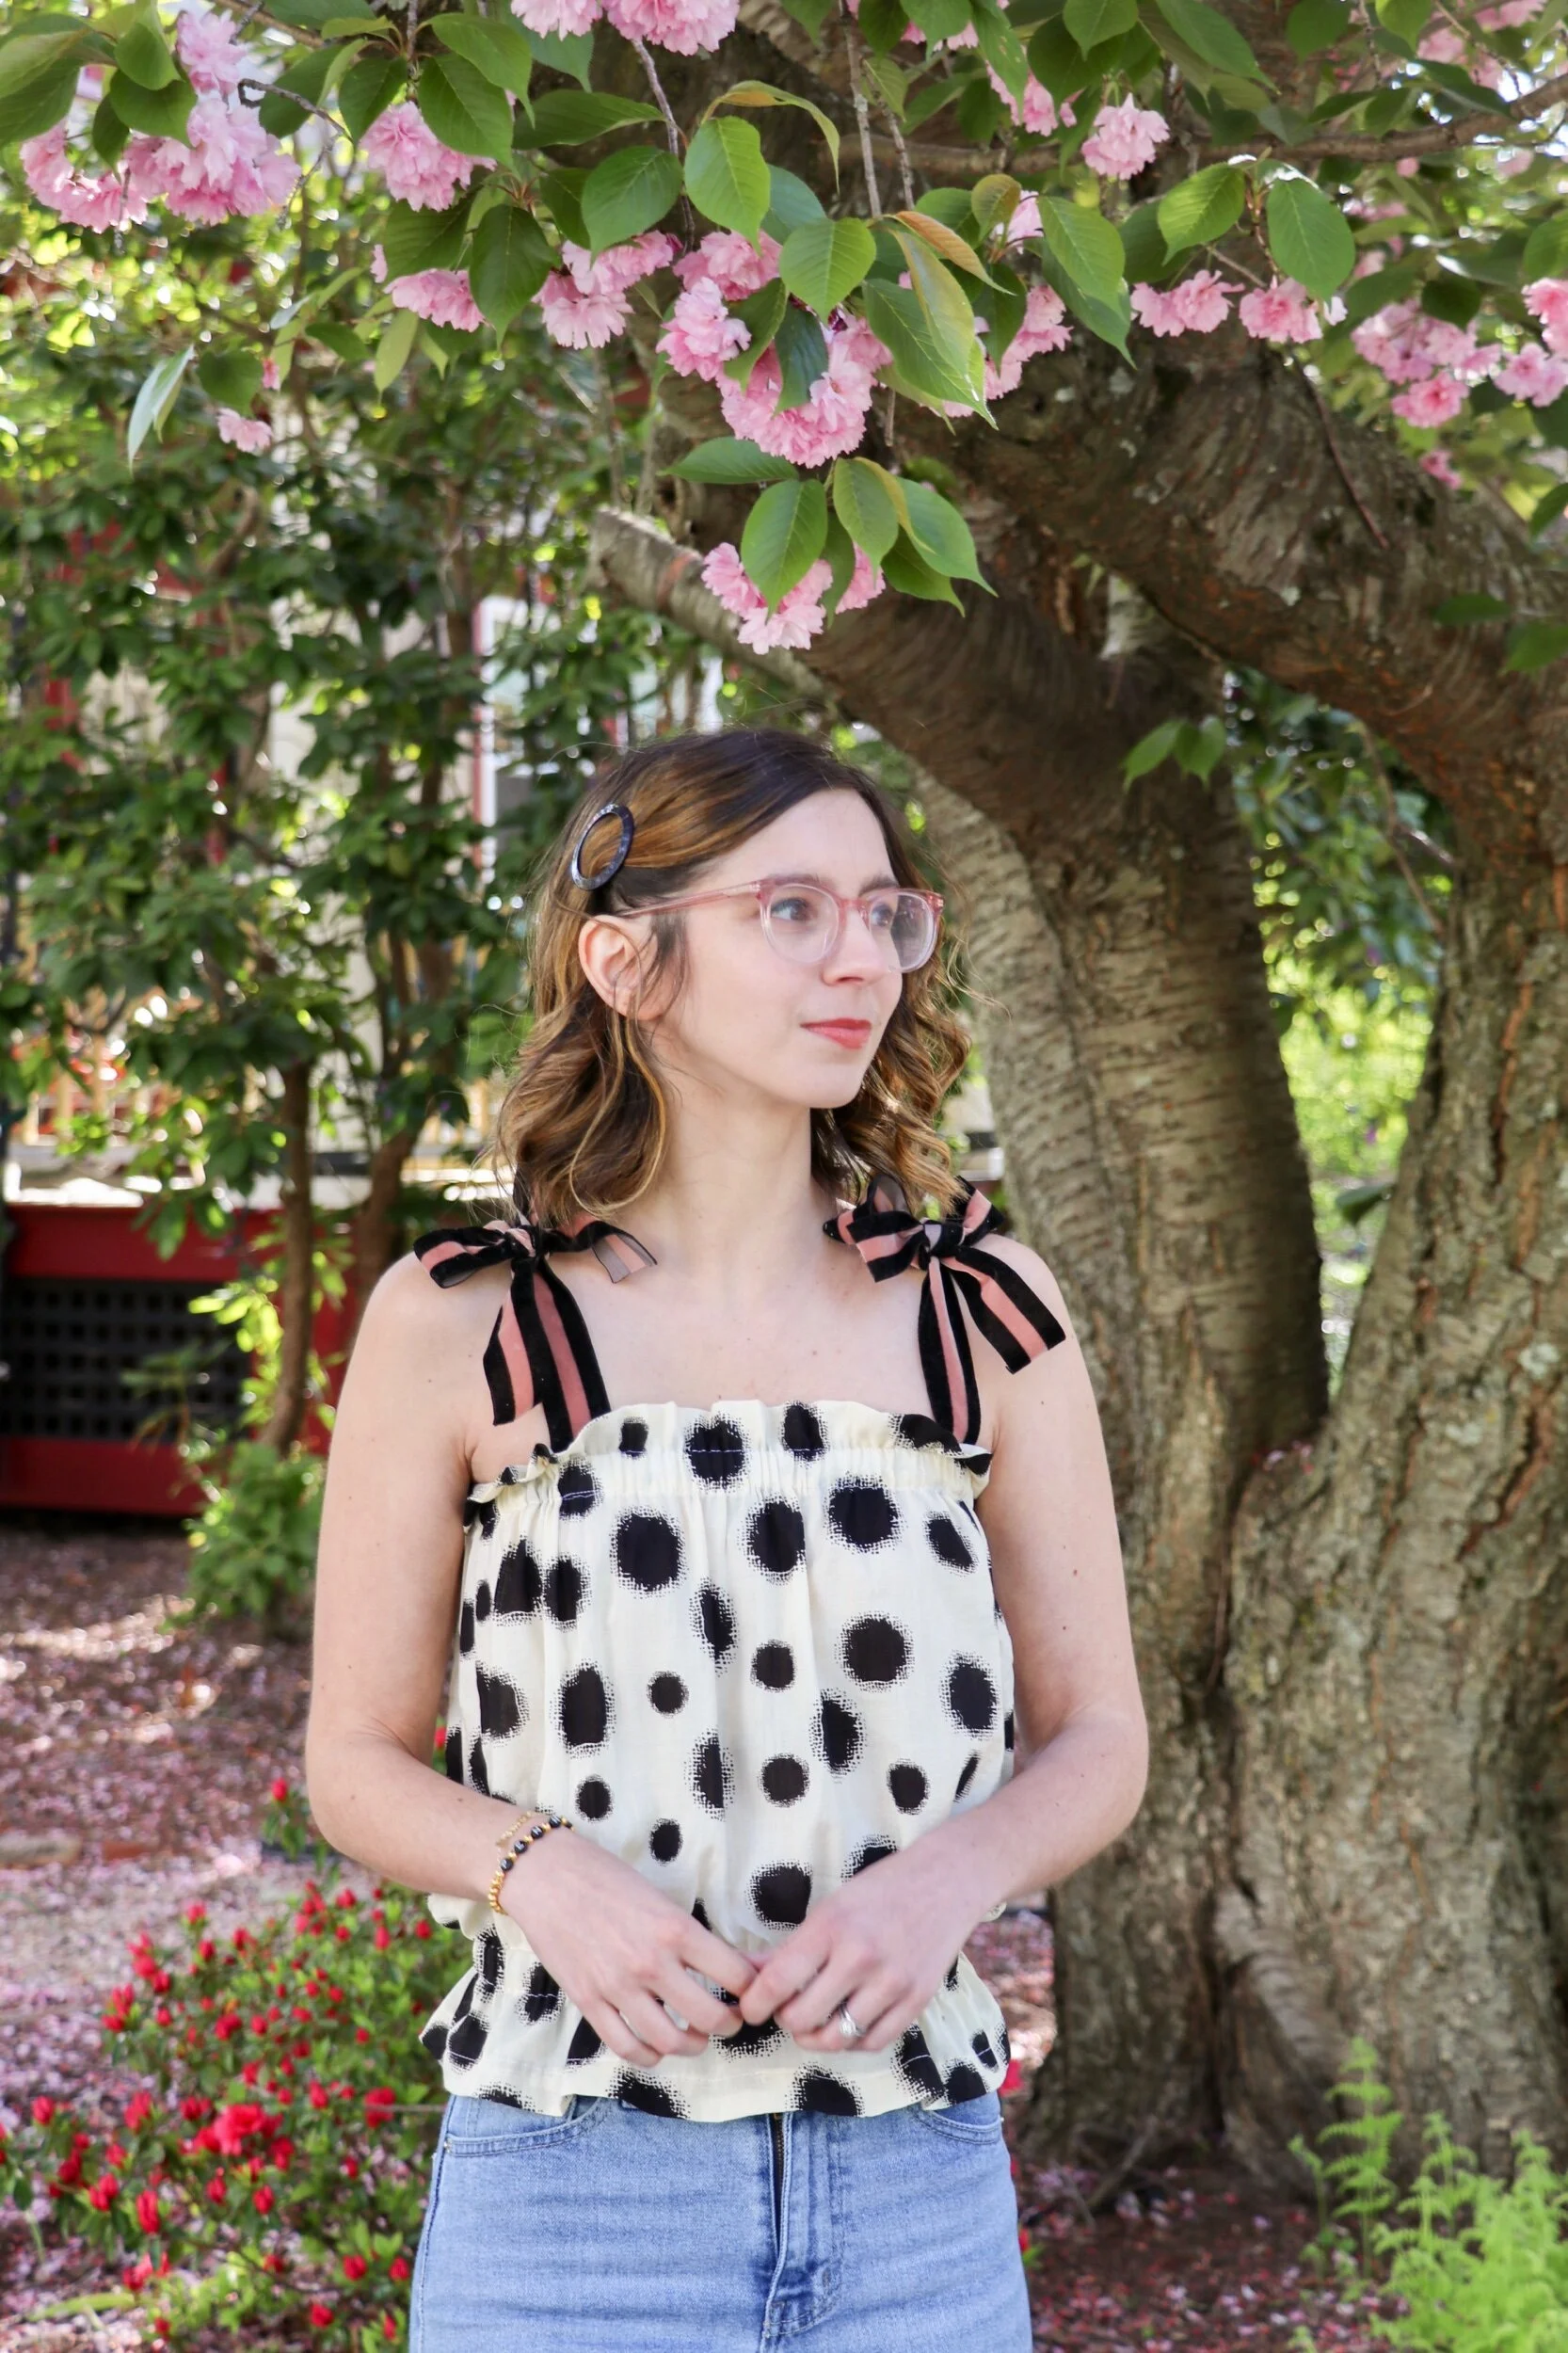
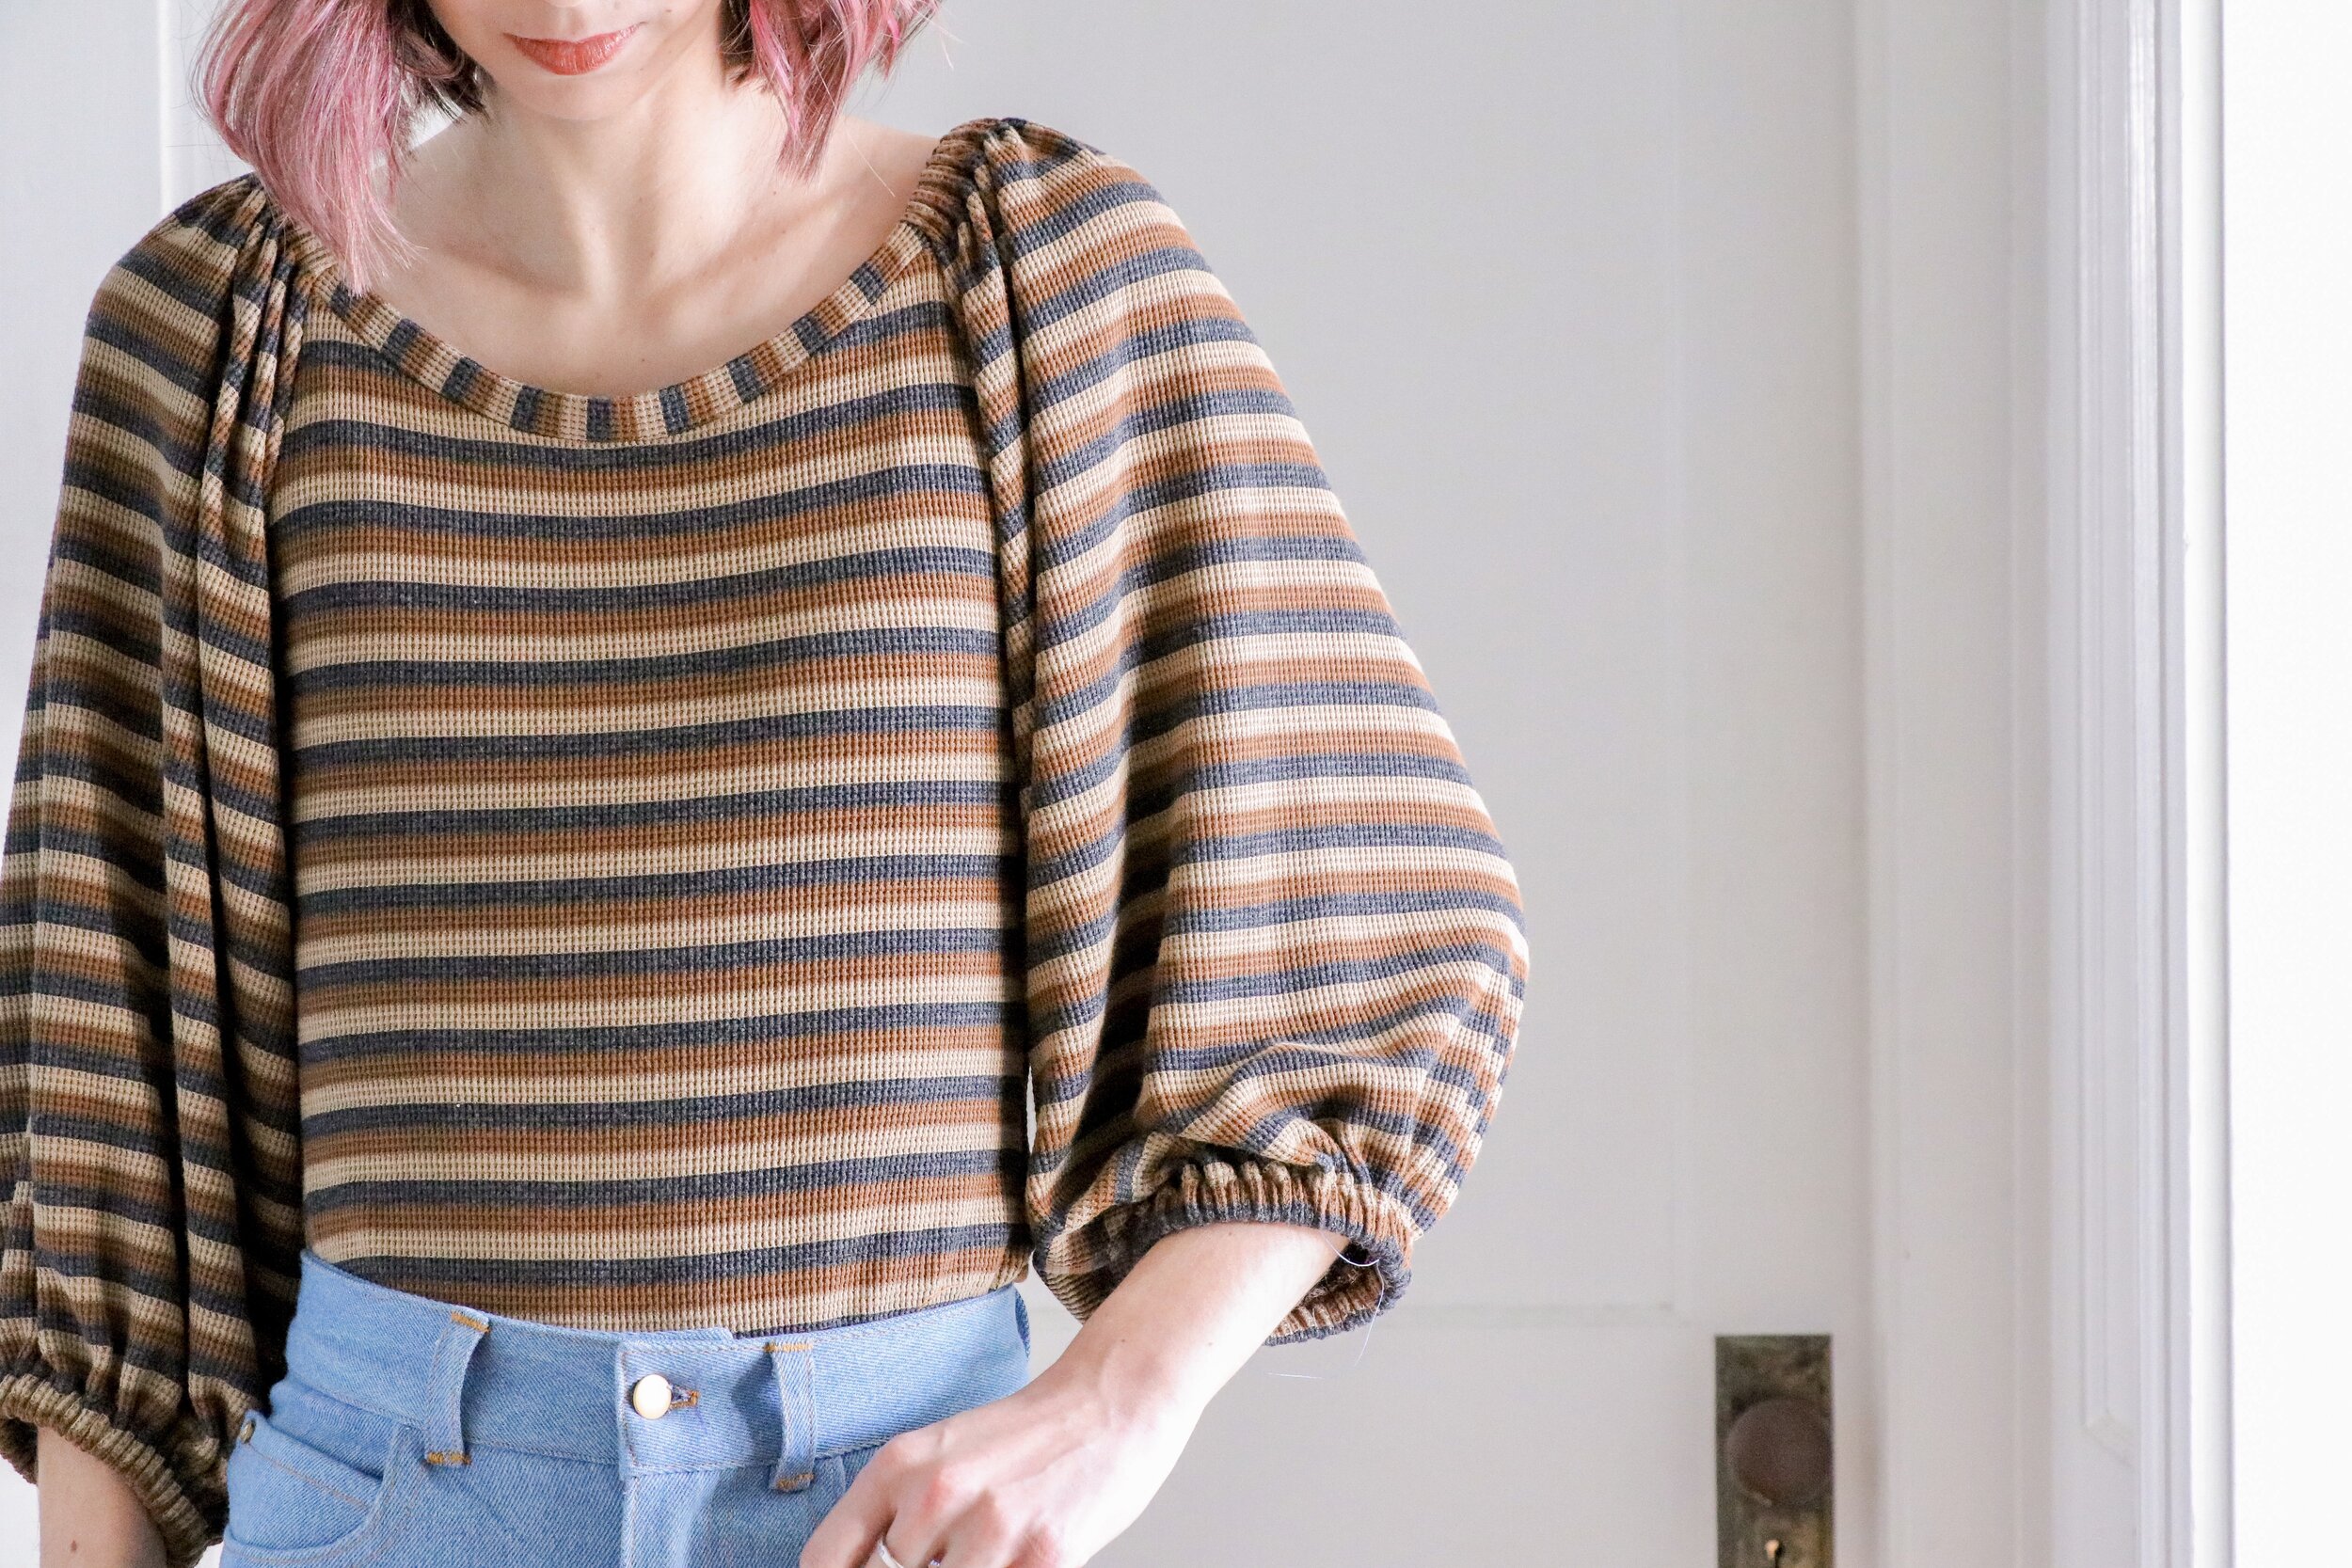
my top: Friday Pattern Company Adrienne Blouse in a cupro modal knit from Style Maker Fabrics

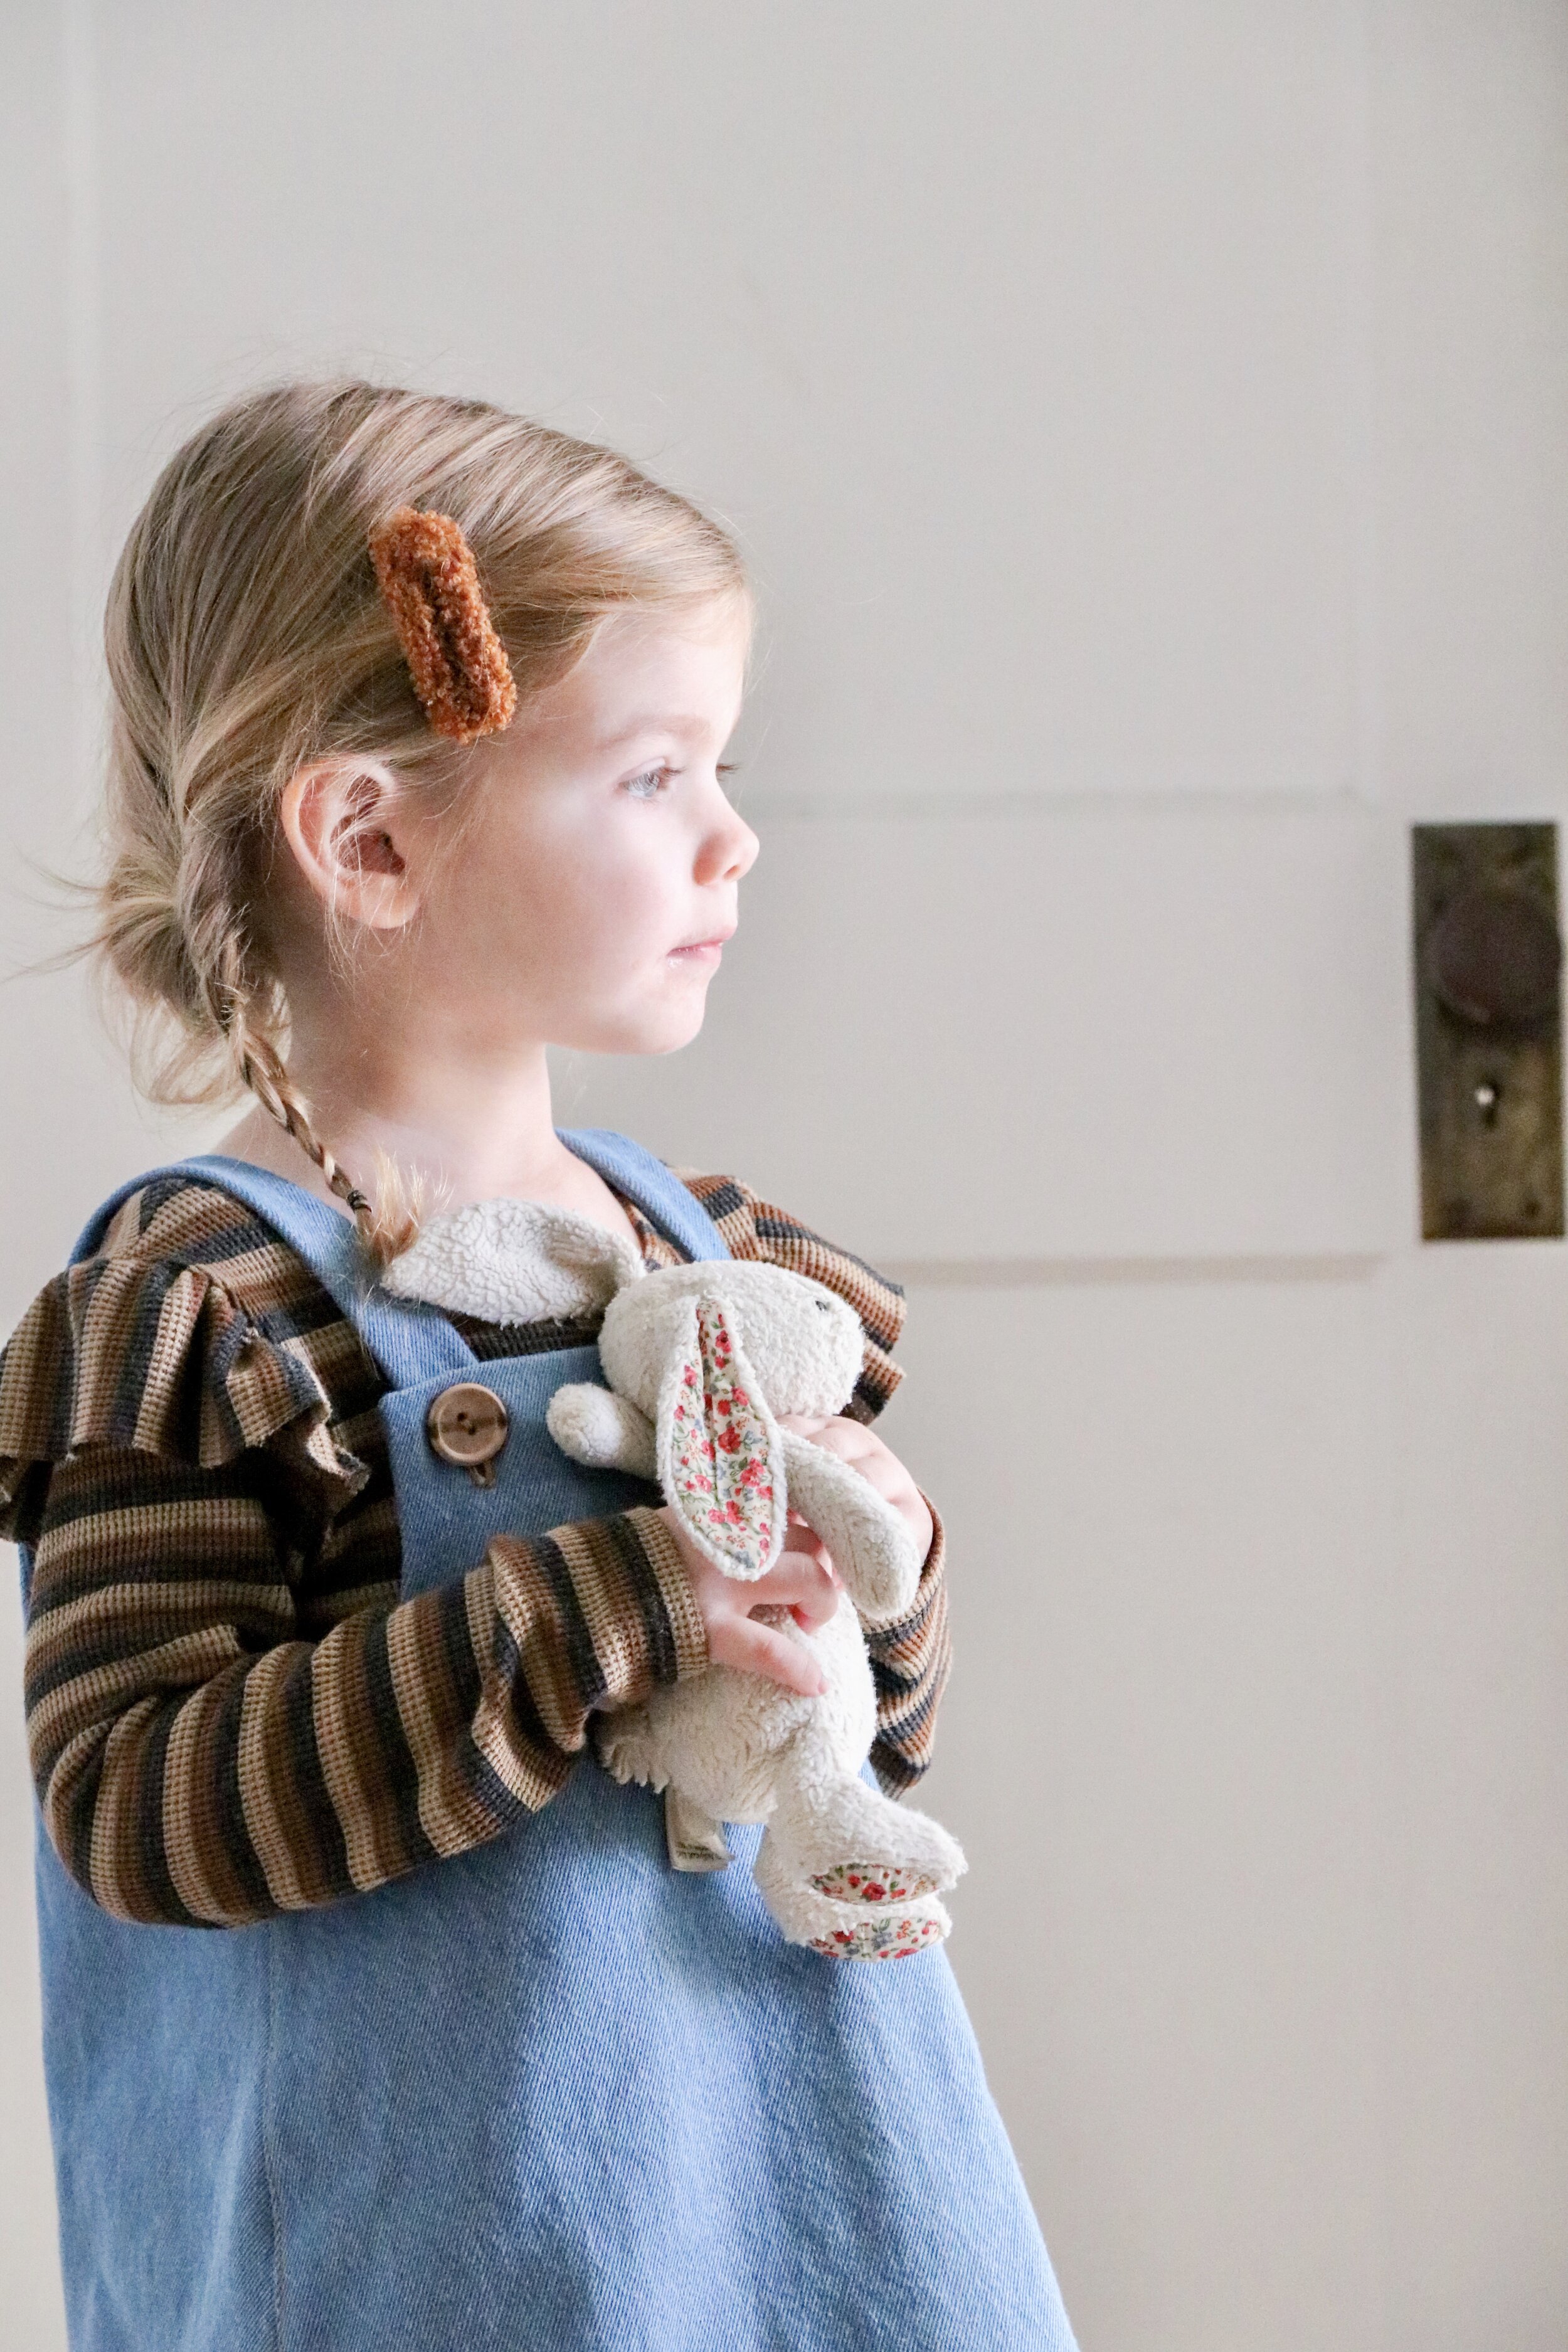
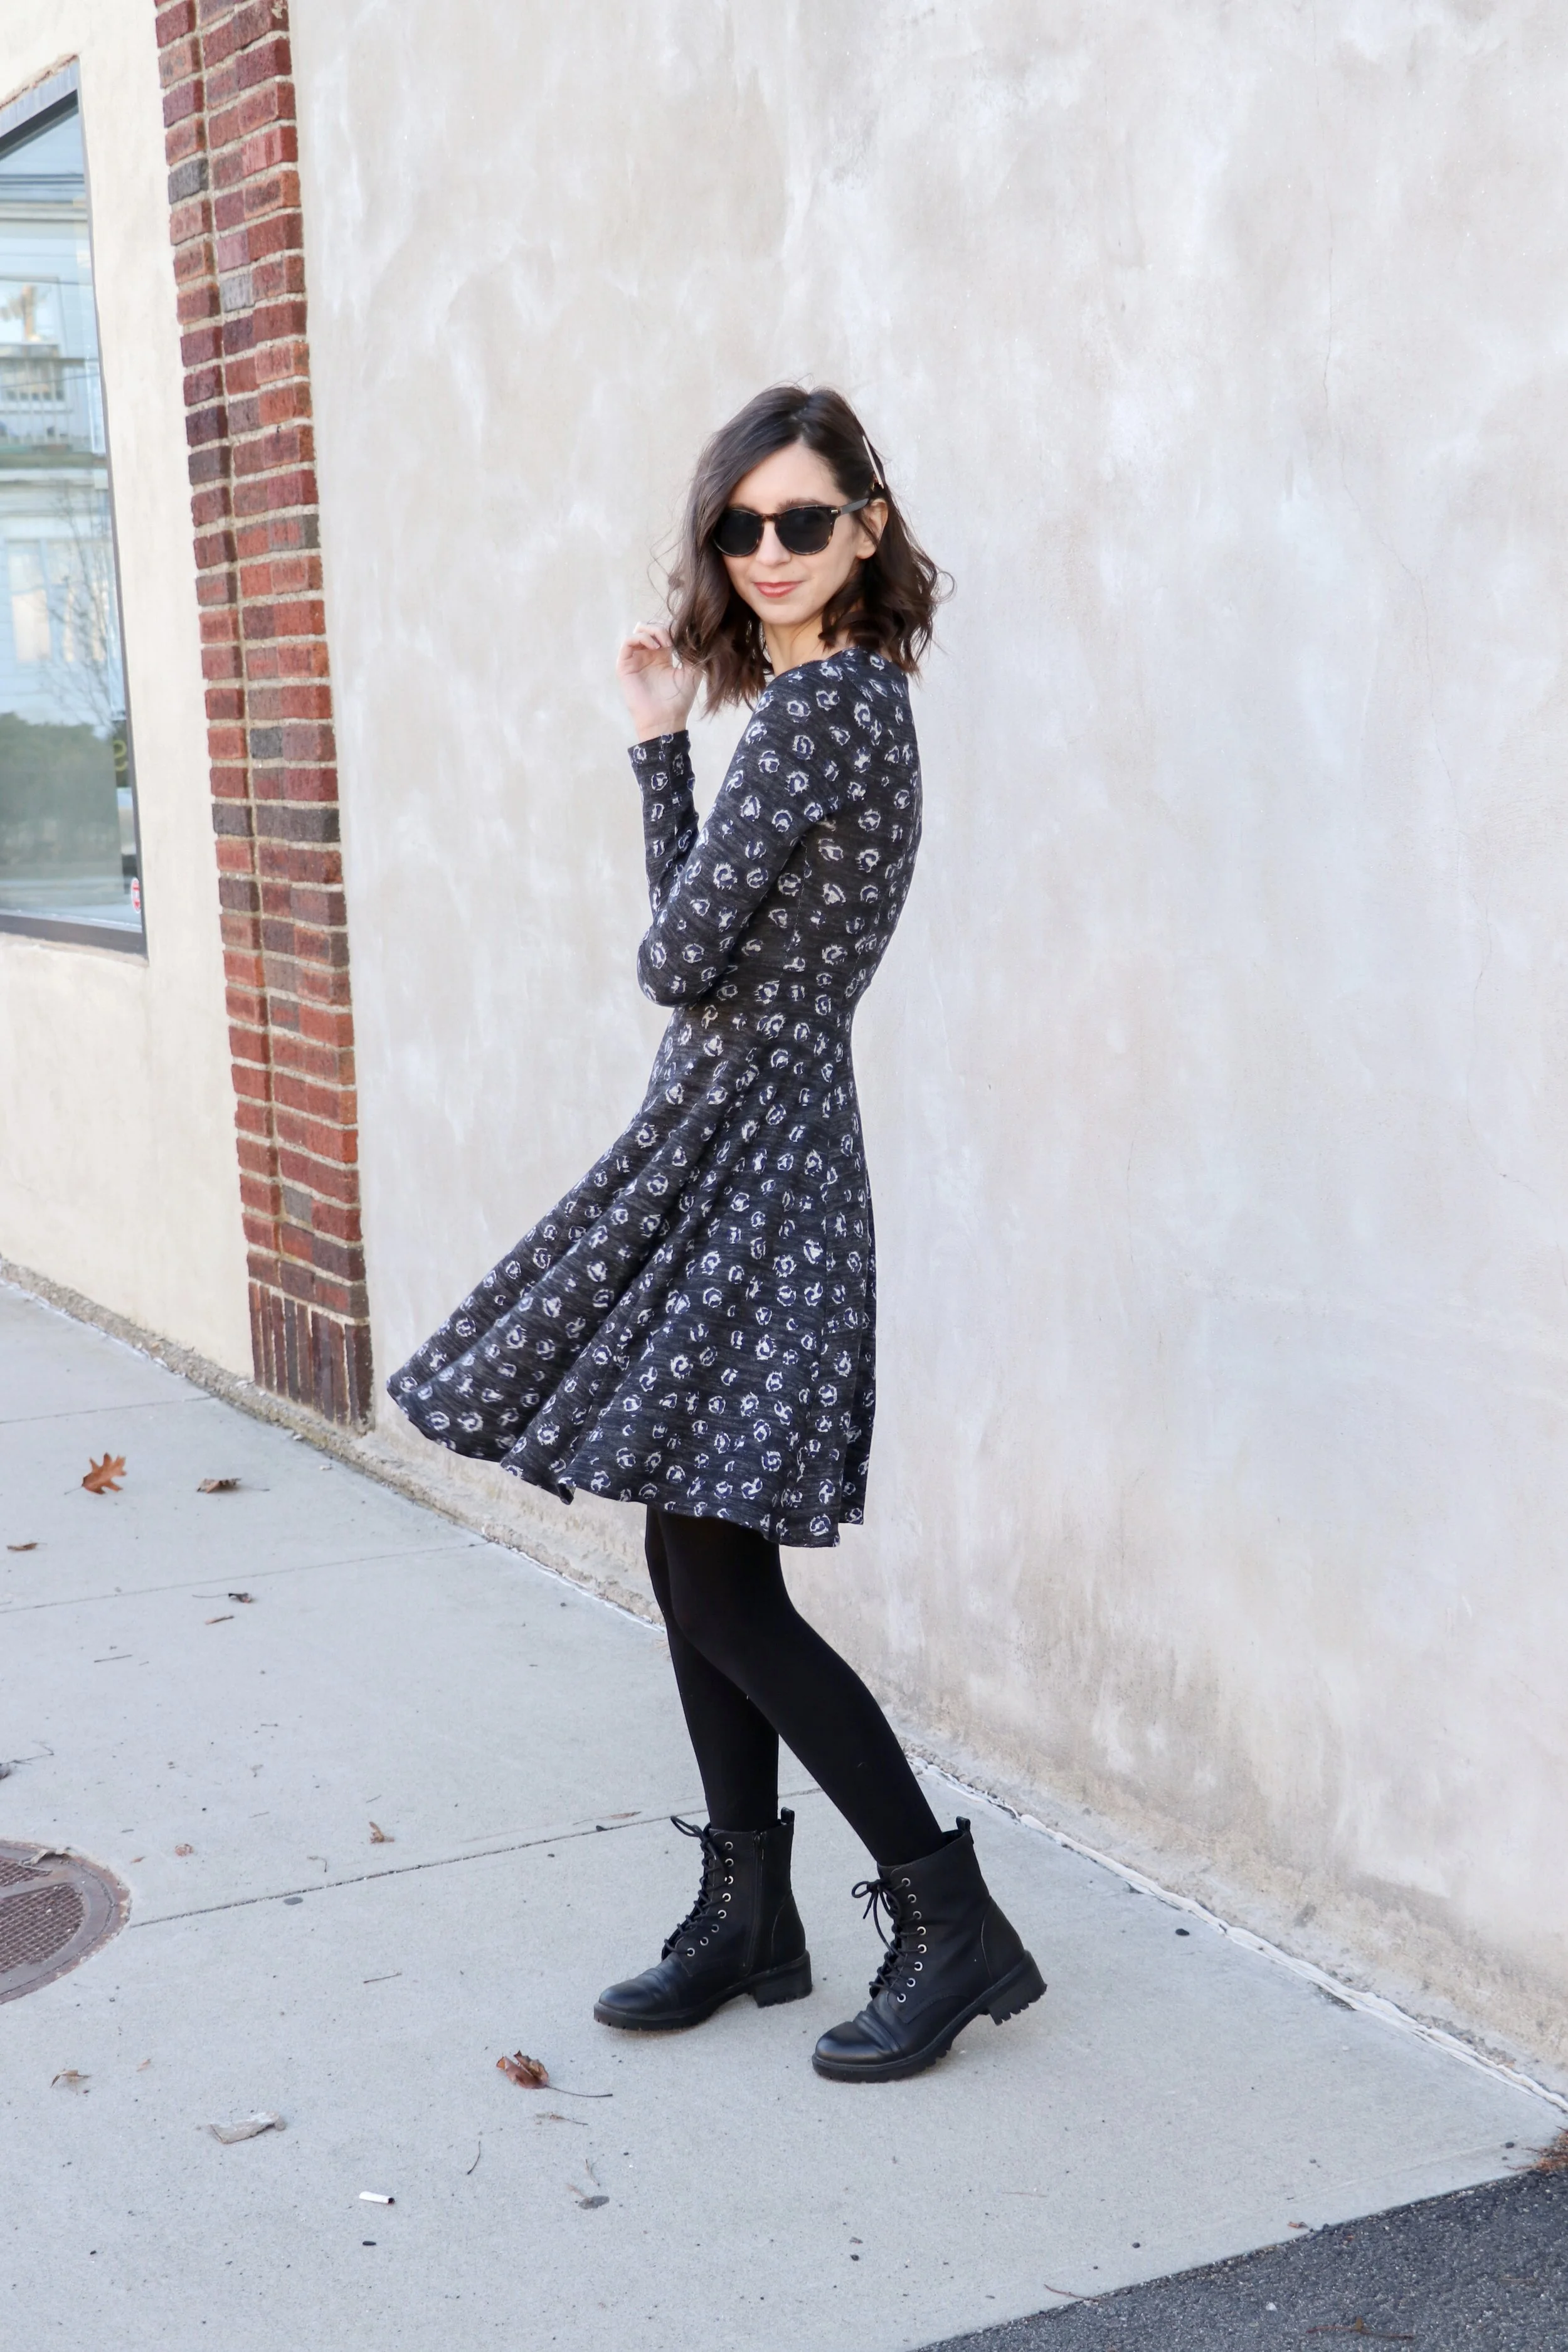
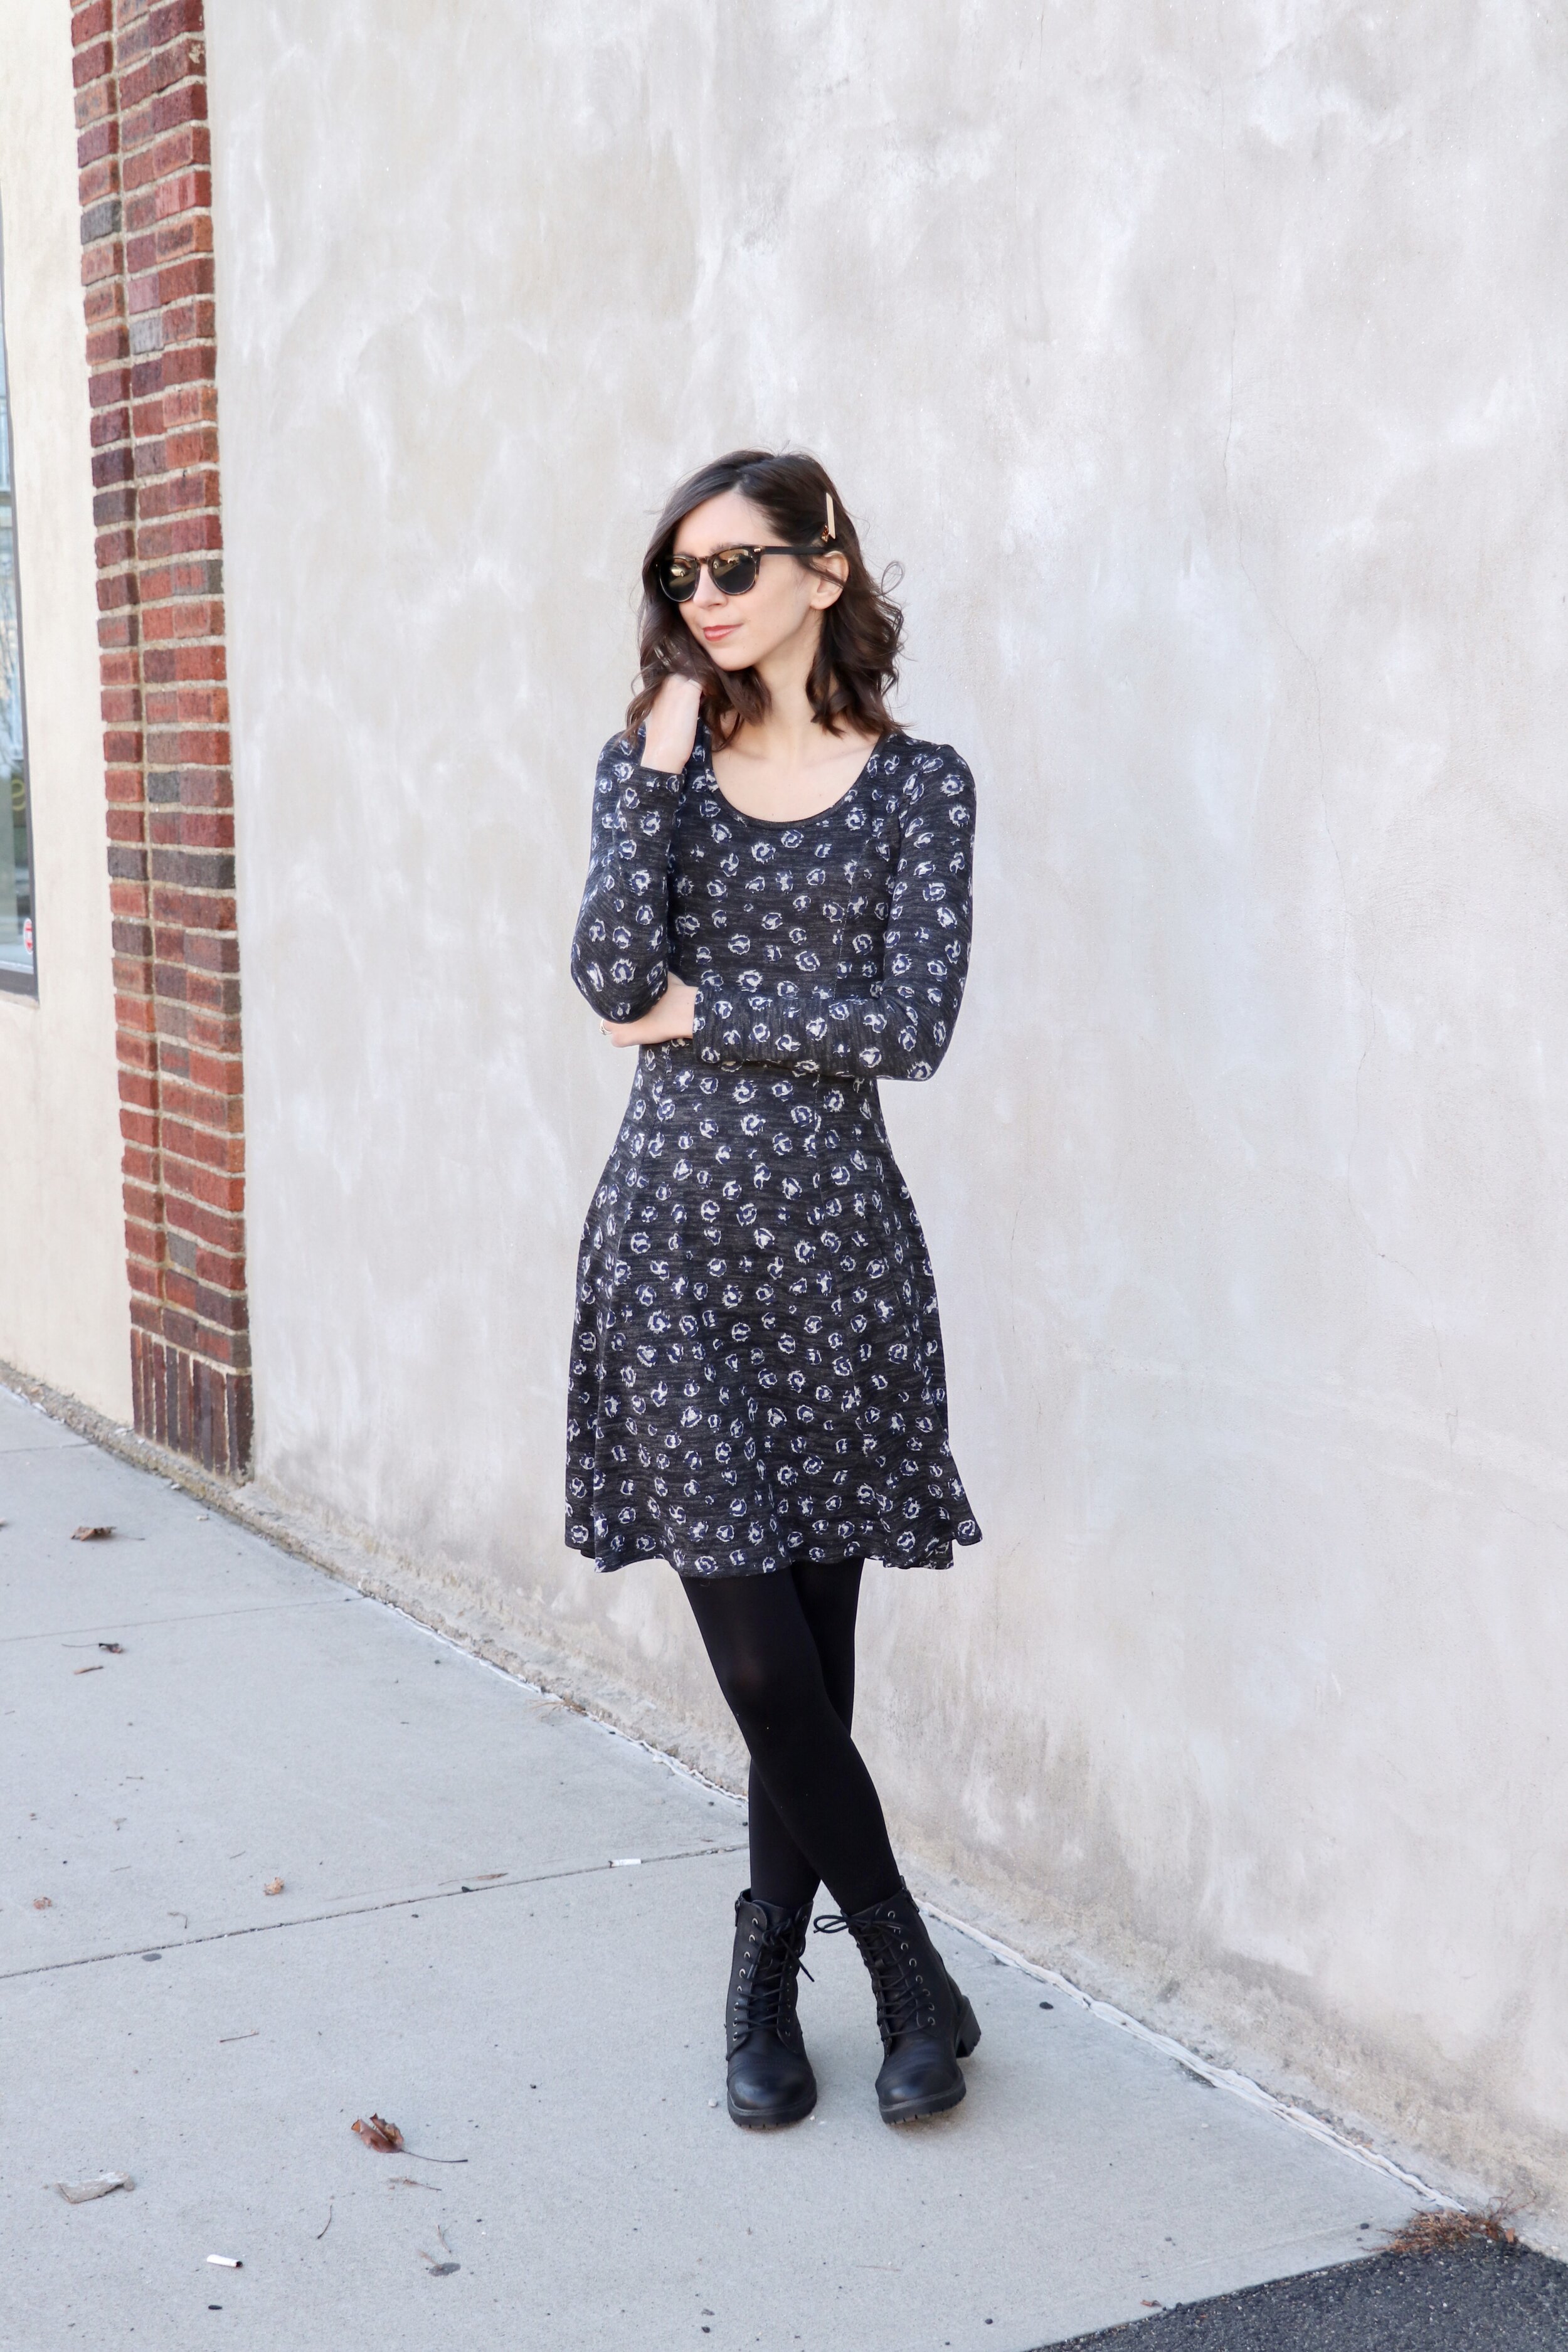
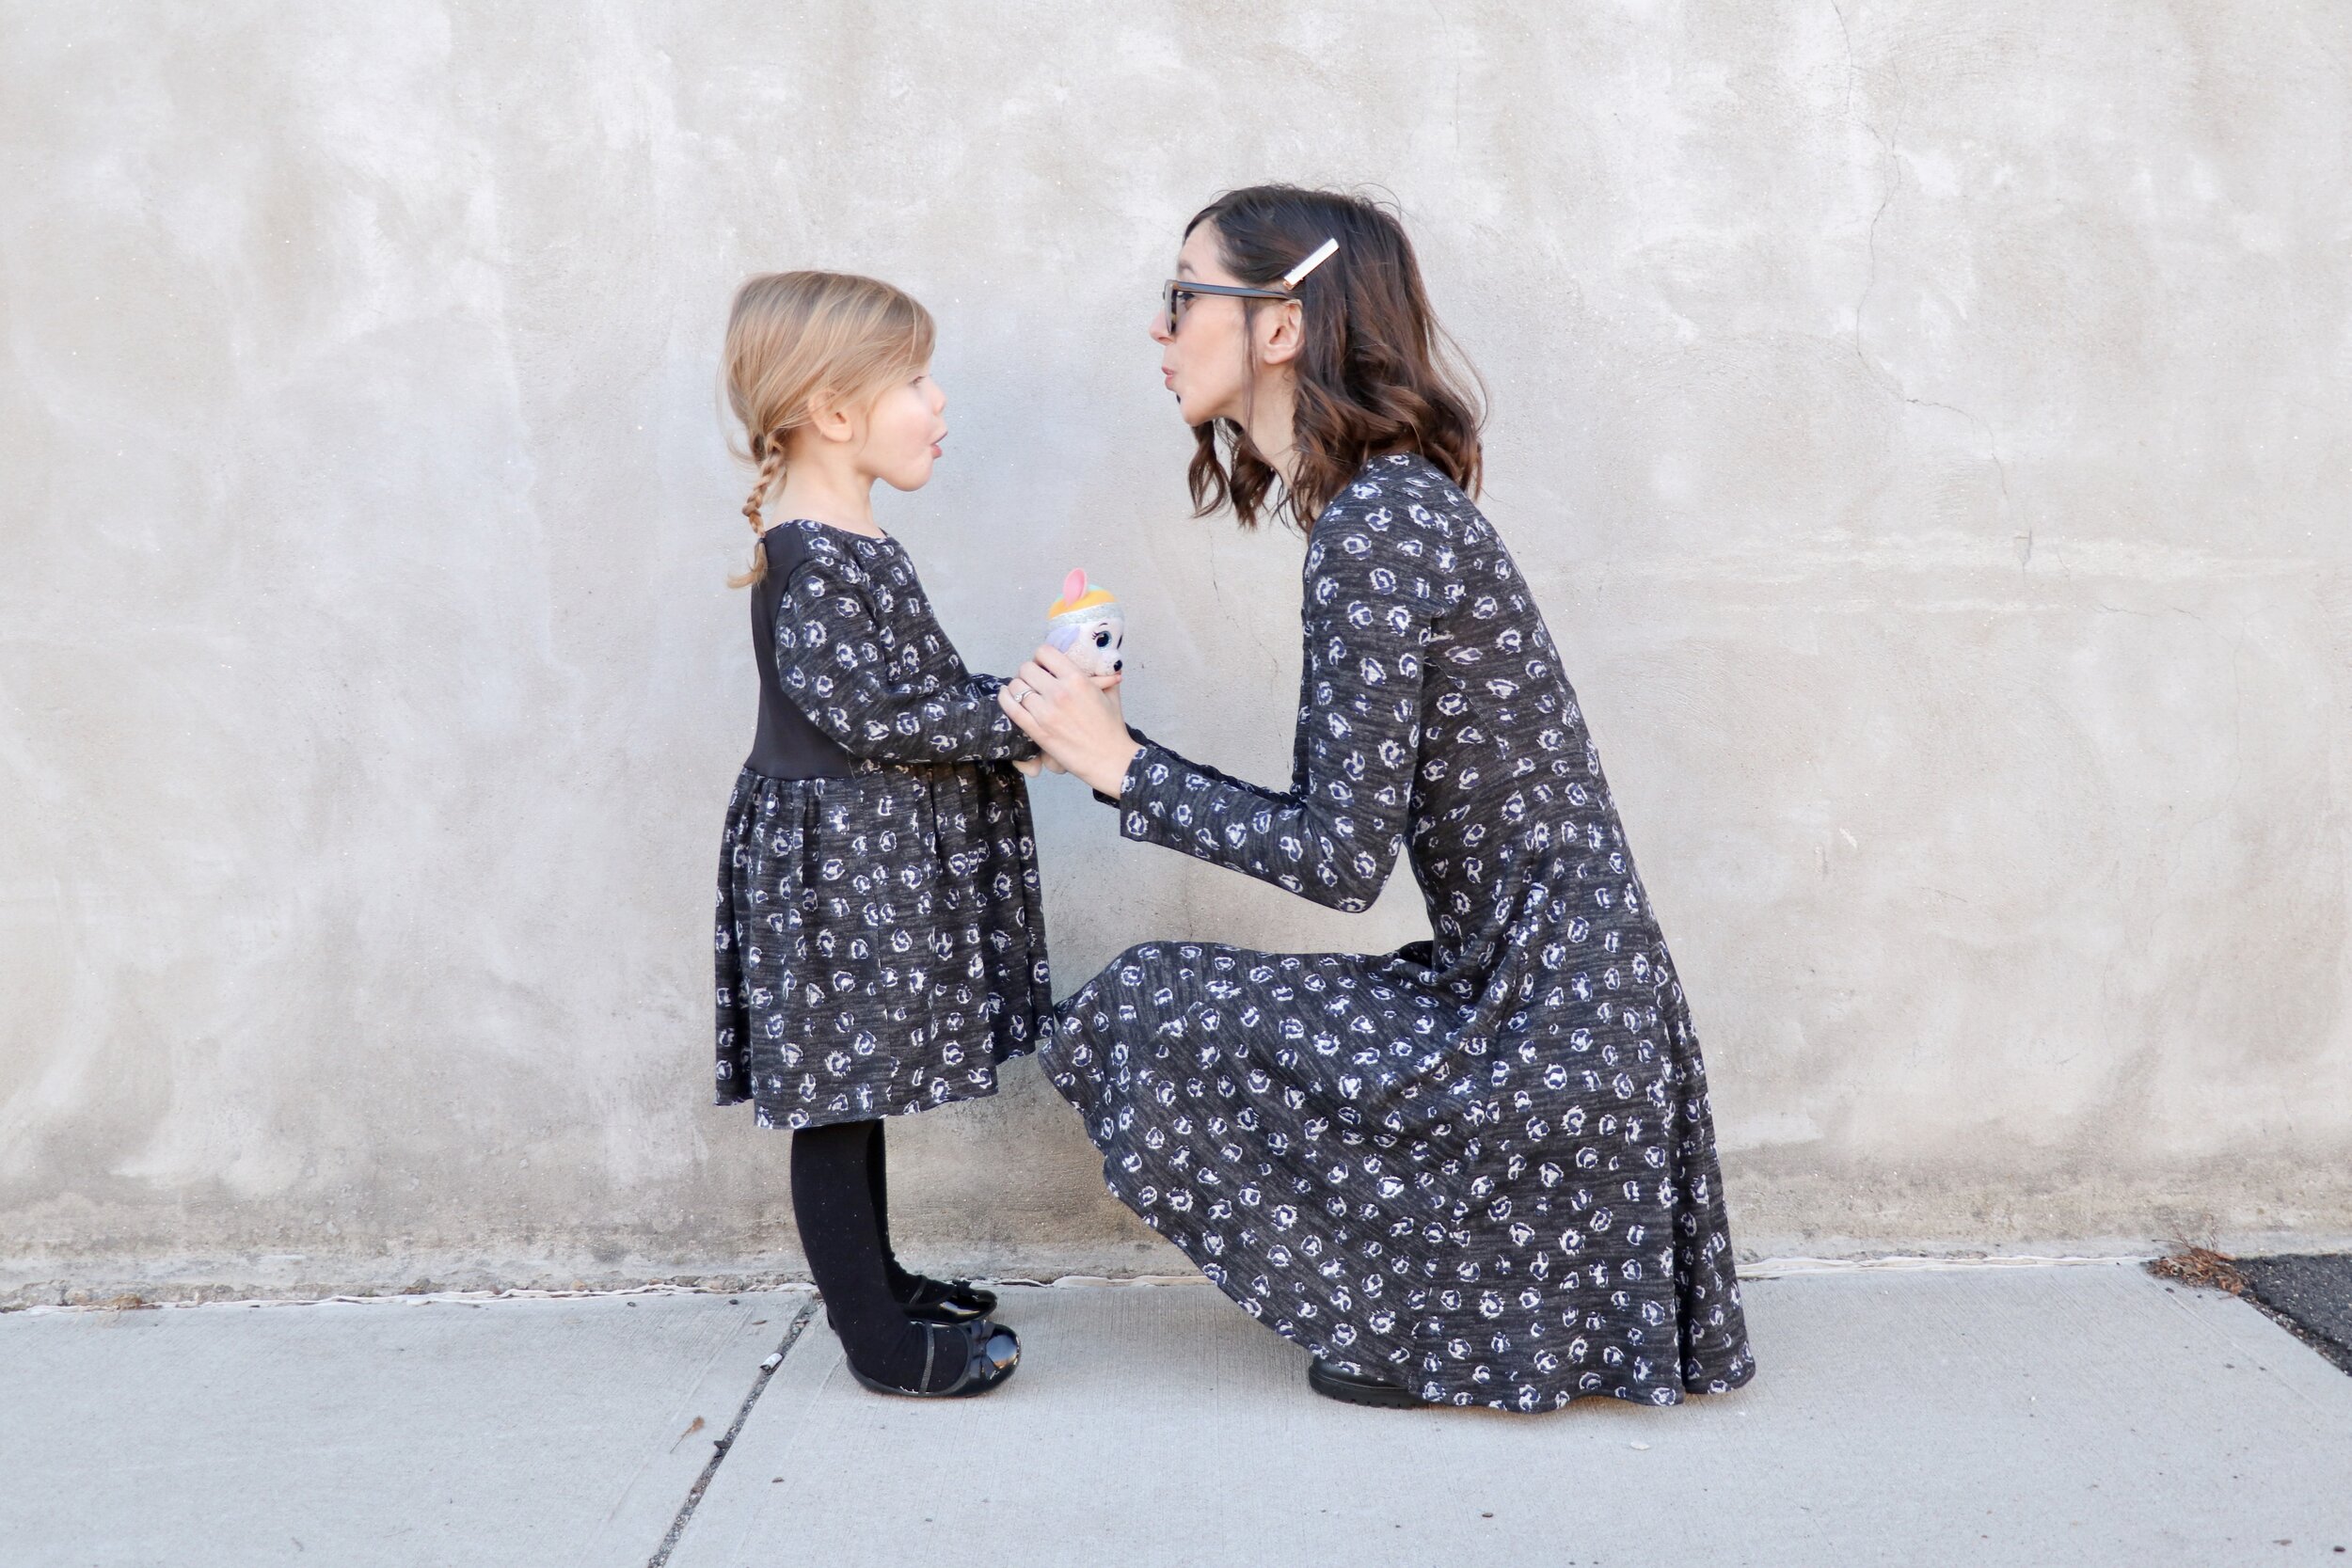
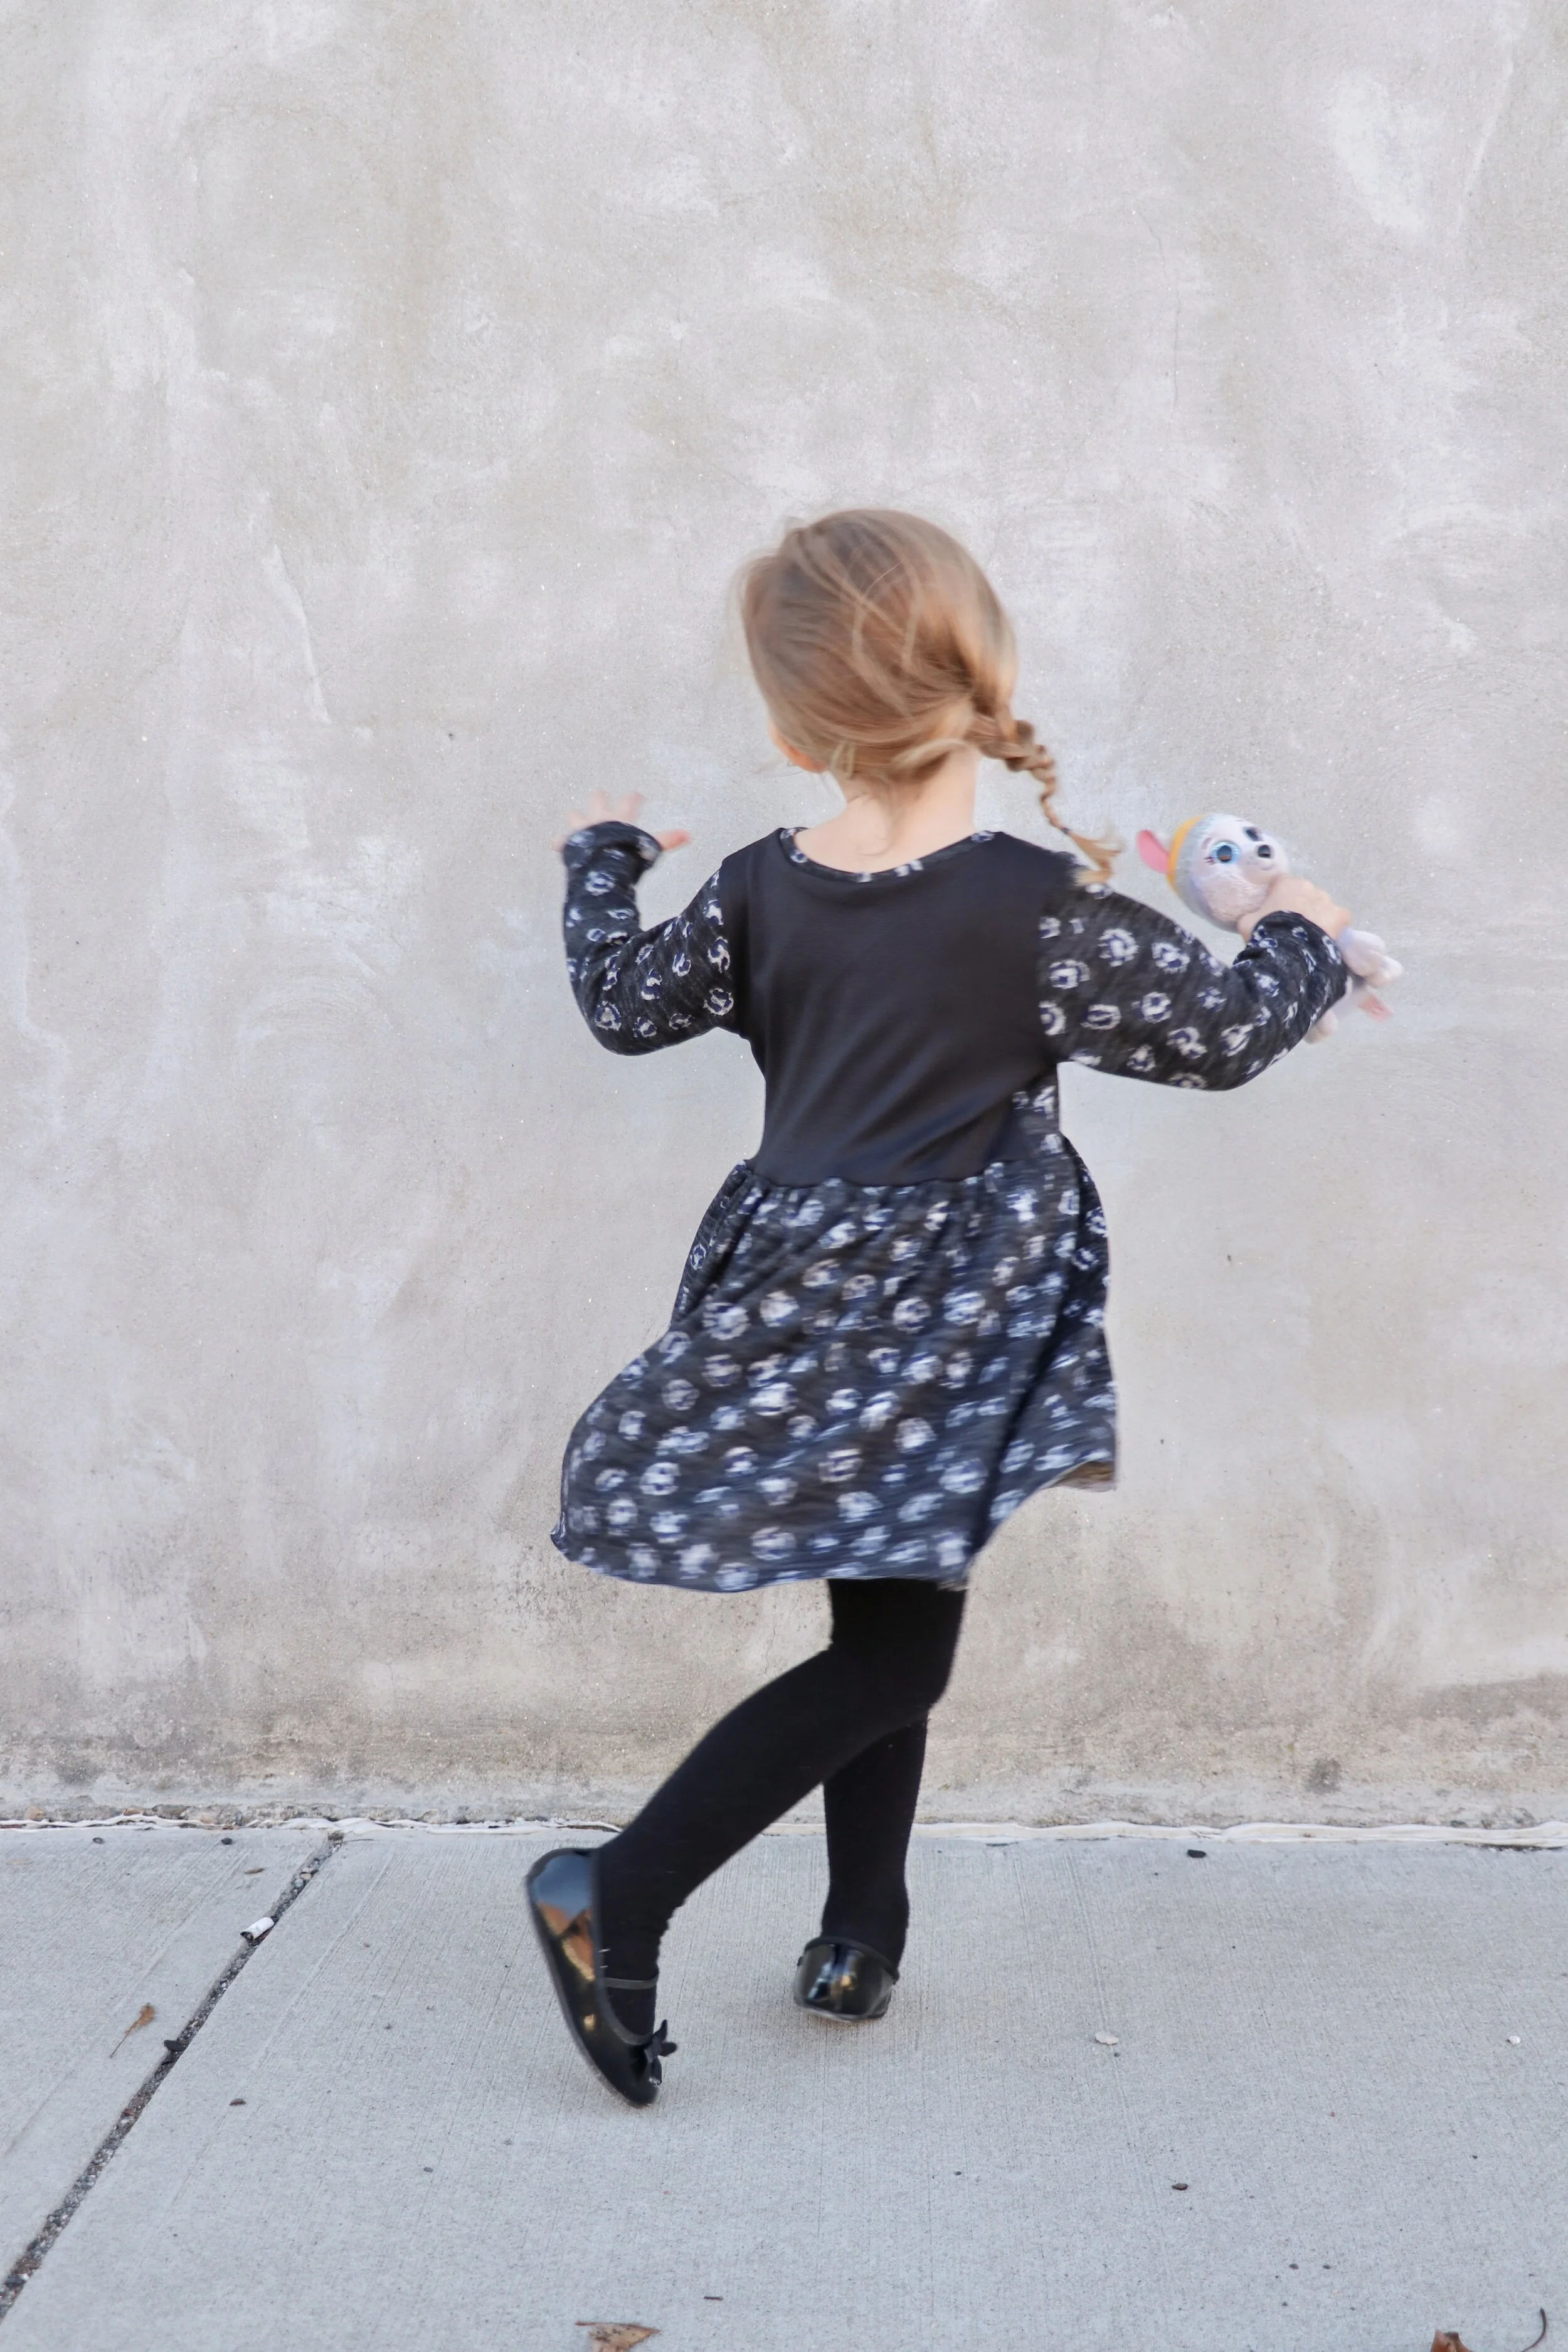
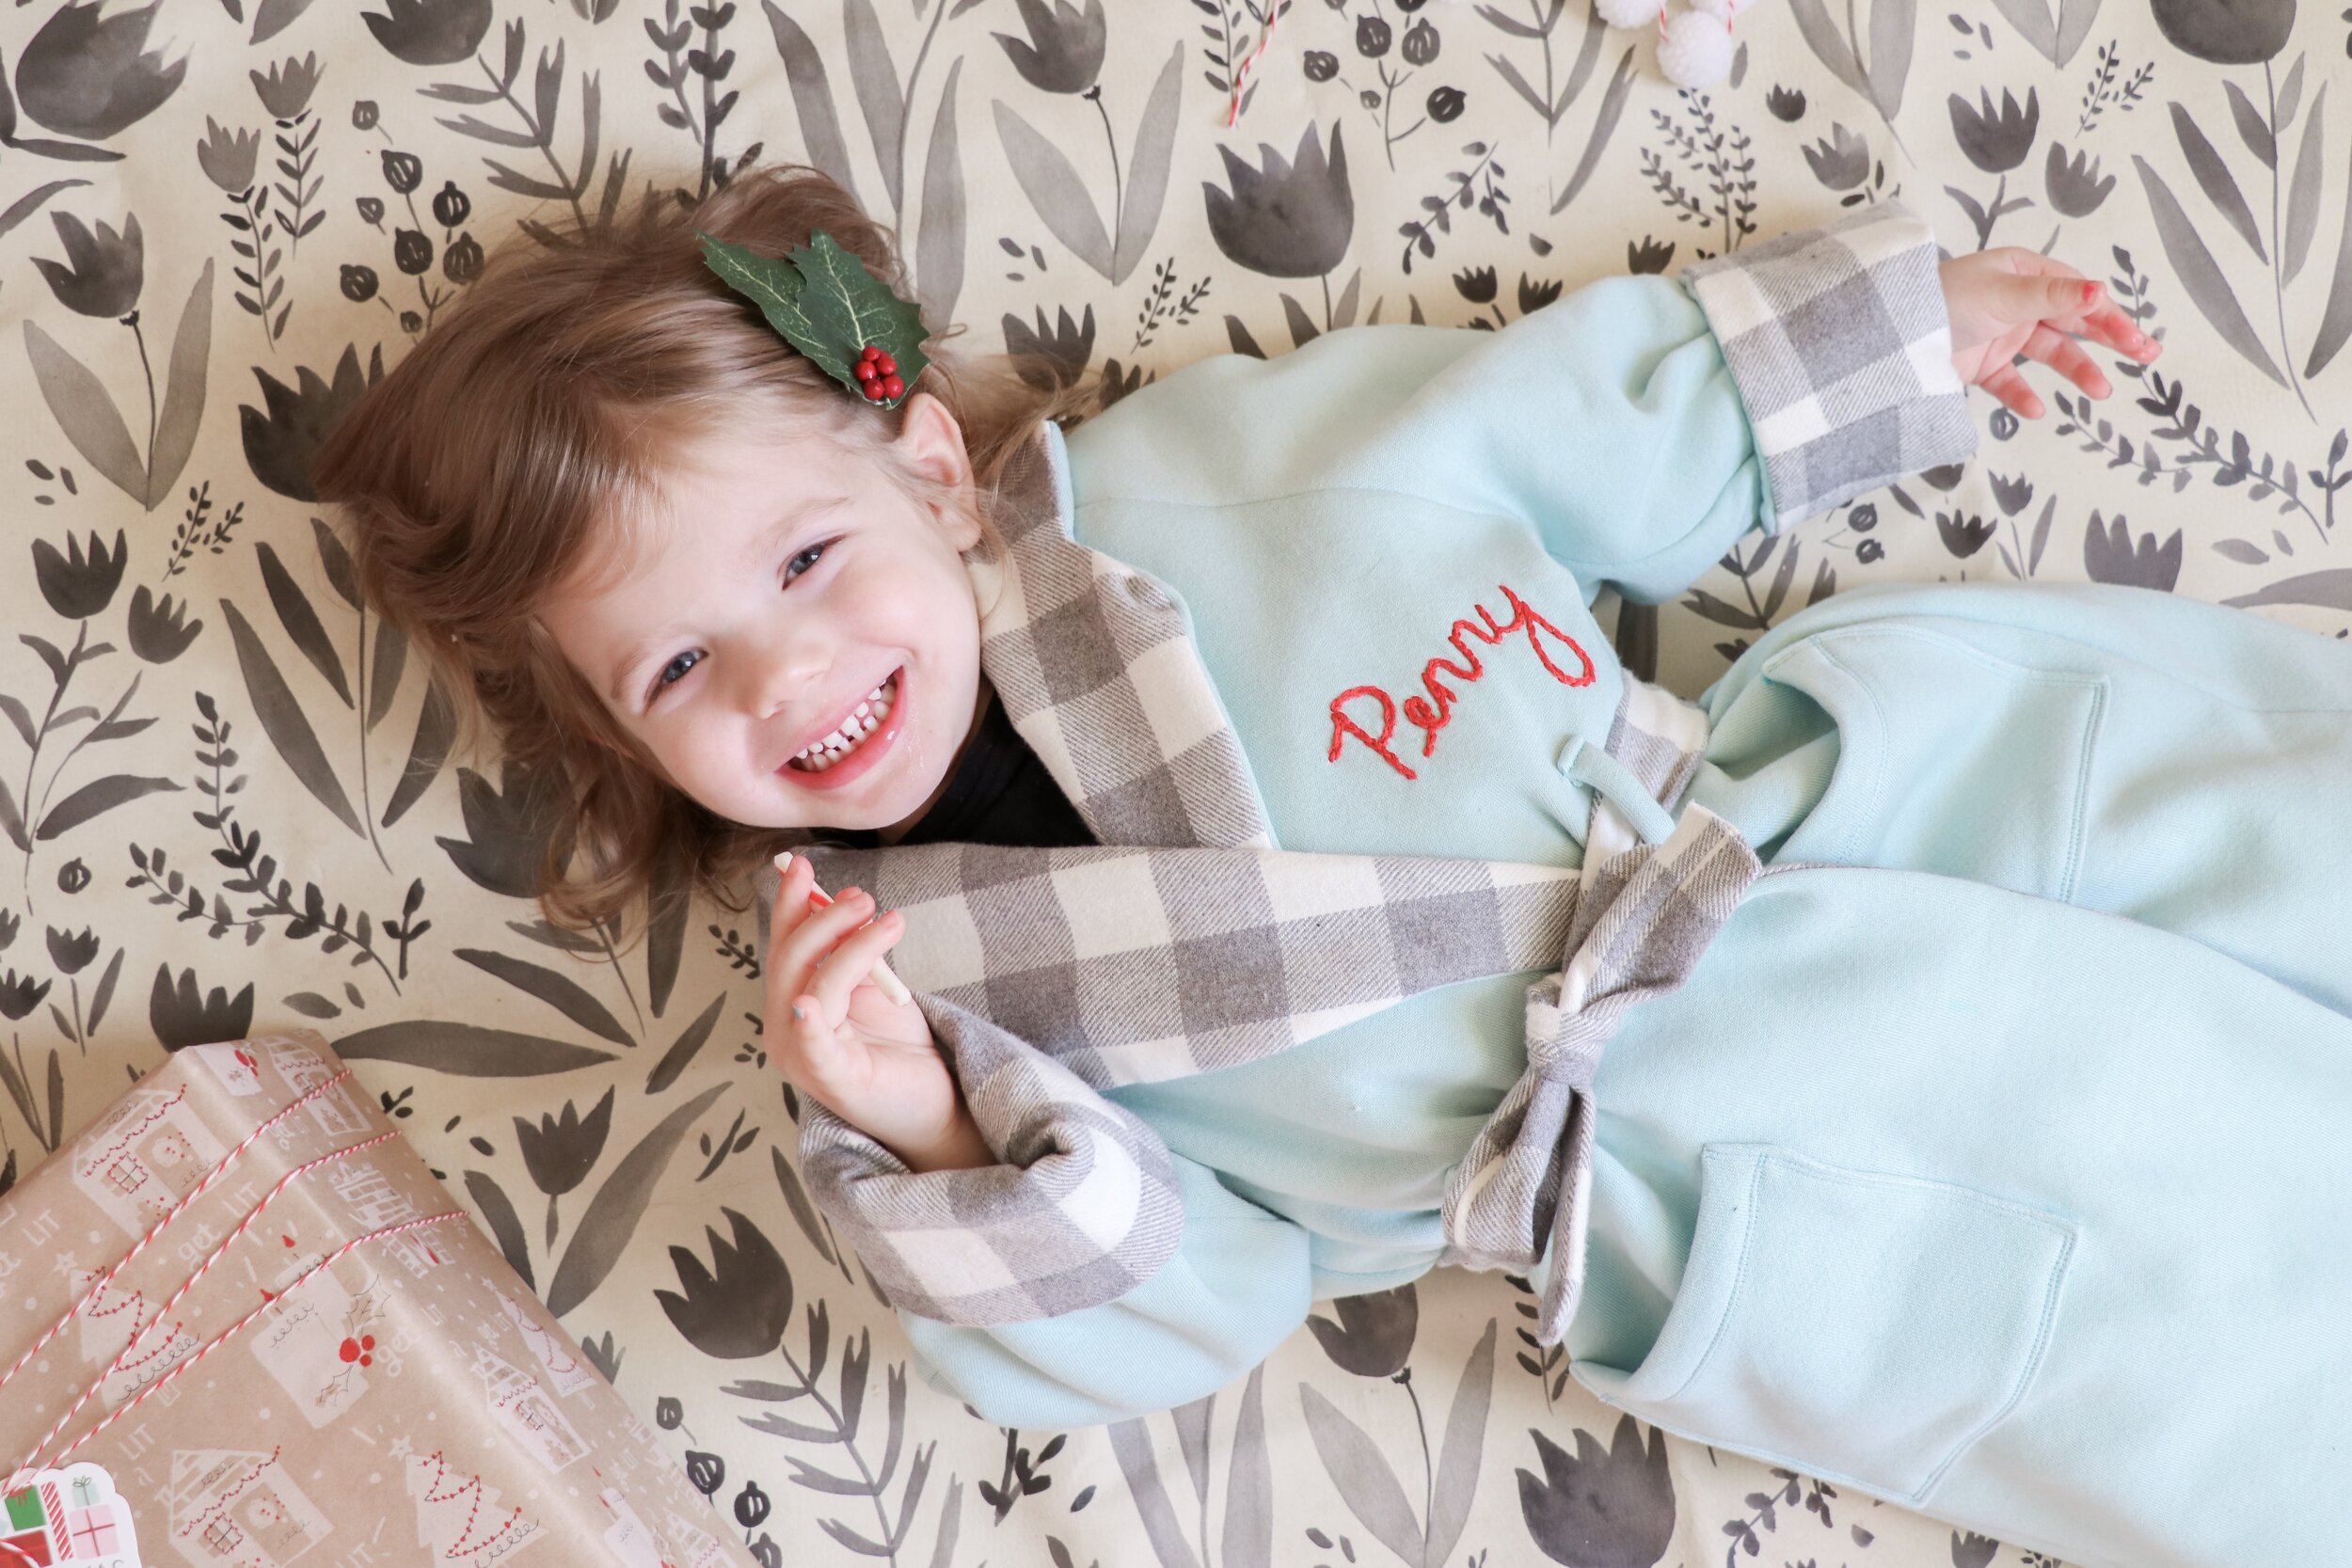
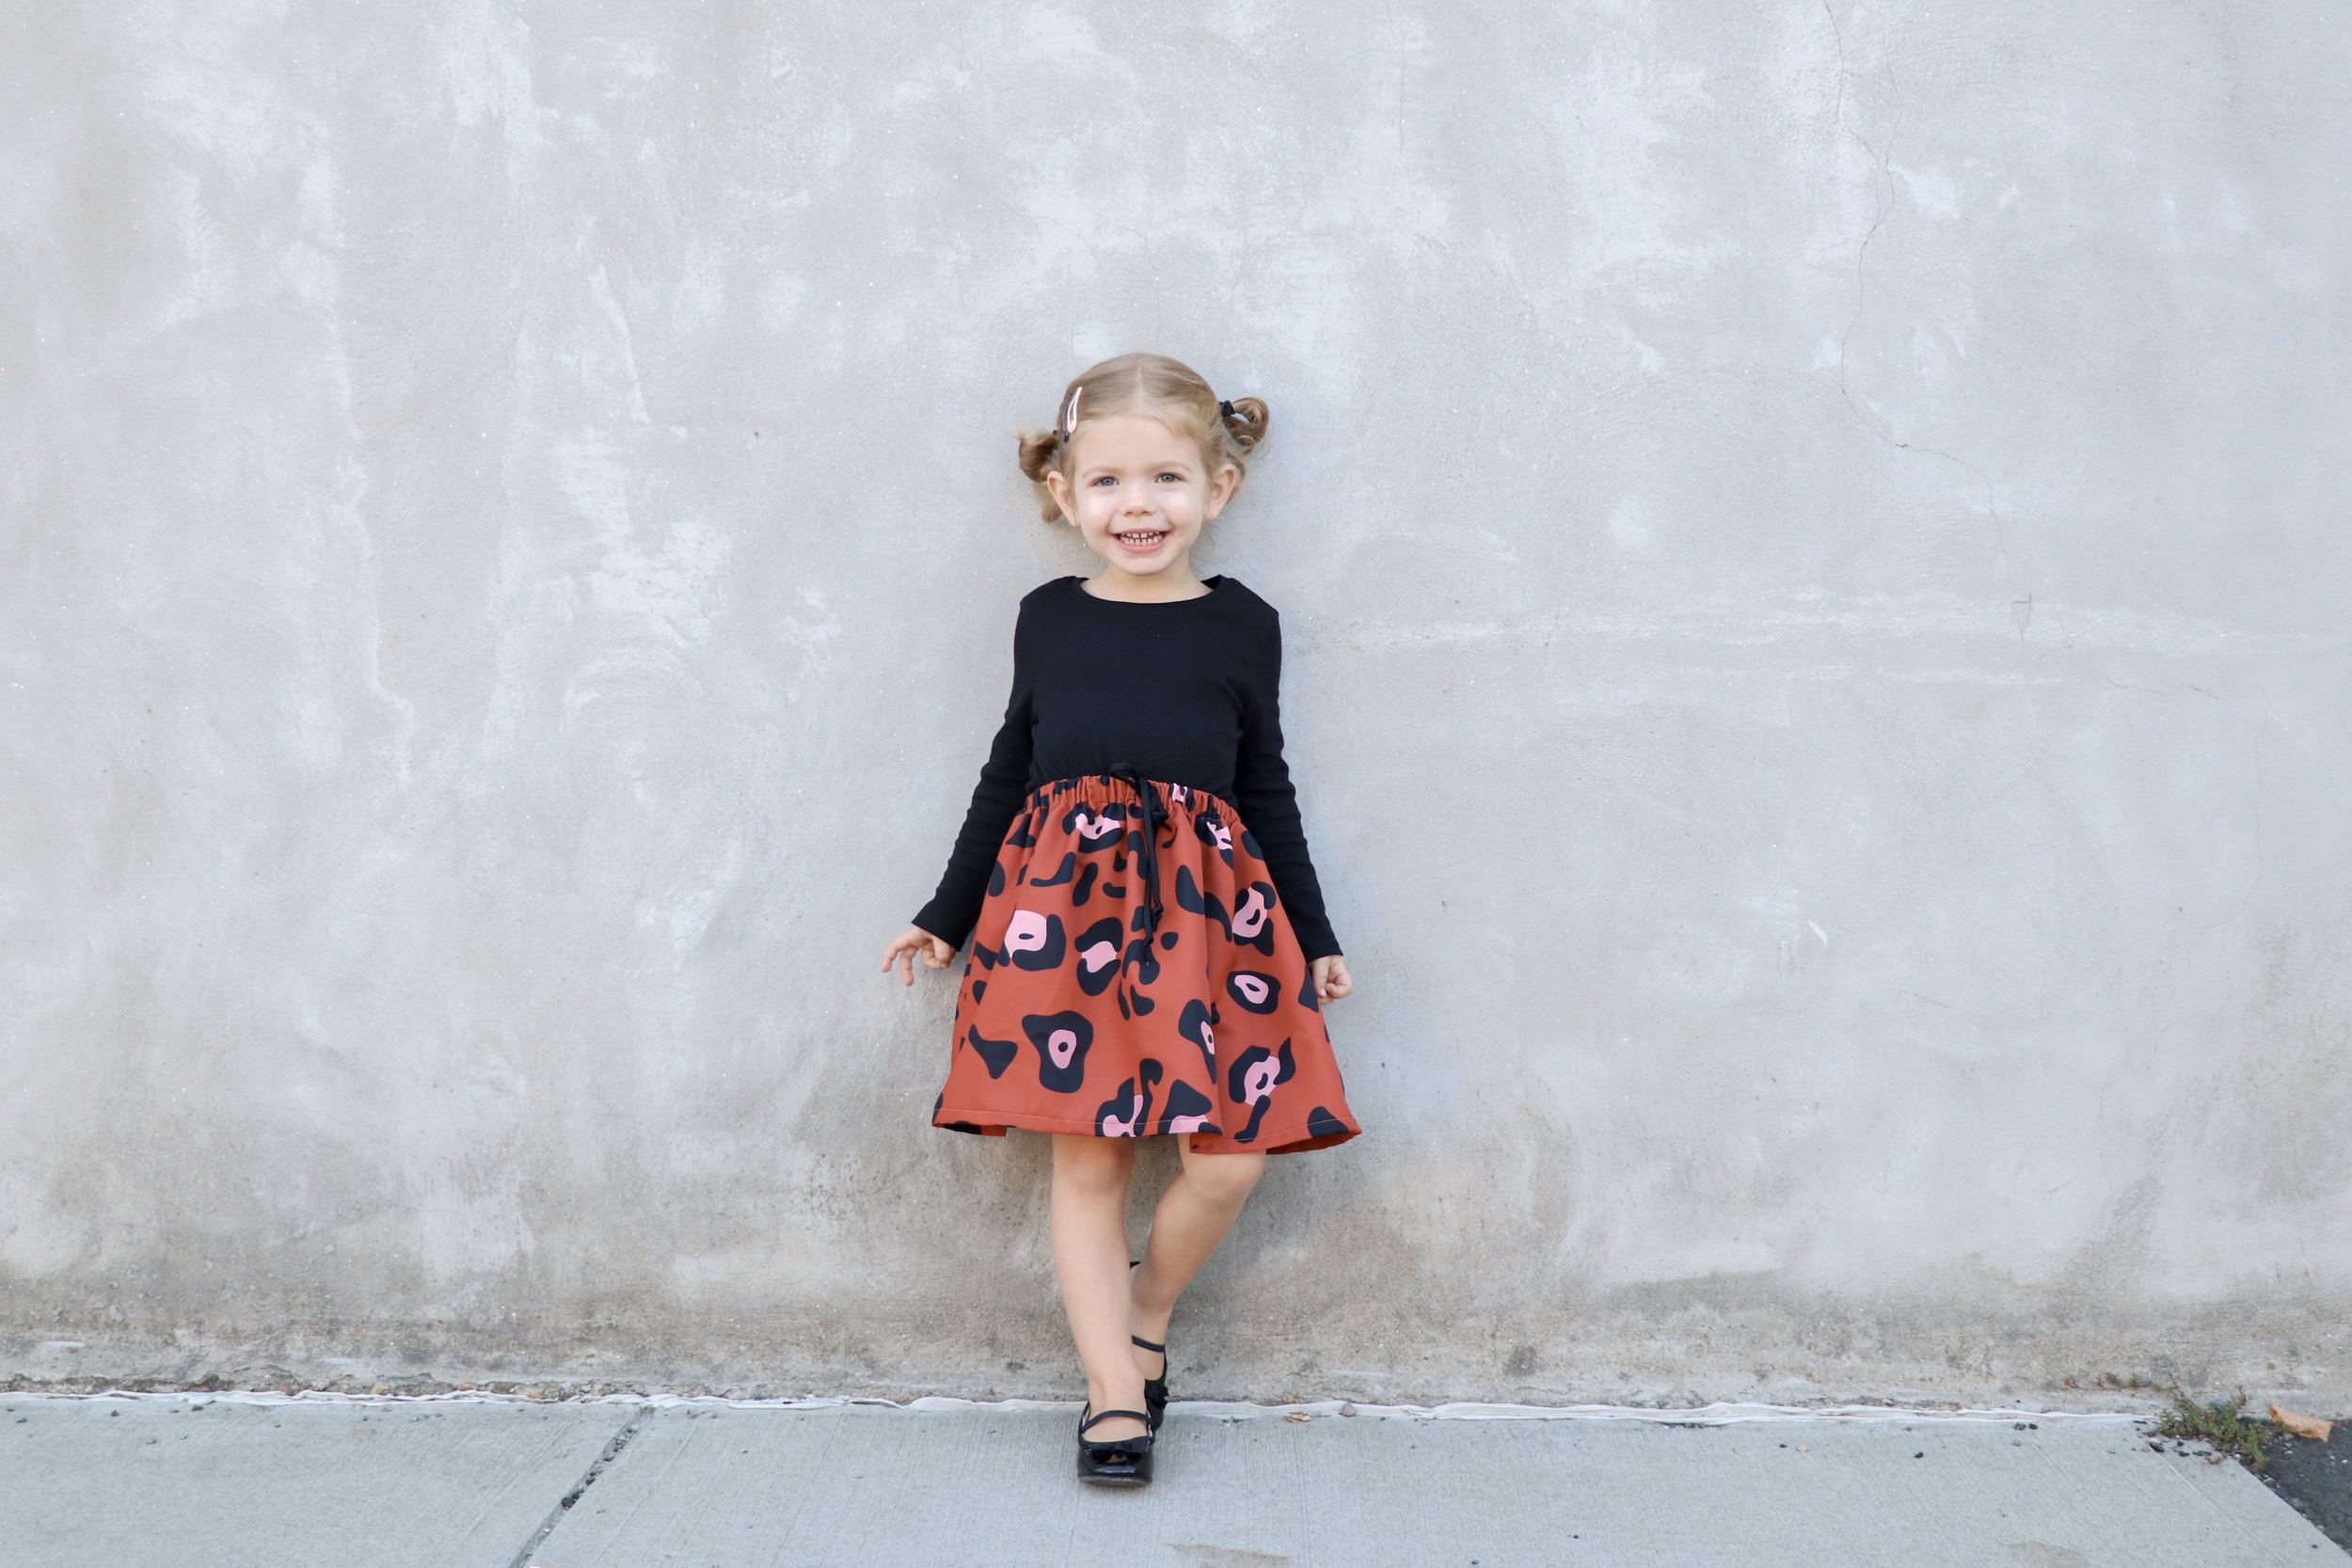
Penny’s: dress: Simplicity 1470 (made last year. pattern not available on website anymore)

Penny’s turban: self drafted

Penny’s Cardigan CottonOn

Both of our boots: Target

————————————————————————————

I tend to write about how much I love my newest makes. But honestly, they’re not all winners. Some don’t turn out the greatest. I’ve been imagining black and white gingham overalls for awhile now, and was pretty excited to finally get to them. But in the end, these ones aren’t love.

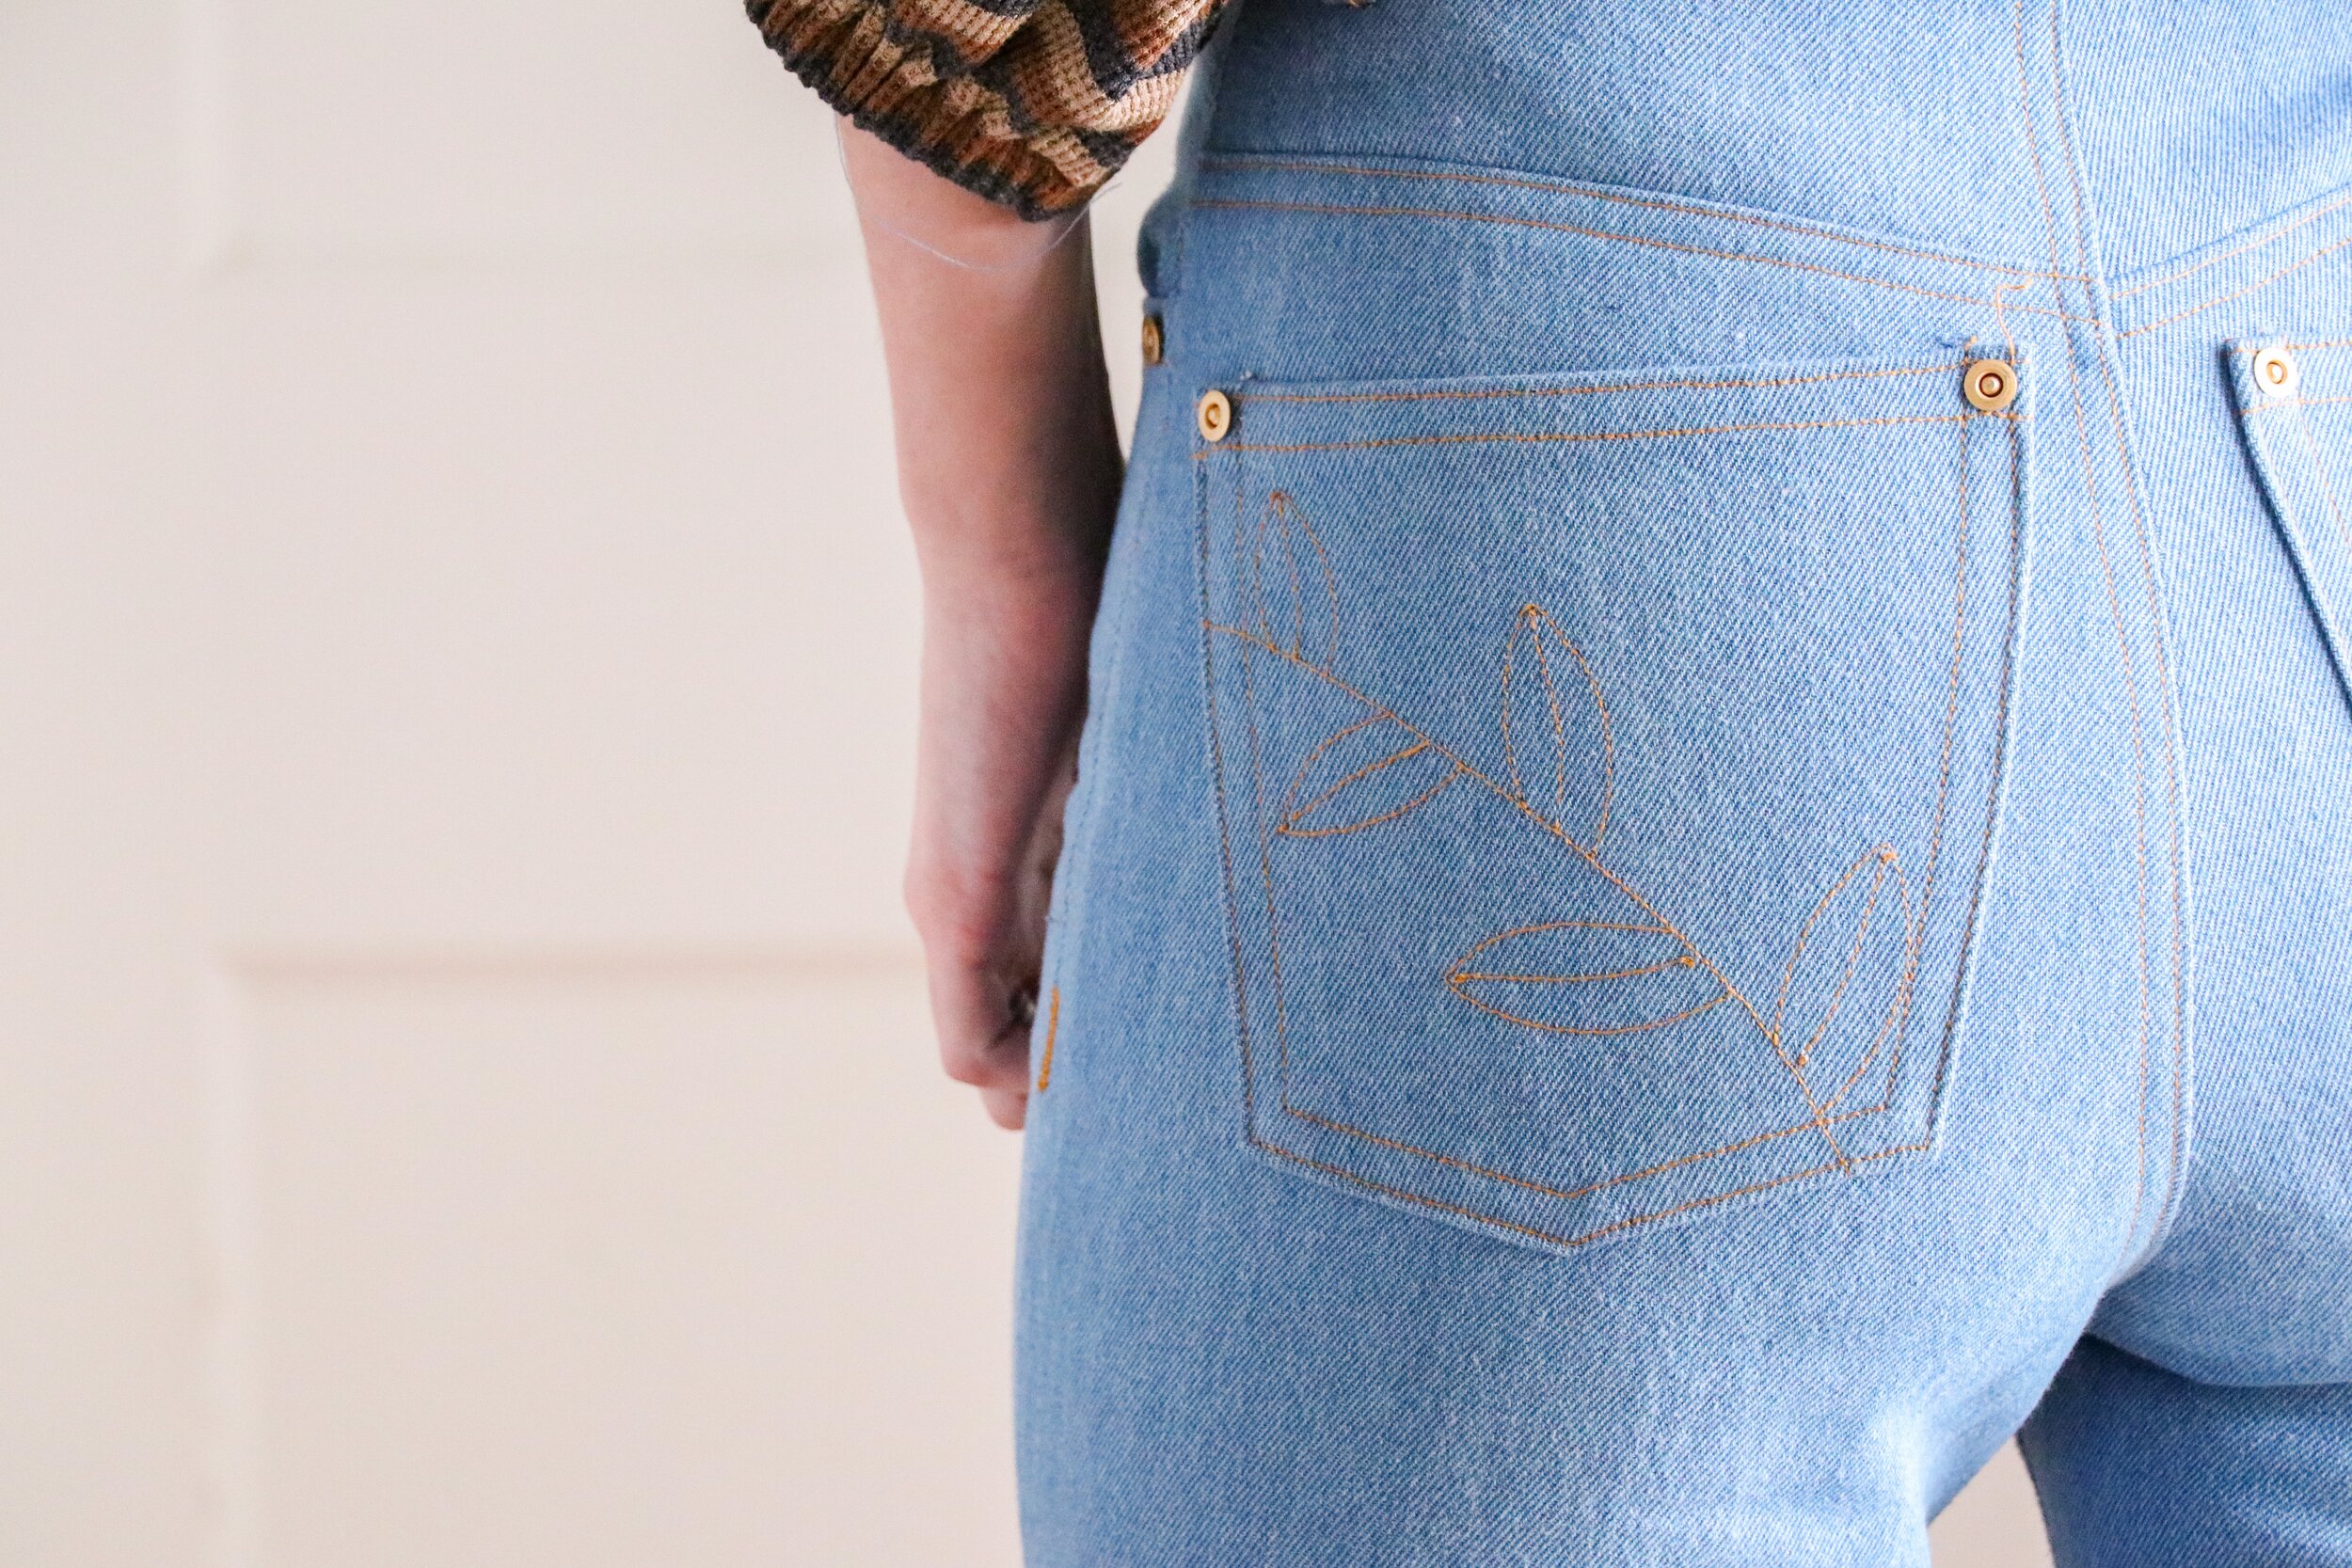
I think it first started with my fabric choice. Instead of purchasing a new gingham print, I decided to use this seersucker gingham that I already had in my stash. And its sheer. So I lined the whole thing. Ok, no problem. But probably not the best coice for this type of garment. Secondly, I think I just chose the wrong pattern, too. I was actually envisioning a more fitted pant, but the Roberts Collection dungarees are a looser, relaxed fit. Not an issue with the pattern, I think I’d like the look in another fabric, just not what I was picturing for this project. I slimmed it out in the legs a bit after the fact, but it really could’ve stood to be taken in at the waist, too, to really slim it out and make it more fitted. And because I waited until the end to take out some bulk in the legs, the inside of the garment is kind of a disaster. I know this isn’t visible from the outside, but it kind of drives me crazy. And lastly, seersucker isn’t the easiest to work with when working with prints with straight lines. Seersucker is textured and bubbly, and as much as I painstakingly and carefully cut everything out to keep lines straight, the bottom edge of the bib ended up being skewed. HOW?! I’m still not sure how this happened. And I didn’t have and spare fabric to re-cut it. So I was left with an uneven line at the waist seam, making my eye twitch every time I look at it. This is probably the worst of the problems for me, because it is the most obvious. I know any one looking at this isn’t going to know that this isn’t the shape I envisioned or that the insides are messy, but you can see that uneven waist seam from a mile away.

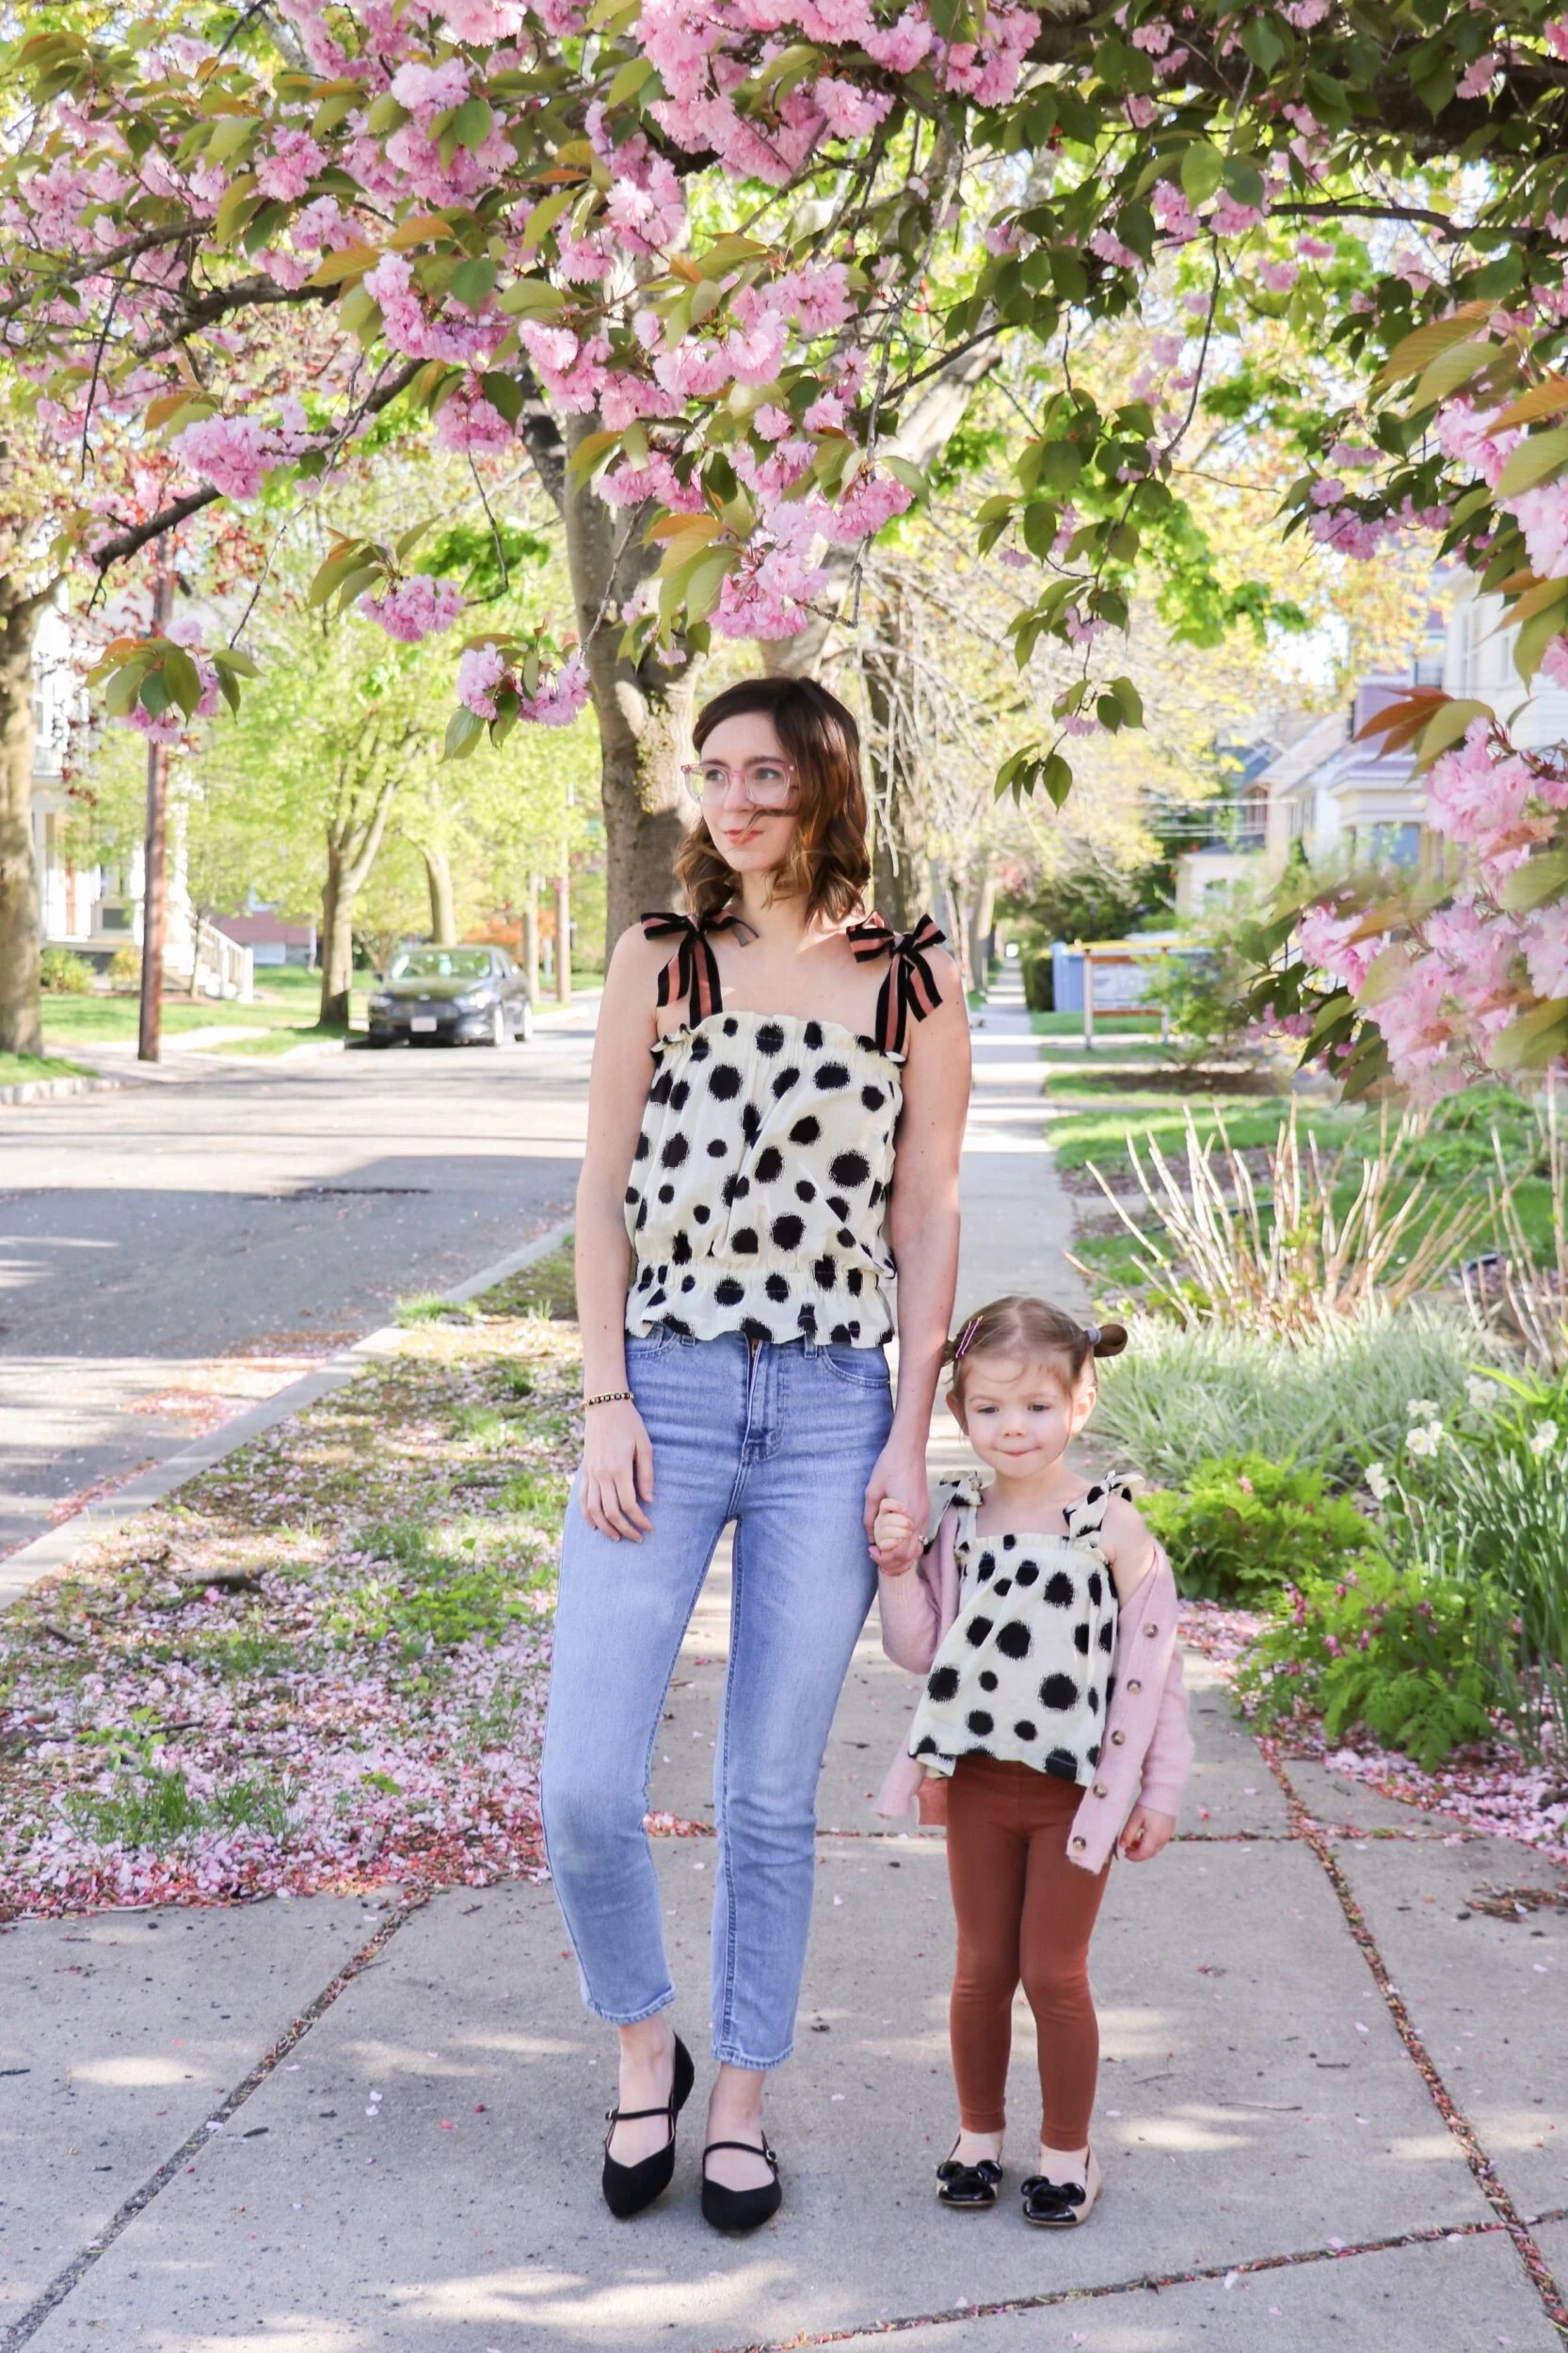
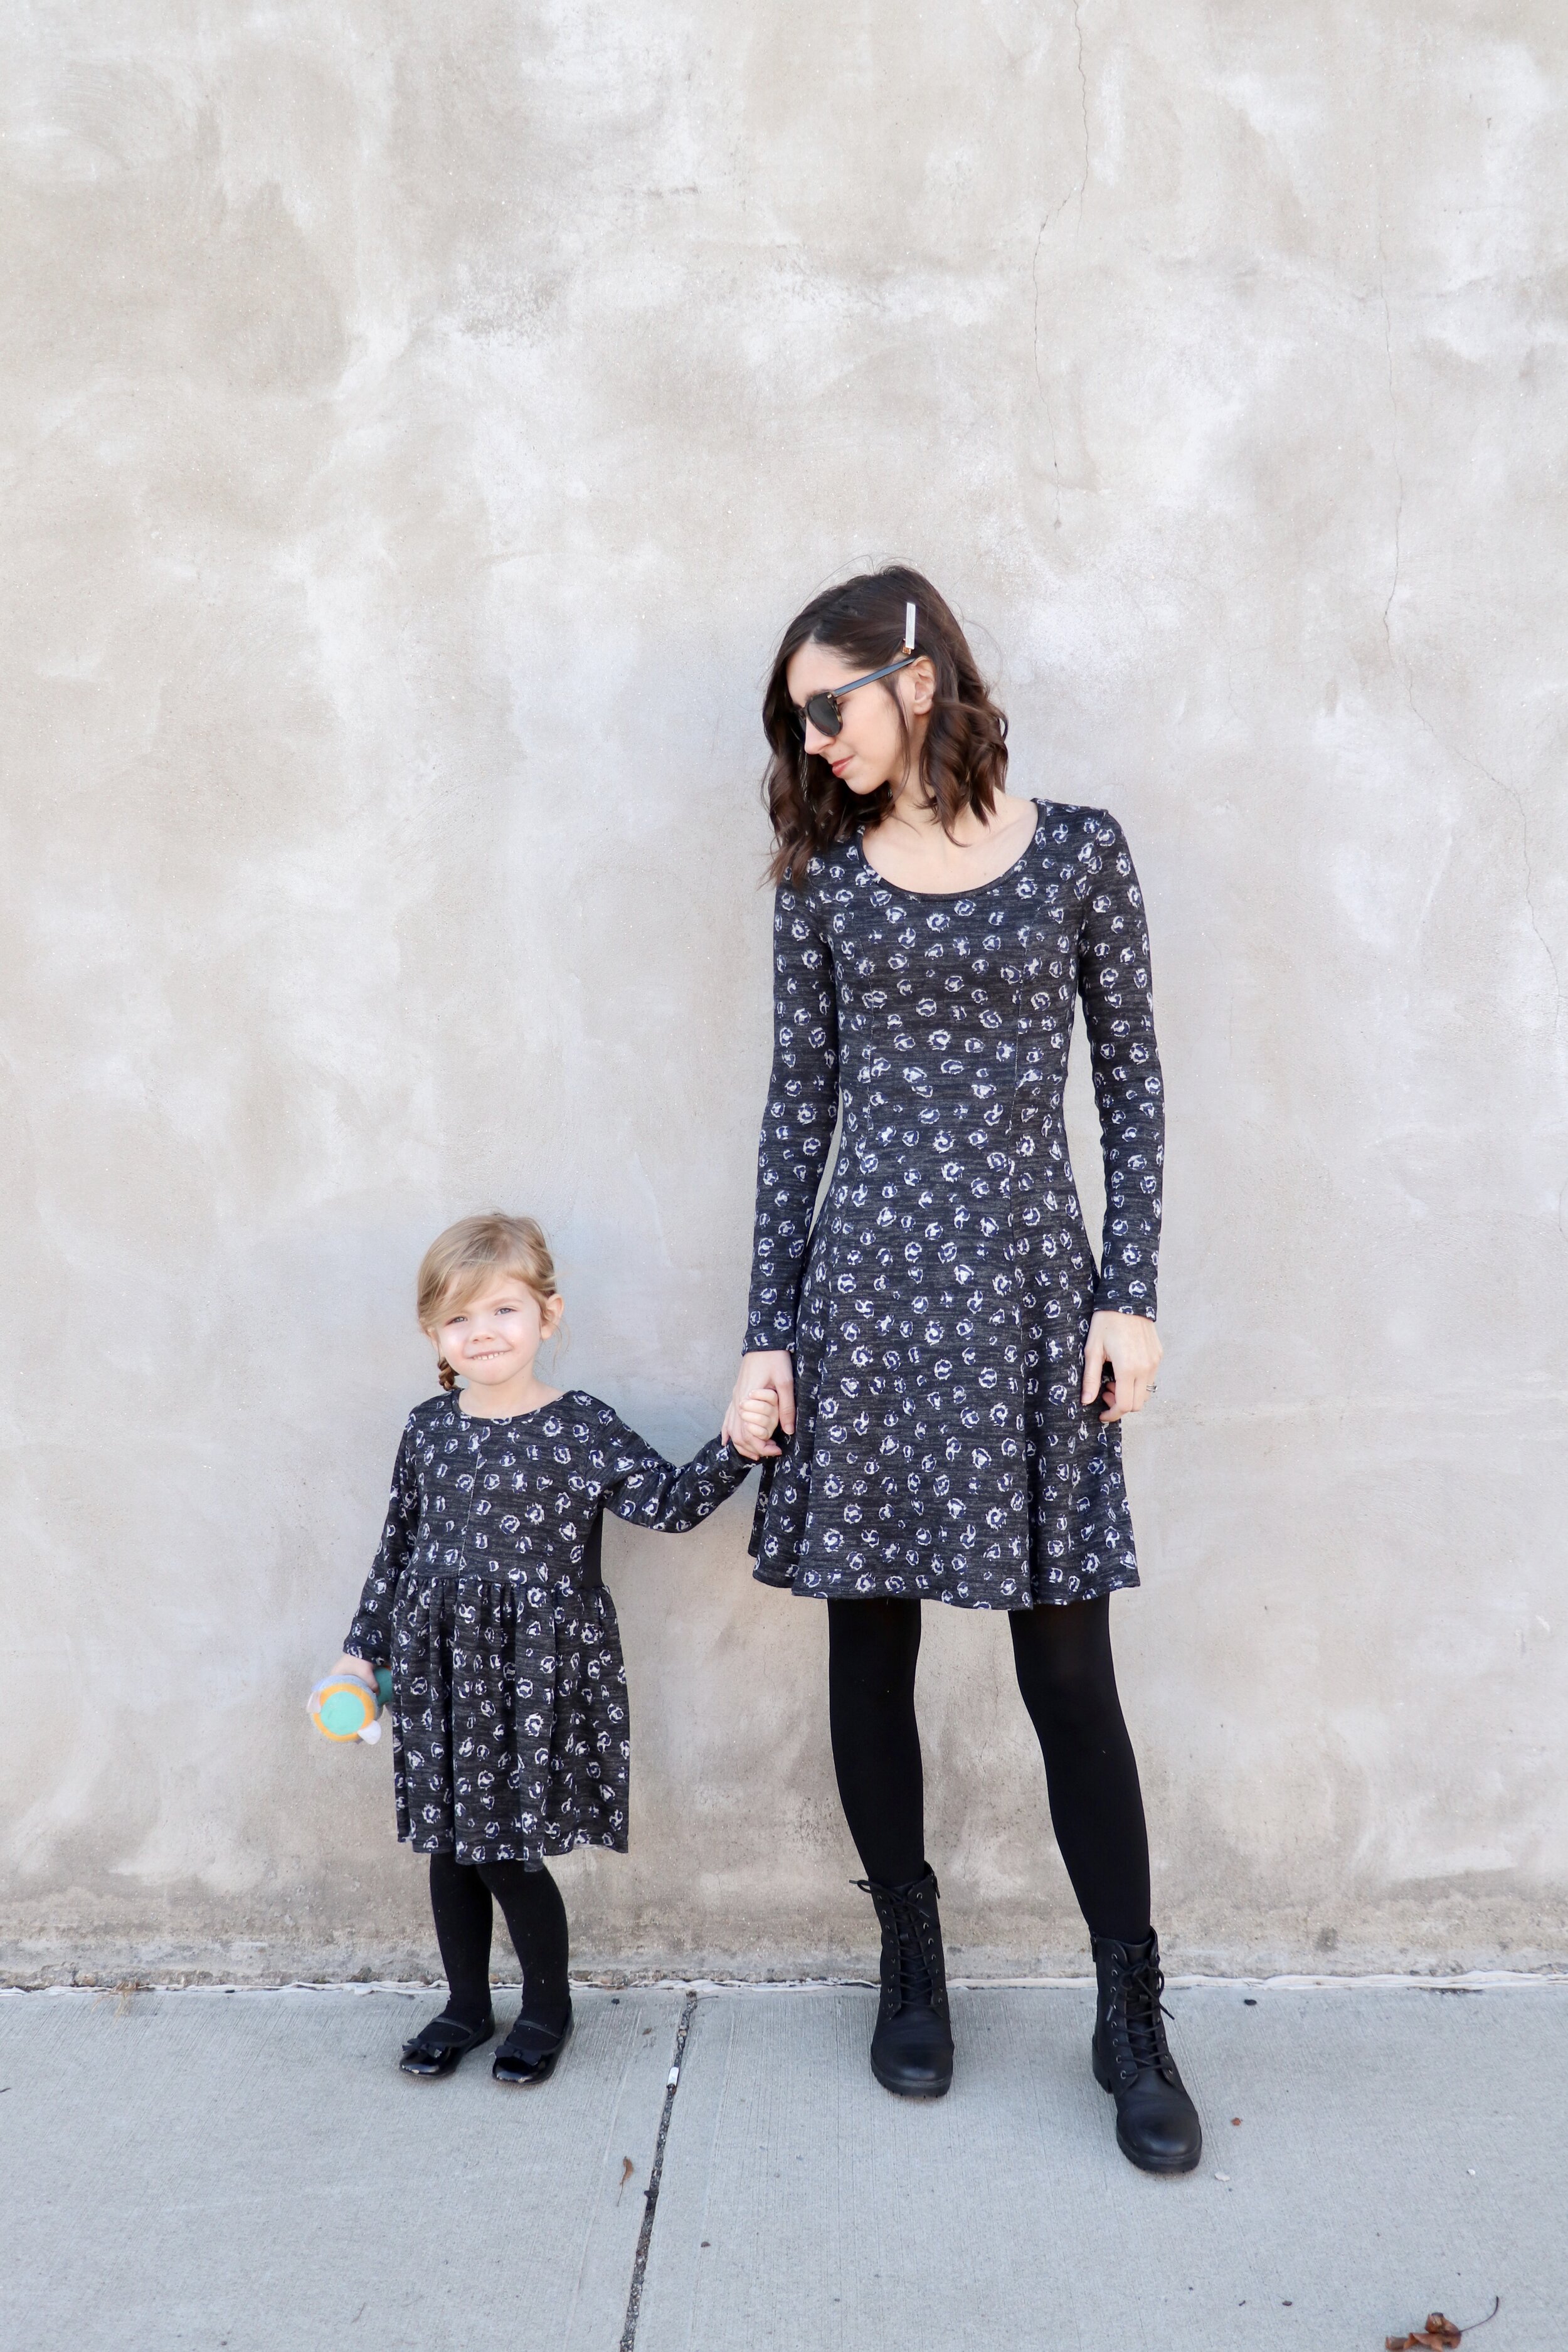
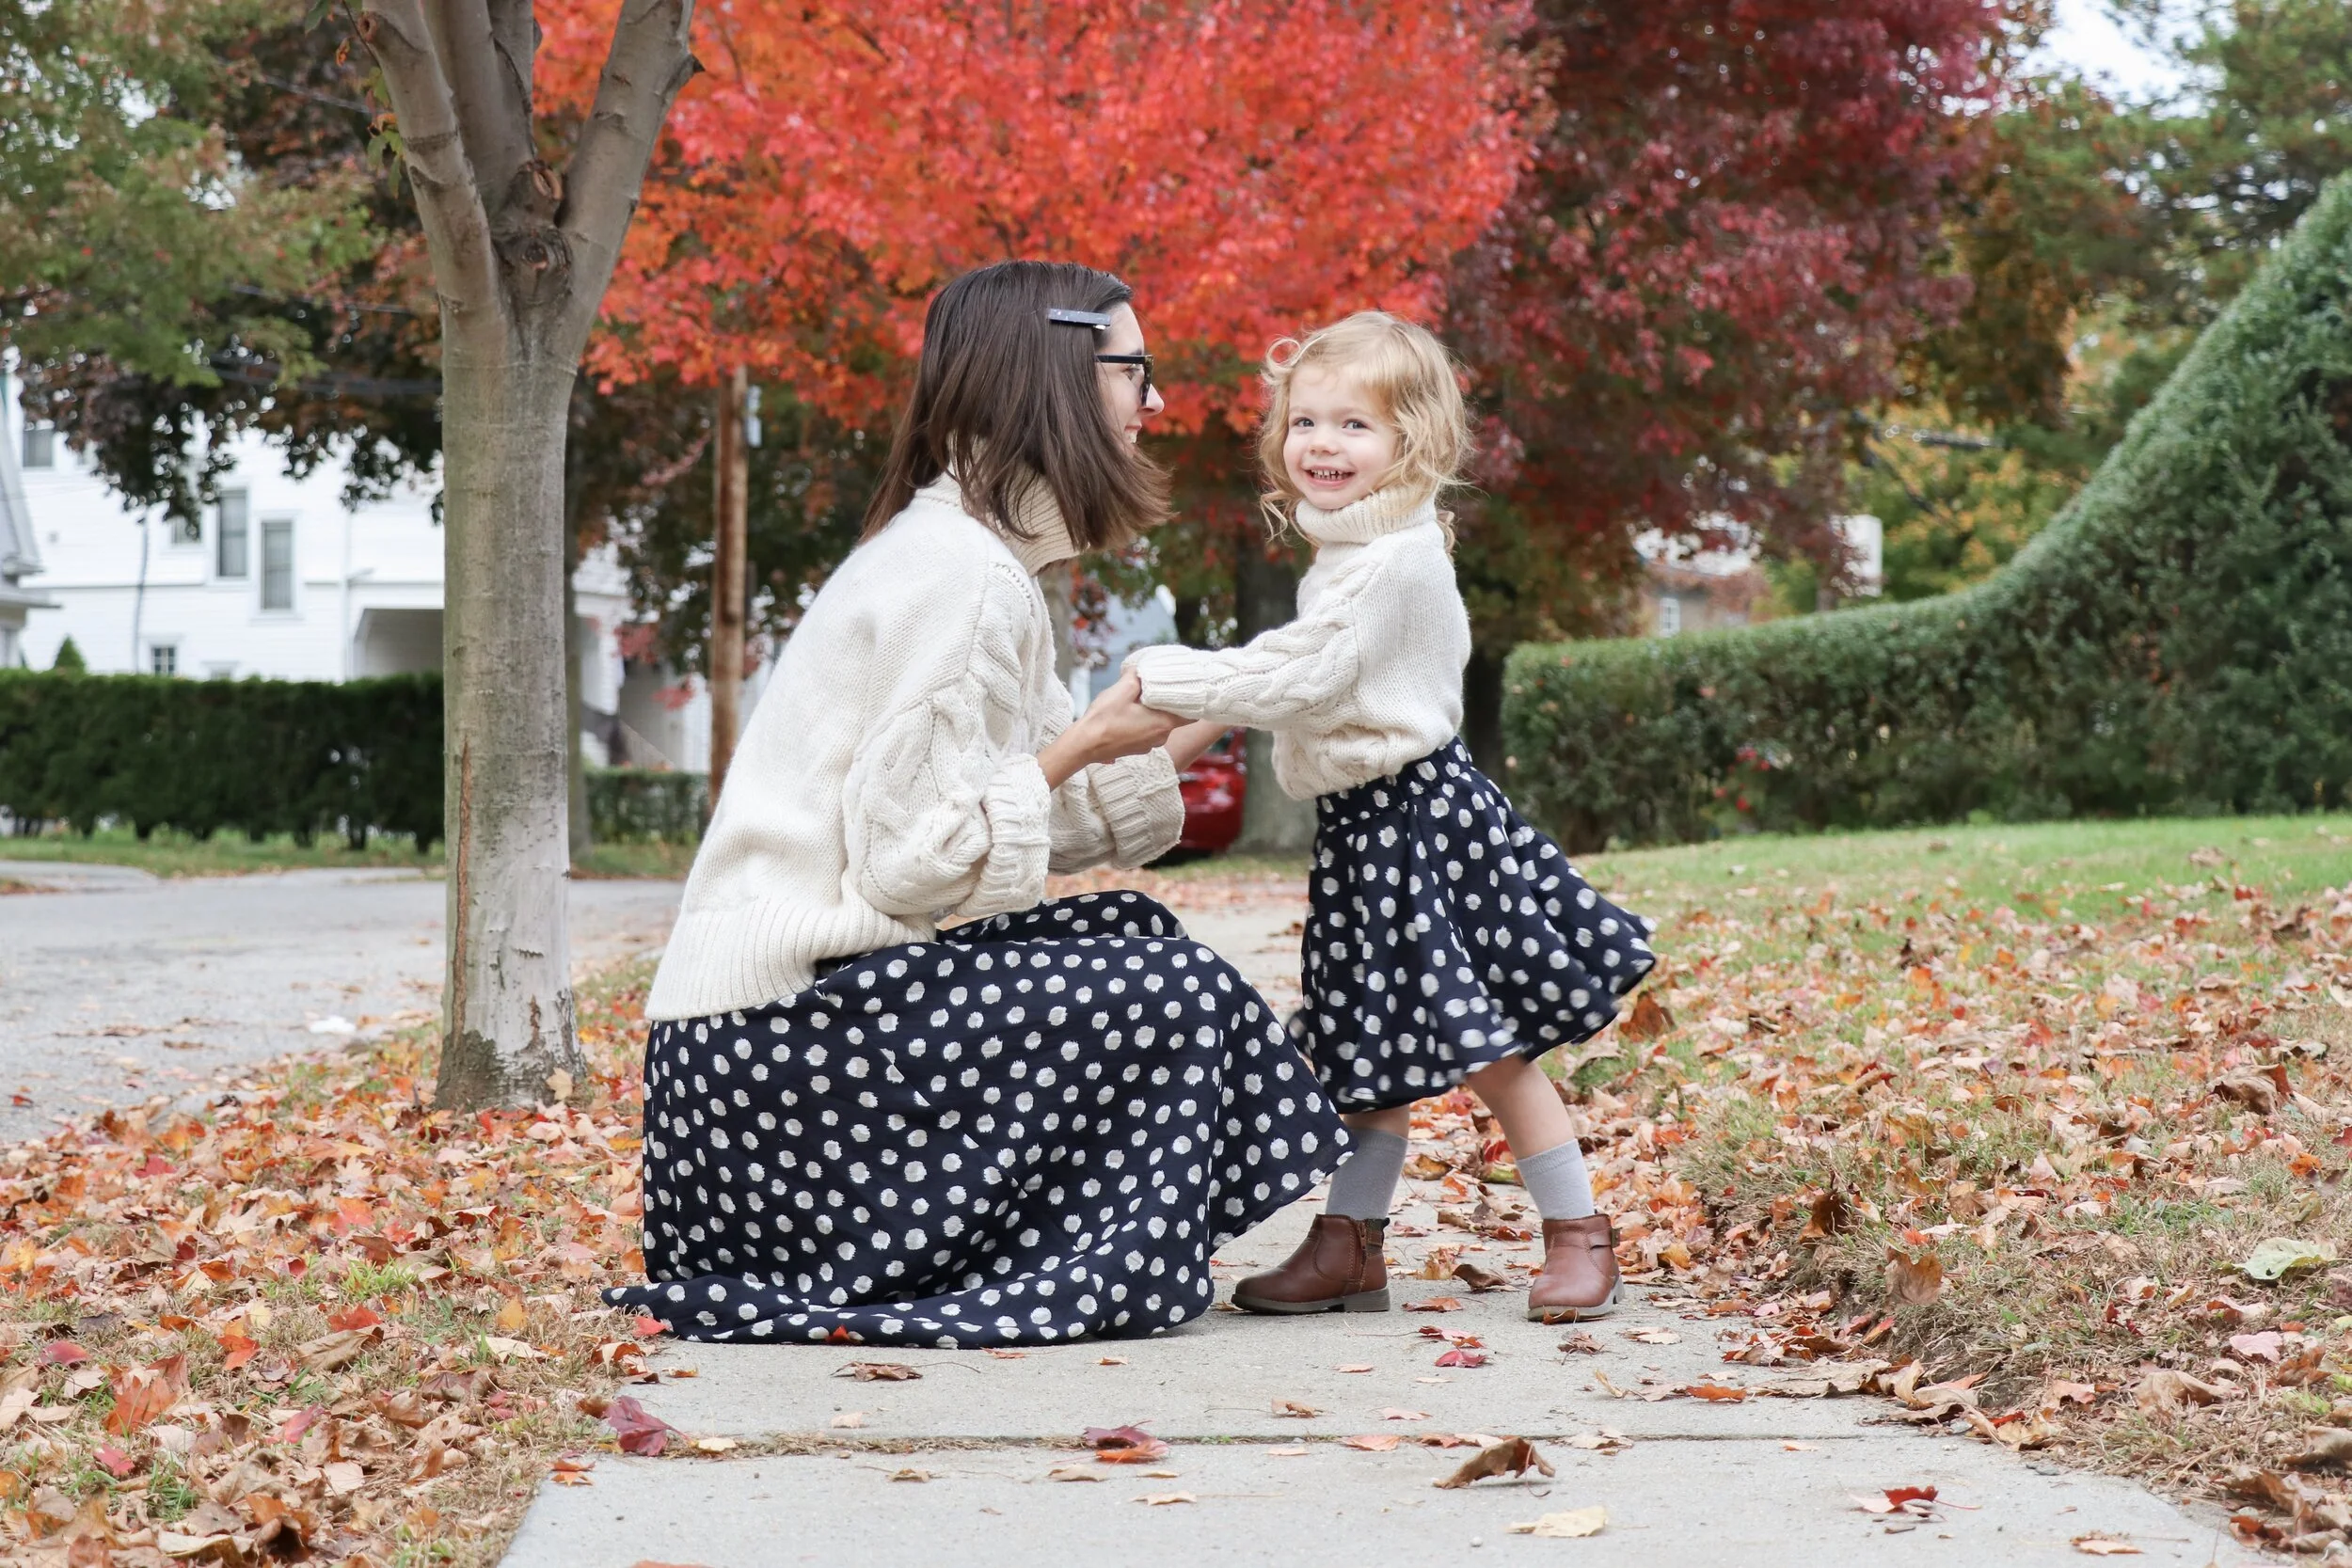
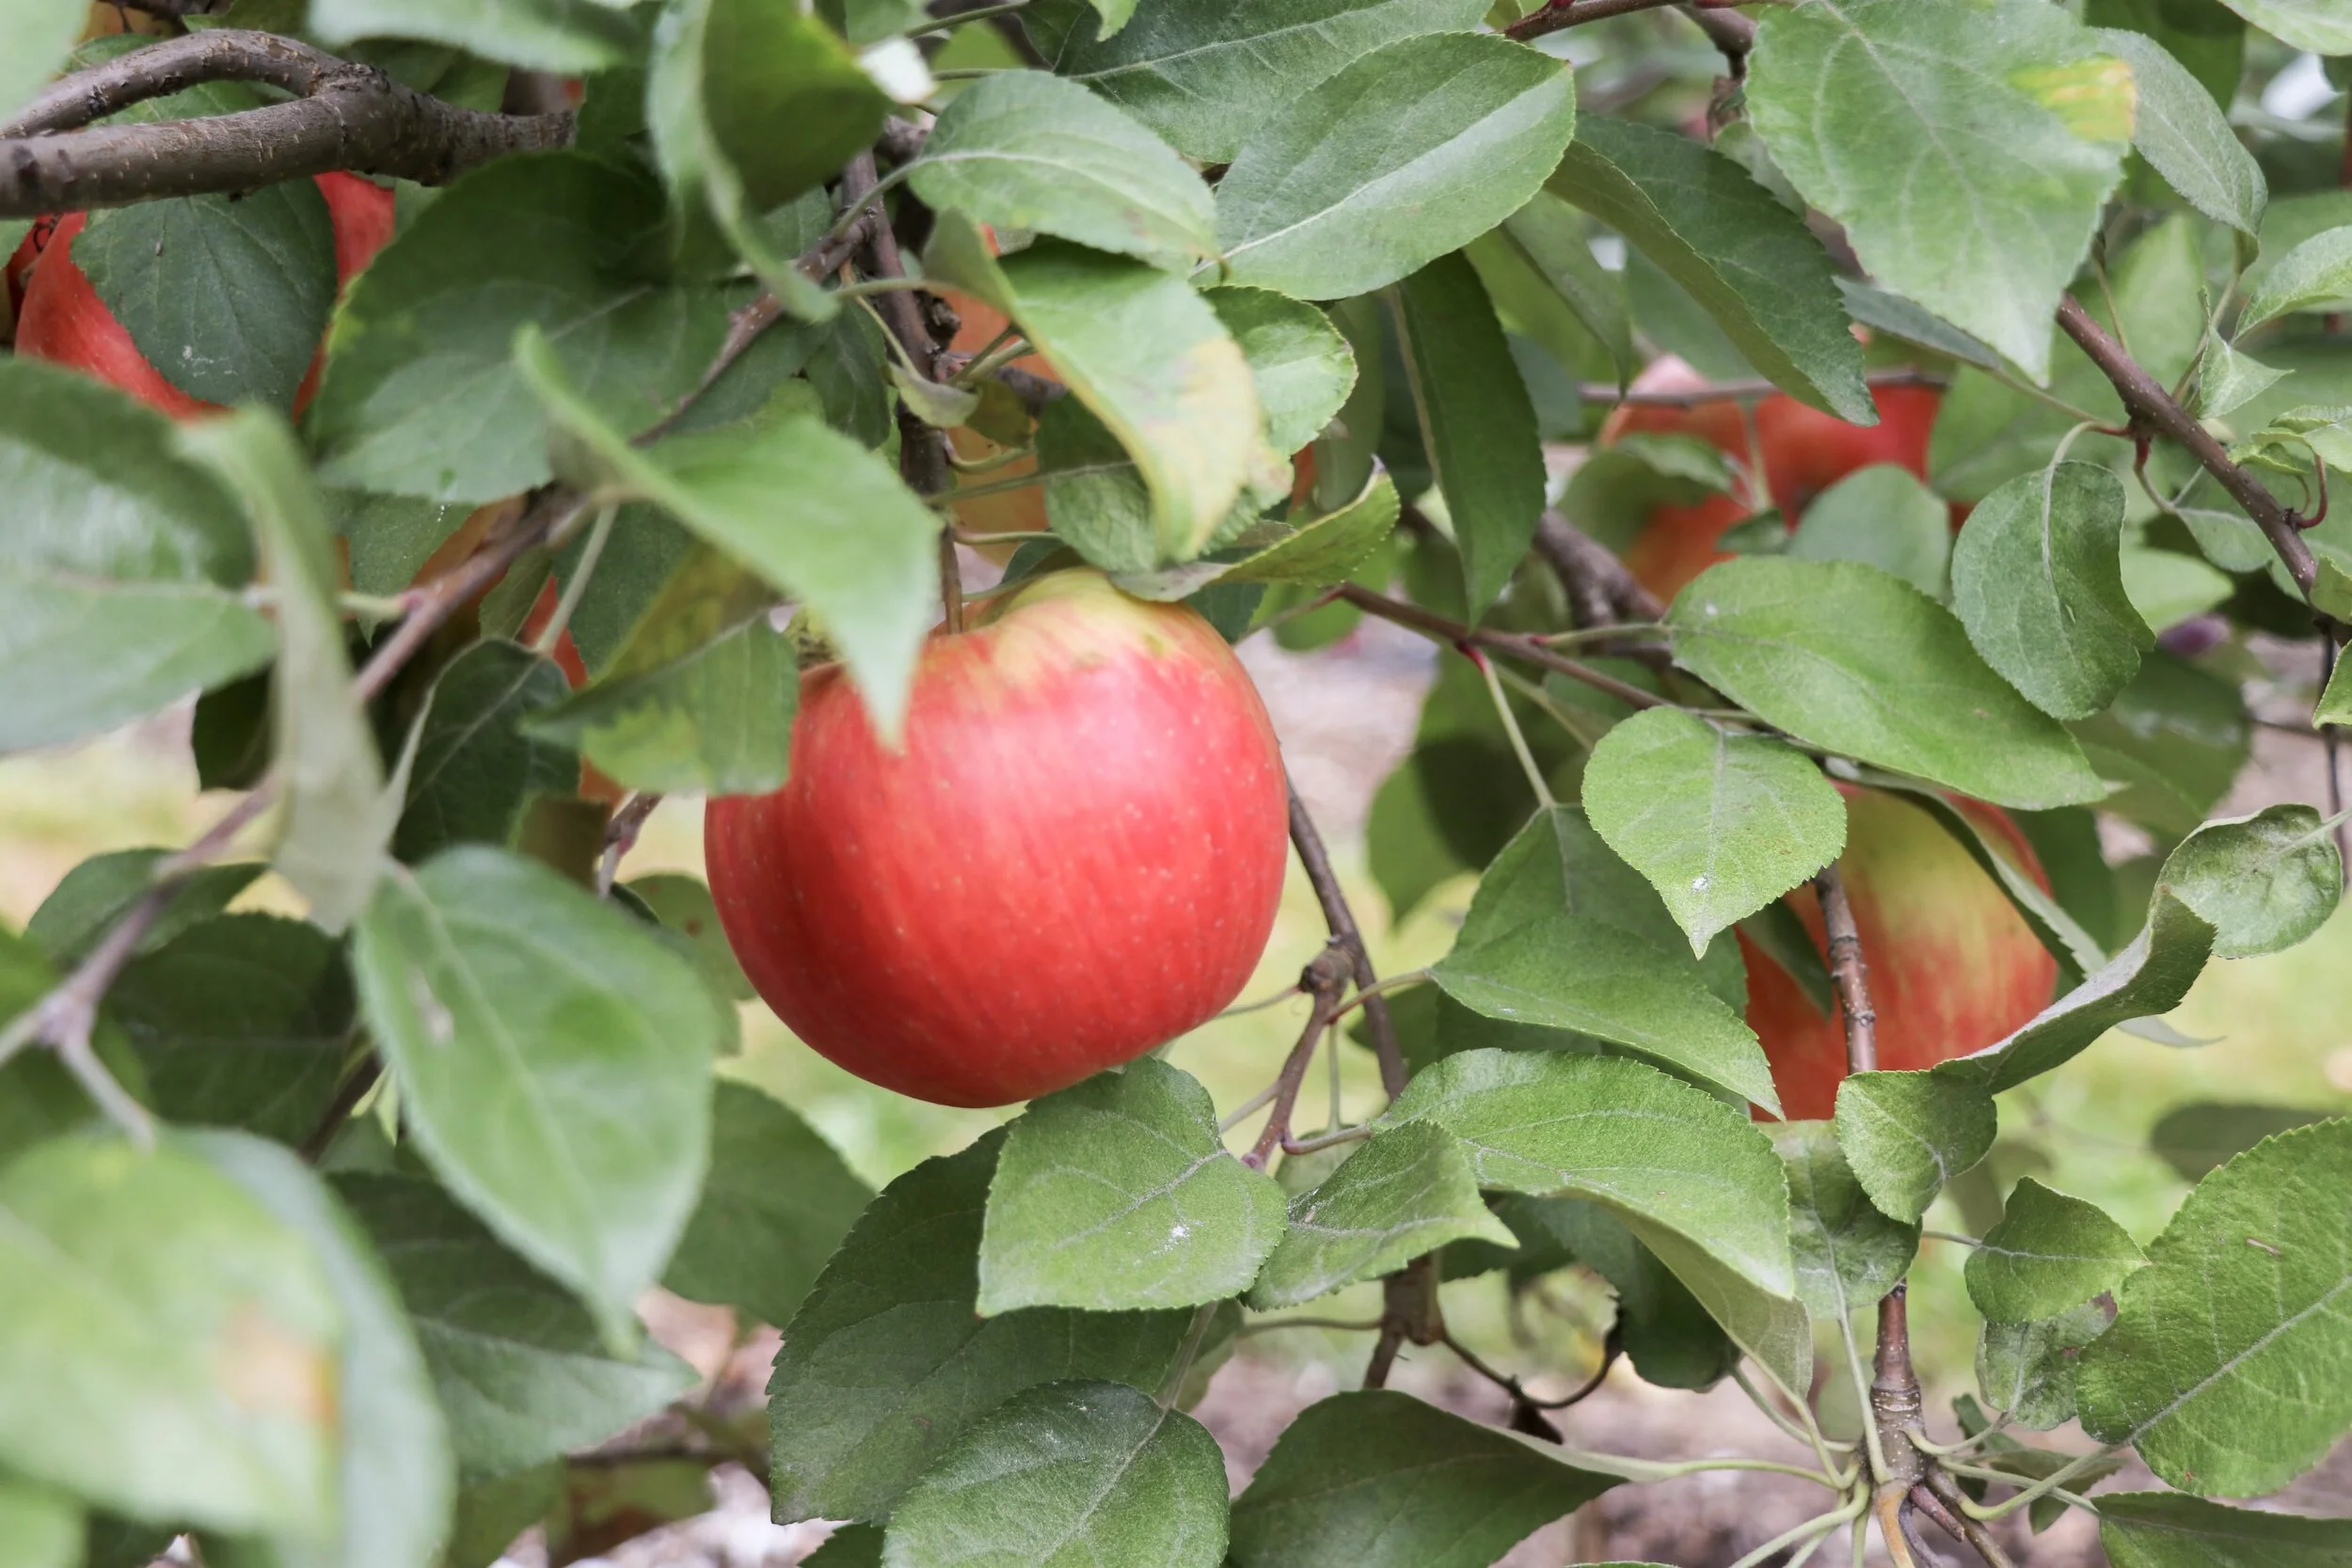
In the end, it’s wearable, sure. It looked pretty cute from afar at the apple orchard, and standing next to P in her matching check print. But it’s not love. And when it’s not love and has too many issues, it probabaly won’t survive my closet. I have a feeling it will eventually end up in the scrap bin to try and repurpose the fabric. C’est la vie. Maybe I’’ll attempt the same look again some other time, with a different pattern and fabric weight.

On a brighter note, I also made this buttery soft Adrienne Blouse at the same time and it definitly IS love. Love this pattern. Super easy and quick make, and fits like a glove. I’ll be making more of these!

I also made Penny’s dress….. last year. When I made it, I purposely added a very wide hem. It’s wide and has a loose fit, so I knew if I was able to just unpick the hem and lengthen it later on, we would get extended wear out of it. And that’s what I did! A year and half and still going strong with this dress. It actually has some sweet little ruffles that are hidden under the cardigan.

handmade wardrobe // mommy and me leopard

my dress: True Bias Roscoe dress in a silky faille from Spoonflower (designer is Michelle Aitchison)

my boots: Target

Penny’s skirt: self drafted

——————————————————————————————————

Remember the leopard print from my last post? The sublt pink leopard print? This is the same one, just in bolder colors! It’s from the same designer, bought on Spoonflower (link is above). Except this one I got in the silky faille fabric. It’s a tad bit thicker than the crepe de chine I got the other colorway in. Its not at all sheer and really silky to the touch. I really like this one!

I’ve been on a True Bias patterns kick lately, between Ogden, Calvin, Hudson, and now Roscoe. My first Roscoe! And I’m in love. I went with the shorter dress/tunic length of the bodice, but used the longer/wider ruffle hem of the midi dress view for my perfect length.

I only had a strip of fabric left over in the end - not close enough to squeeze out a dress for P, too. So I went with my go-to, super quick and easy make for P to match me - an elastic waist gathered skirt. One rectangular piece of fabric, one seam, a quick casing, and some elastic. Voila - a skirt. I have a tutorial on Megan Nielsen Design Diary if you need help with this simple sewing project! I added some buttonholes and a black drawstring on this one too for just a bit extra.

handmade wardrobe //dress of my dreams

my dress: New Look 6616 in an Atelier Brunette viscose from D&H Fabrics Co.

Penny’s tank: Megan Nielsen Mini Eucalypt, altered.

Penny’s pants: older H&M

————————————————————————————

I am on a roll making some freaking good dresses. This is another dream one! It has two of my favorite things - high square neck and ties. And THIS FABRIC. OMG this fabric. I’m so in love. It is a lightweight viscose and is a bit sheer. I lined the top, bit not the bottom because I didn’t want to add too much weight to the dress. But it’s not an issue because I have a nice collection of slip skirts that I can wear underneath. The pattern did need some adjustments. First of all, the straps were too long. I had to take those up by about 3/4”. And the bust, geez. There is no bust darts because it is just cinched with the sash ties, so that seemed perfect for me. But omg it was still so big in the bust and underarms. I had to take it in by more than 1 1/4” at each underarm, graded down to the waist. Luckily it worked it out. The last thing - not the biggest fan of the construction - specifically the zipper/bias binding. Doing the binding first and leaving the zipper until the very end left the top edge of the zipper unfinished and feeling a bit messy. I would suggest leaving the binding unfinished at the center back, sewing in the zipper, and then finishing the binding over the zipper for a cleaner finish.

For Penny’s, I didn’t have a lot of fabric left to play with, so I made her a quick tank using the mini Eucalypt. I wanted a higher, crew-neck style blouse though, so I raised the neckline quite a bit and added a slit in the back with a hook and eye. I also finished the edges with contrasting bias binding, instead of bias facing, using leftover binding from my Calvin wrap dress.