Boston

red1

After living in Boston for a couple of years, it’s easy for us to go about our lives and forget that we live in one of the most gorgeous and historical cities in the U.S. But that’s one of the great things about having friends and family come and visit from out of town - it means we get to be tourists in our own city… all over again. 

And I love it. 

So when Boo’s mom and brother came to stay for a couple of days, we walked allllllll over the city. And I have the blisters to prove it.

IMG_8771

red2

IMG_8907

IMG_8898

red3

IMG_9029

red4

faux leather leggings: Forever21

scarf: thrifted

tote: c/o The Swapaholics

boots: Modcloth

Dots and Spots

combo1

Happy friday, everyone!

I’m taking today to officially start the name-change process. I know, I know - I’ve been married for 3 months and I’m just now starting. I’m a bit of a procrastinator. I mean, It is quite the daunting process. Yikes! But, hopefully within a few weeks, it will be all done and I will finally be Holly(Dolly) Darling. 

Not gonna lie, I’m gonna have a pretty sweet new name. 

combo2

IMG_8476

combo3

cardigan: Forever 21

tee: H&M (men’s)

scarf: H&M

skirt: Forever 21

boots: Modcloth

glasses: Warby Parker (Winsotn)

The Fair and The Farm

fair1

Boo and I had a jam-packed long weekend. We hosted wing night, attended a friend’s brunch, and had fun at Honk Fest. And on Saturday, we started the day off at the fair, and ended the day wandering through the corn maze and pumpkin patch. 

I love the fair. Well, let’s be honest - I really love fair food. Isn’t that the whole point of going to the fair? The blooming onions, candy apples, fried dough, frozen bananas. Oooooooh the list goes on and on.

IMG_7850

IMG_7856

IMG_7828

fair2

IMG_7769

fair3

fair4

IMG_8157

fair5

IMG_8166

dress: JCrew (Crewcuts)

shirt: American Apparel

necklace: Bobbles and Lace

tote: Apple & Bee

boots: Target

Purple People

IMG_7589

I swear we didn’t plan this.

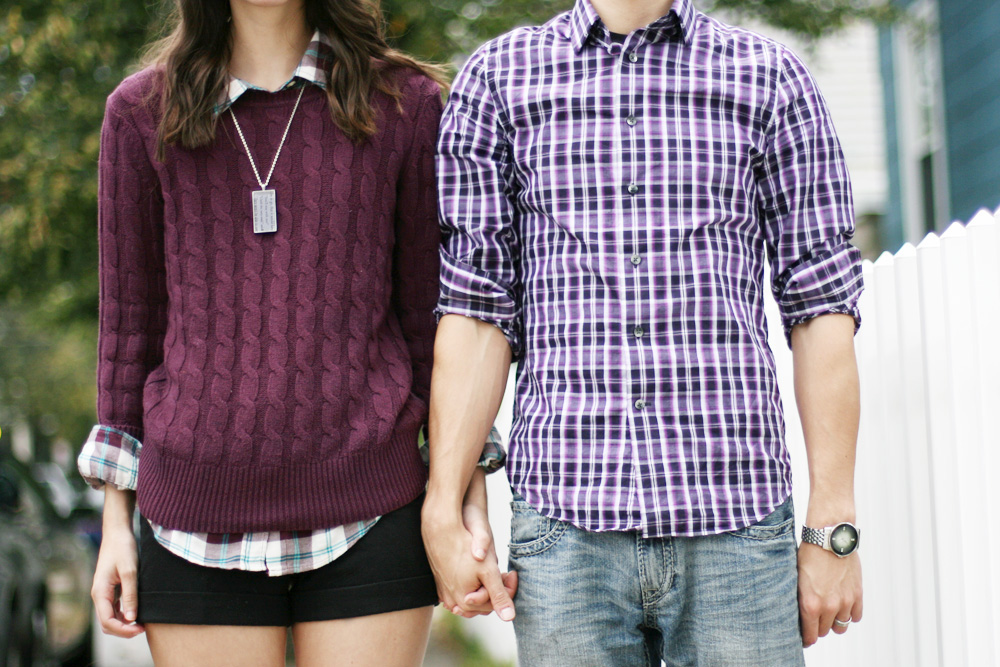
In fact, I’m usually still asleep when Boo gets dressed and leaves for work in the morning. So I was pleasantly surprised when he walked through the door the other evening also decked out in purple - a color neither of us wear very often. Obviously, that called for a photo op. 

Great minds, I tell ya. Great minds. 

Happy friday!

purple

IMG_7581

IMG_7527

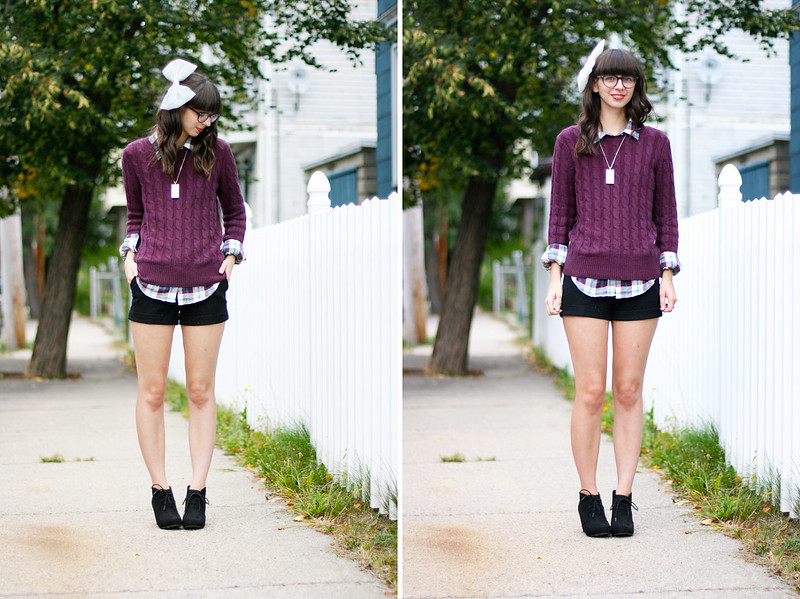
sweater: thrifted Gap

shirt: thrifted F21

shorts: thrifted

hair bow: handmade/ shopHollyDolly (my wedding bow!)

booties: Target

boo’s shirt: Express

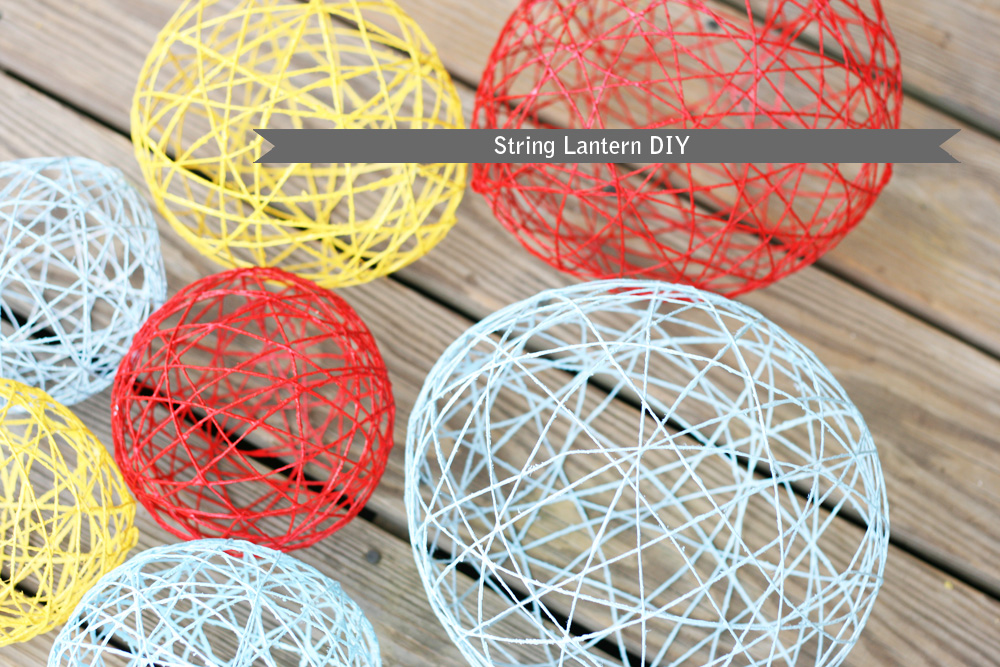
DIY Yarn Lanterns

lanterndiy1

Supplies:

-string/yarn

-vaseline

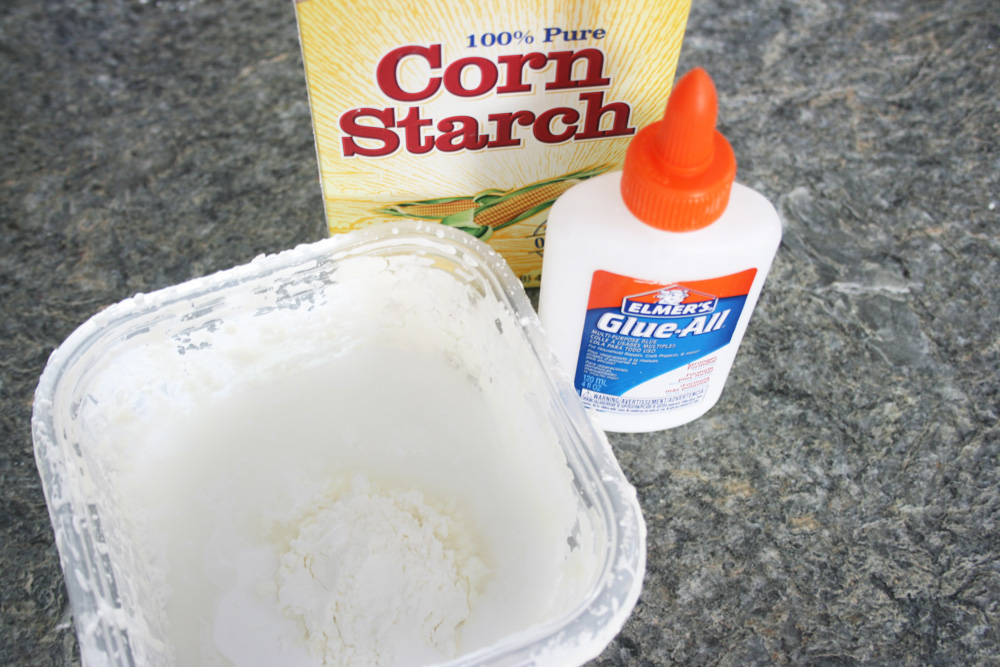
-elmers glue

-corn starch

-water

-balloons

-spray paint (optional)

IMG_6127

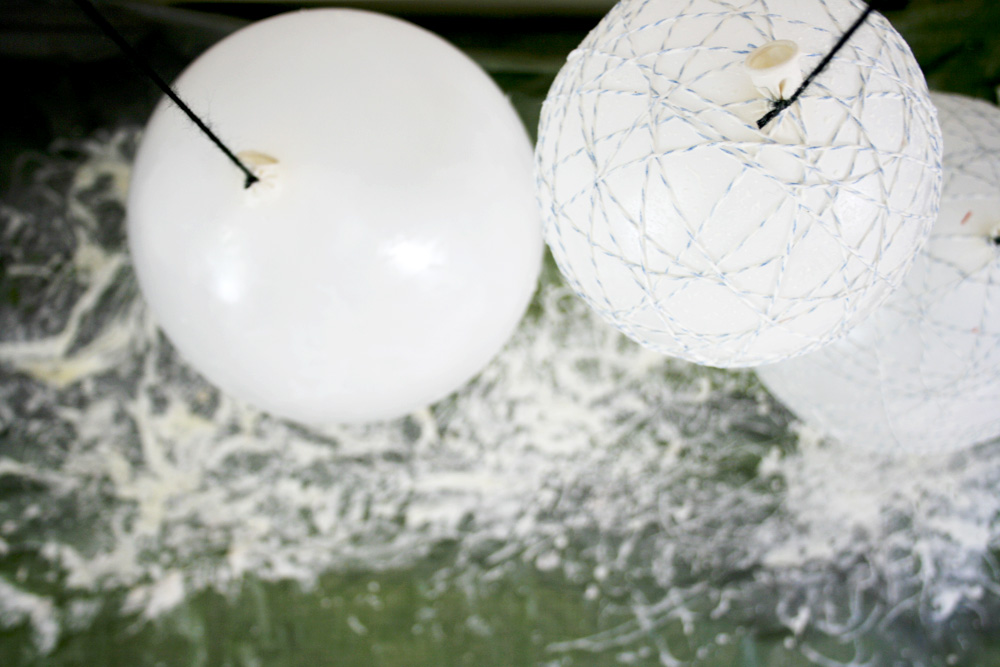
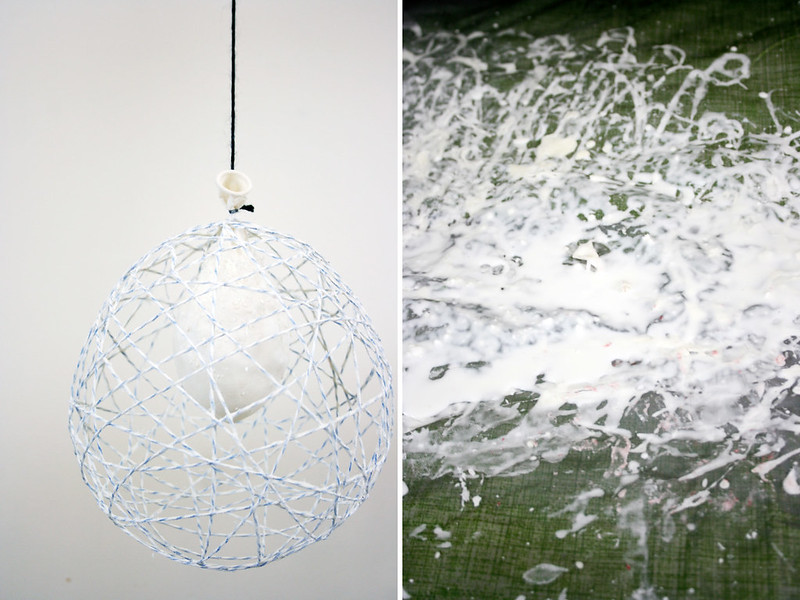
1. Set up your work space. Hang a horizontal dowel/rod/stick/wire across two chairs/shelves.etc. Somewhere where you can hang multiple balloons from with string. Lay down plastic or a tarp underneath, and make sure to cover the entire work space. Seriously. Look at the pictures below. This isn’t exactly a neat and tidy project. 

2. Blow up your balloons to your desired size and hang them, using string, from your rod. Make sure they are not touching each other, the wall, etc. 

3. Cover the balloons in vaseline, to make sure the string doesn’t stick to the balloon when the glue dries.

4. Make your glue mixture. Mix about half a bottle of glue, 1/2 cup of cornstarch, 1/4 up water. This is only enough for a few lanterns, so mix more if you are making a lot of them. 

IMG_6149

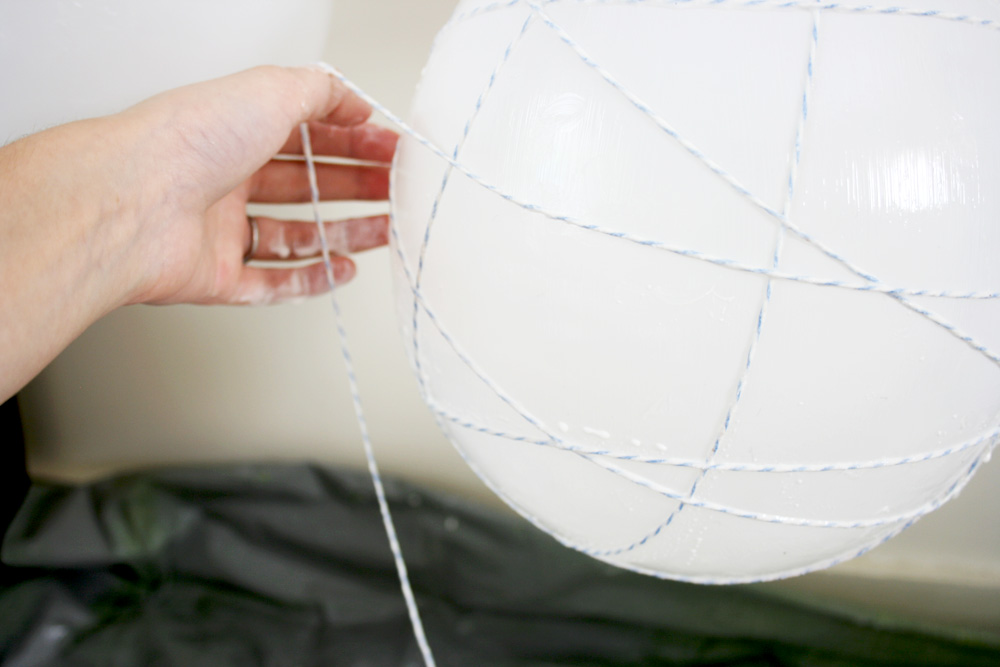
5. Run your yarn through the glue mixture and start wrapping it around your balloon. This works so much better if you have two people. One person can feed it through the glue, while the second person takes the newly glue covered yarn and wrap. Theres no rhyme or reason to the wrapping - just go with the flow!

IMG_6073

6. When you have your desired look - cut the yarn and tuck in the ends. Let dry at least 24 hours. Personal tip -after it’s fully dry, give it a light test squeeze to see if it is soft in any spots. If it doesn’t feel firm enough to you, give it another coat of glue and let re-dry. 

lanterndiy2

7. When it is fully dry  - hold your breath, and pop the balloons! Pull out the balloon and scrape off and excess glue from the string. 

Holly+Zach_cer-5

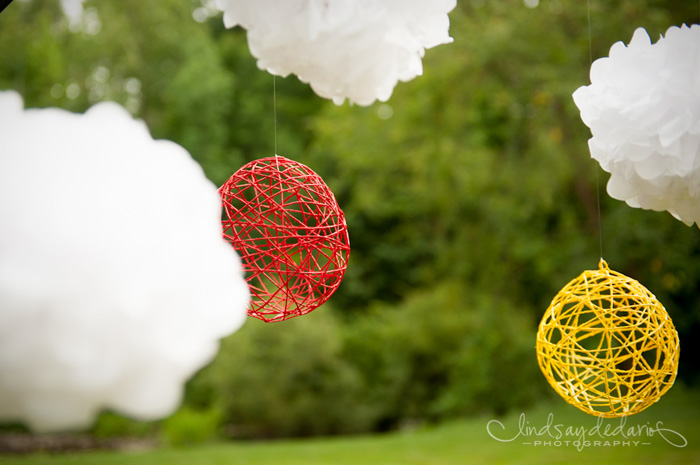
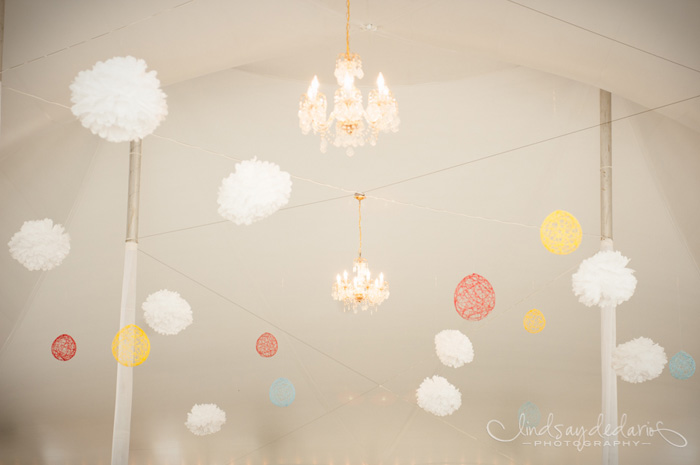
8. That’s it! You can paint or spray paint them if you would like. Or try using colored string to start with!

Holly+Zach_reception-28

***last two photos by Lindsay Dedario Photography***