handmade wardrobe // not so secret pajamas

fabric: See You At Six french terry from D&H Fabrics

my sweatshirt: Megan Nielsen Patterns Jarrah sweatshirt

my pants: True Bias Hudson sweatpants

Penny’s hoodie: Burda 9308

rest of Penny’s outfit (hat, pants, sneakers): June and January

—————————————————————————————————

When we went to walk out the door to take thiese photos, Zach looked at me and said “wait, are you going out in your pajamas?”. Haha, I mean, basically, yeah. Forget #secretpajamas, a matching Jarrah and Hudson sweat set is definitely not-so-secret-pajamas. And I don’t care! I’ll go out in my pajamas if they look like this. And the quality of this french terry is so gooooood and the construction came together so perfectly, that I honeslty feel like I’m wearing an expensive ready to wear sweat outfit from Lou & Grey or something. You’ll find me living in this set all year round.

But let’s be real, Penny’s matching hoodie is even cuter than mine. Now I just need to get my hands on just a little bit more yardage so I can make some mini Hudson pants for her too.

hanndmade wardrobe // family holiday robes

pattern: Simplicity 9021 , also available at your local Joann store

mint sweatshirt fleece: Cali Fabrics

grey sweatshirt fleece: Fabric Mart Fabrics

buffalo check flannel: Joann Fabrics

———————————————————————————————

** sponsored post **

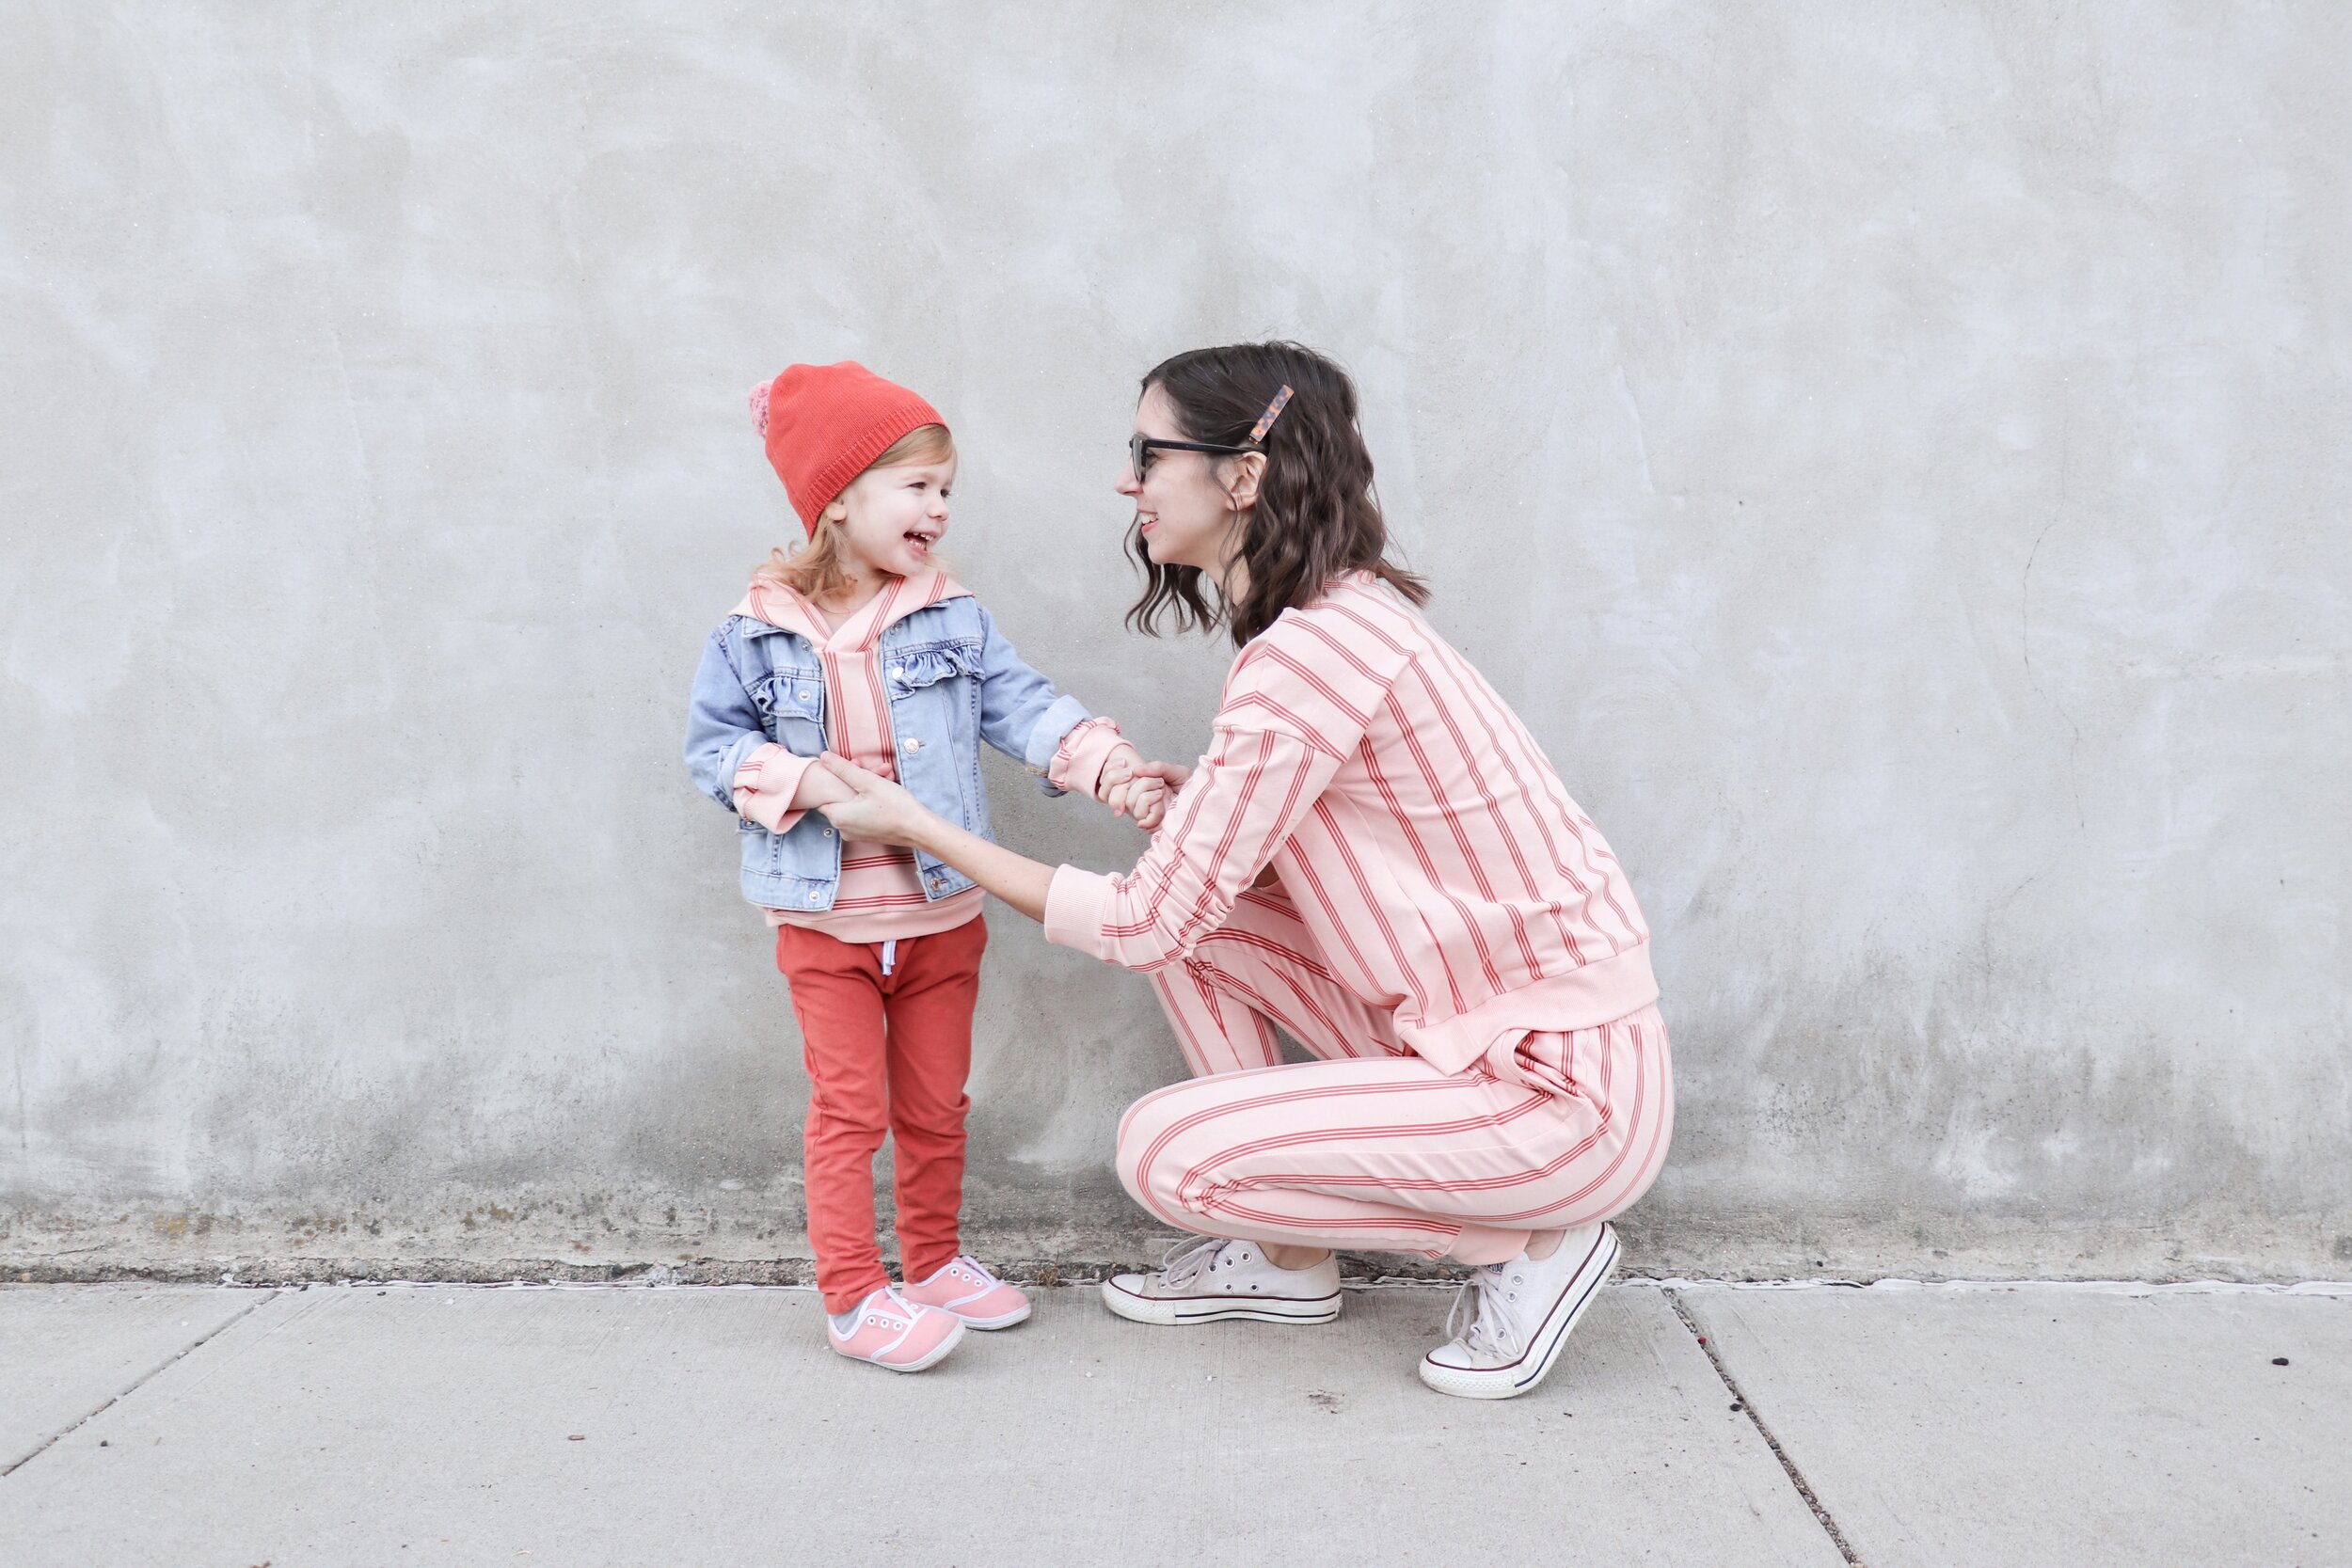
Two of my favorite things are handmade gifts and matching with my mini. Even better? When we get Daddy involved!

If you’re trying to figure out what to gift someone this holiday, I’m here to tell you that everyone loves cozy pajamas and loungewear! Especially handmade cozywear. Whether you make them to gift to other people, or for you and your own family to match as you sit around the Christmas tree - can anyone really resist some matching pajamas? Even if you’re a beginner, you can find some super easy-to-sew patterns from Simplicity or McCall’s. Think - some fun basic drawstring pajama pants in a quirky holiday print- super easy and a great beginner project! Or maybe you want to step it up a notch and try some fun matching zip-up onesies. Or you could go the route I did and go for matching robes!

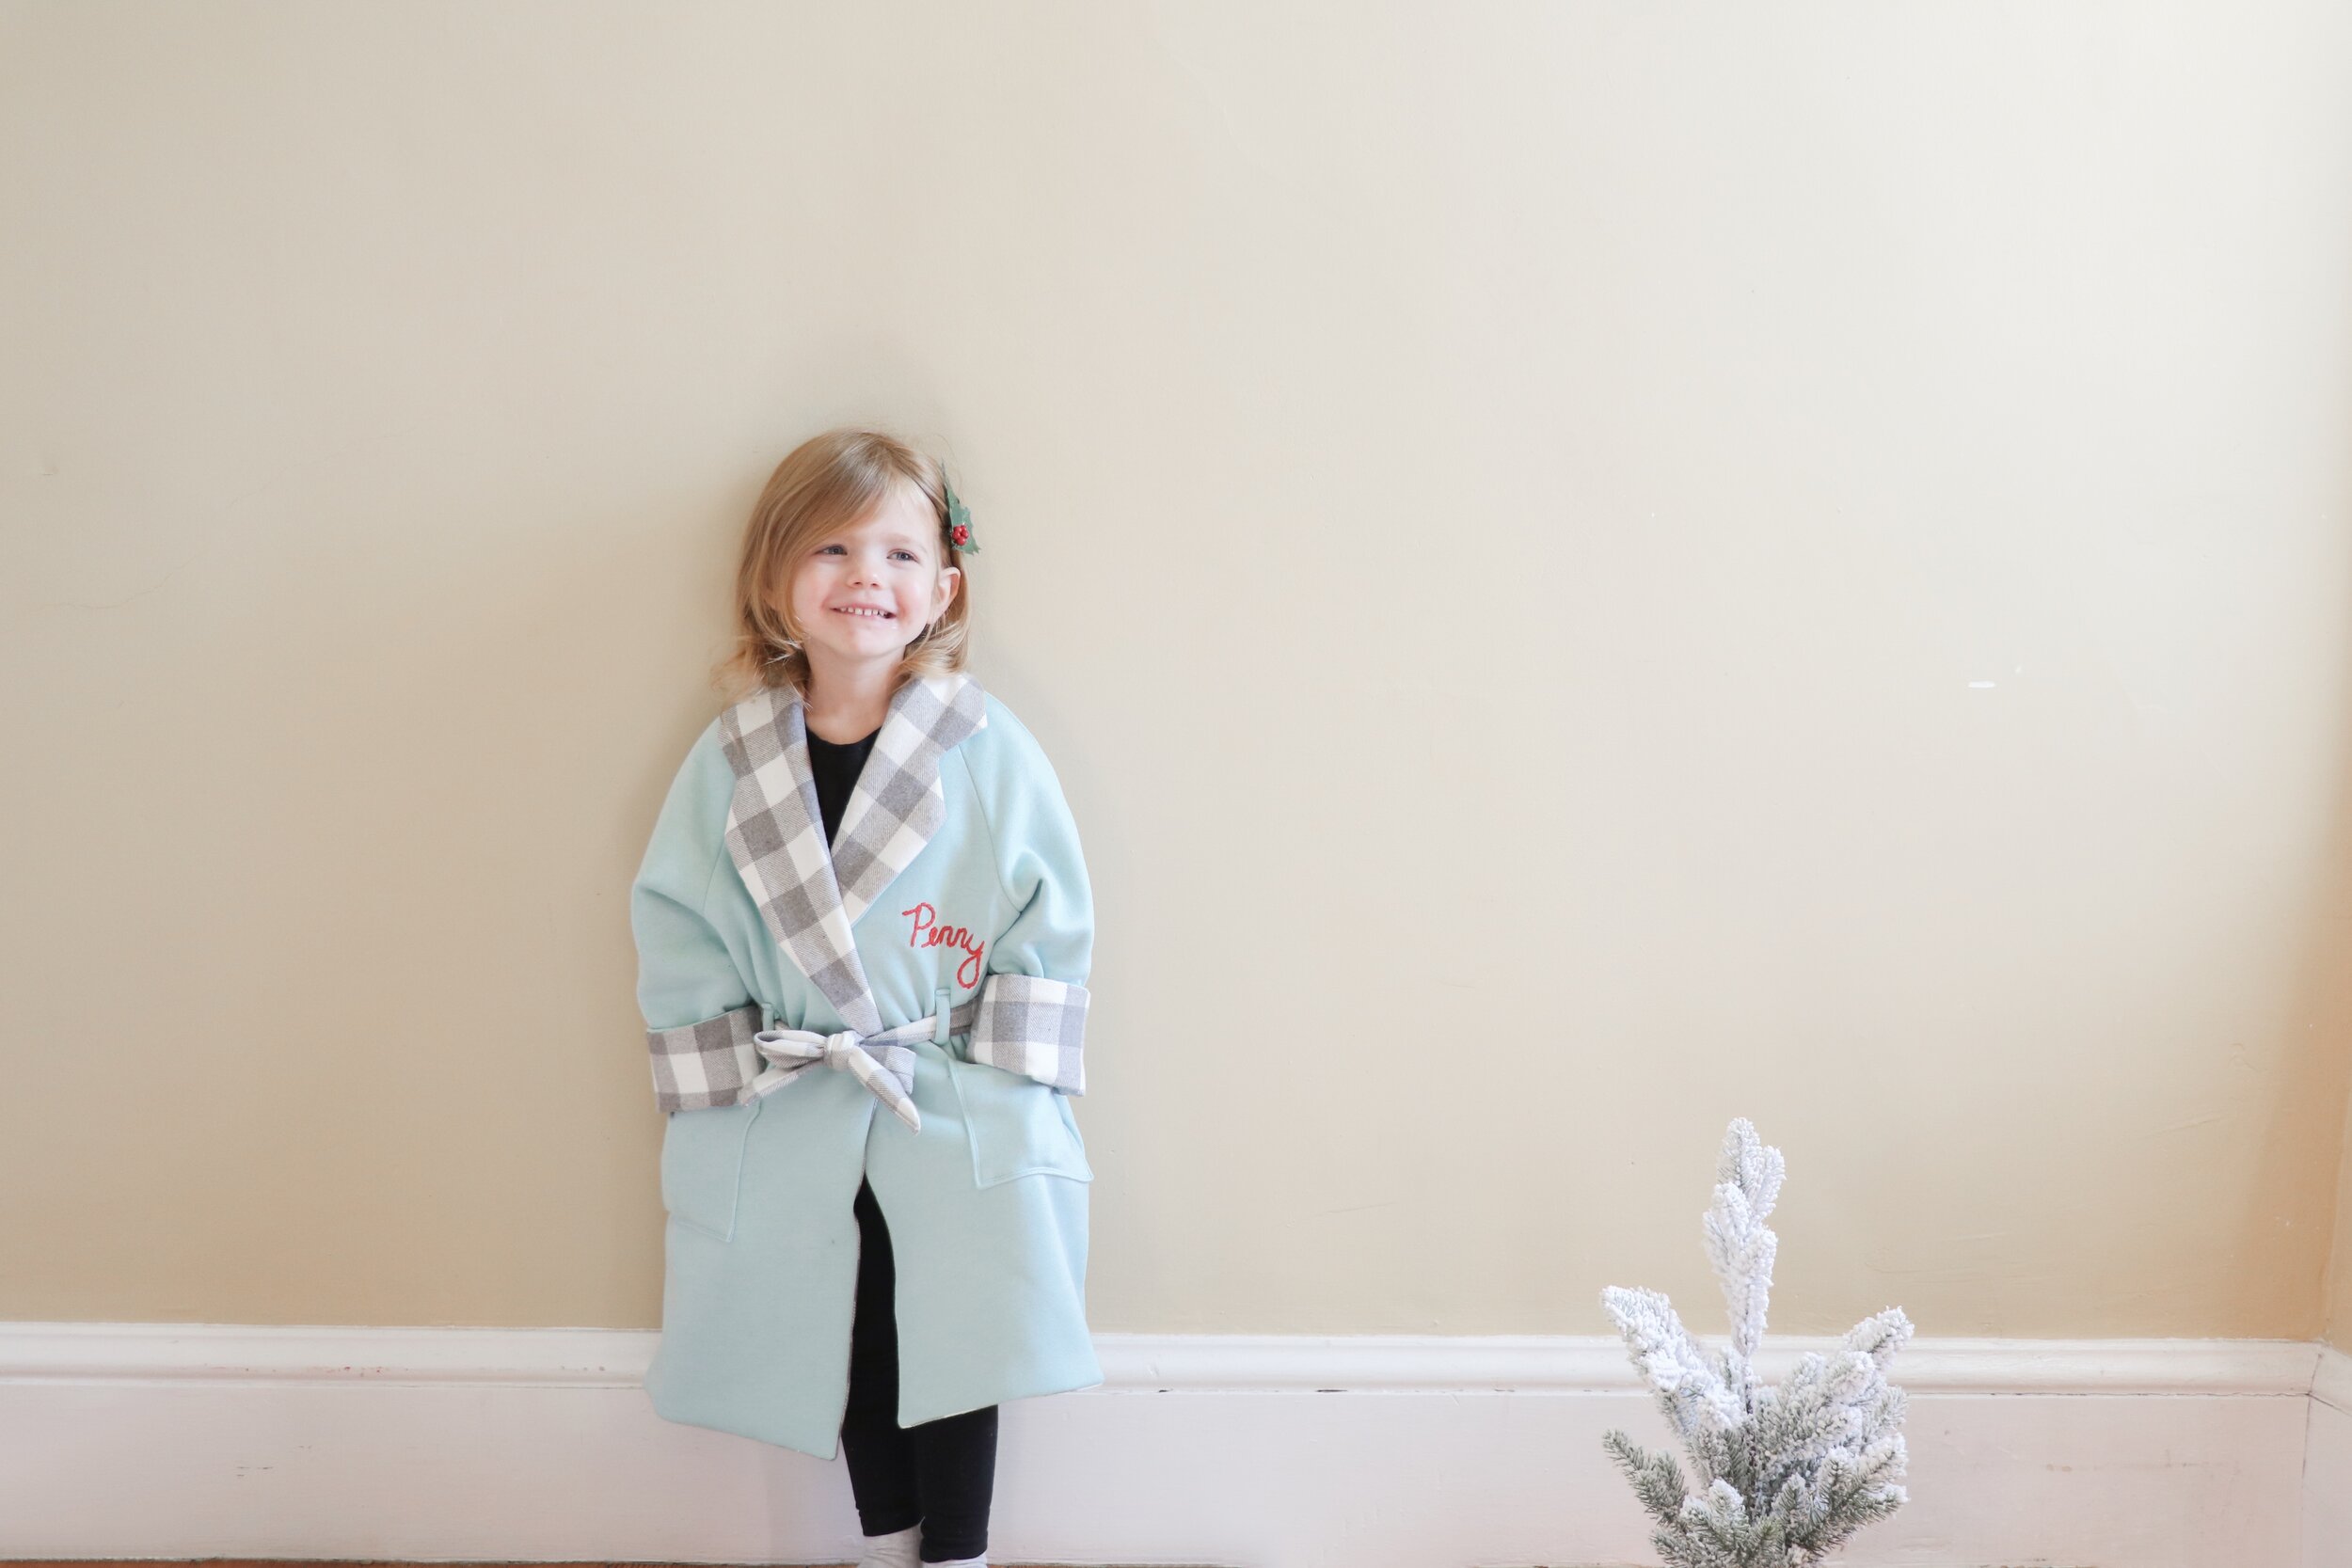
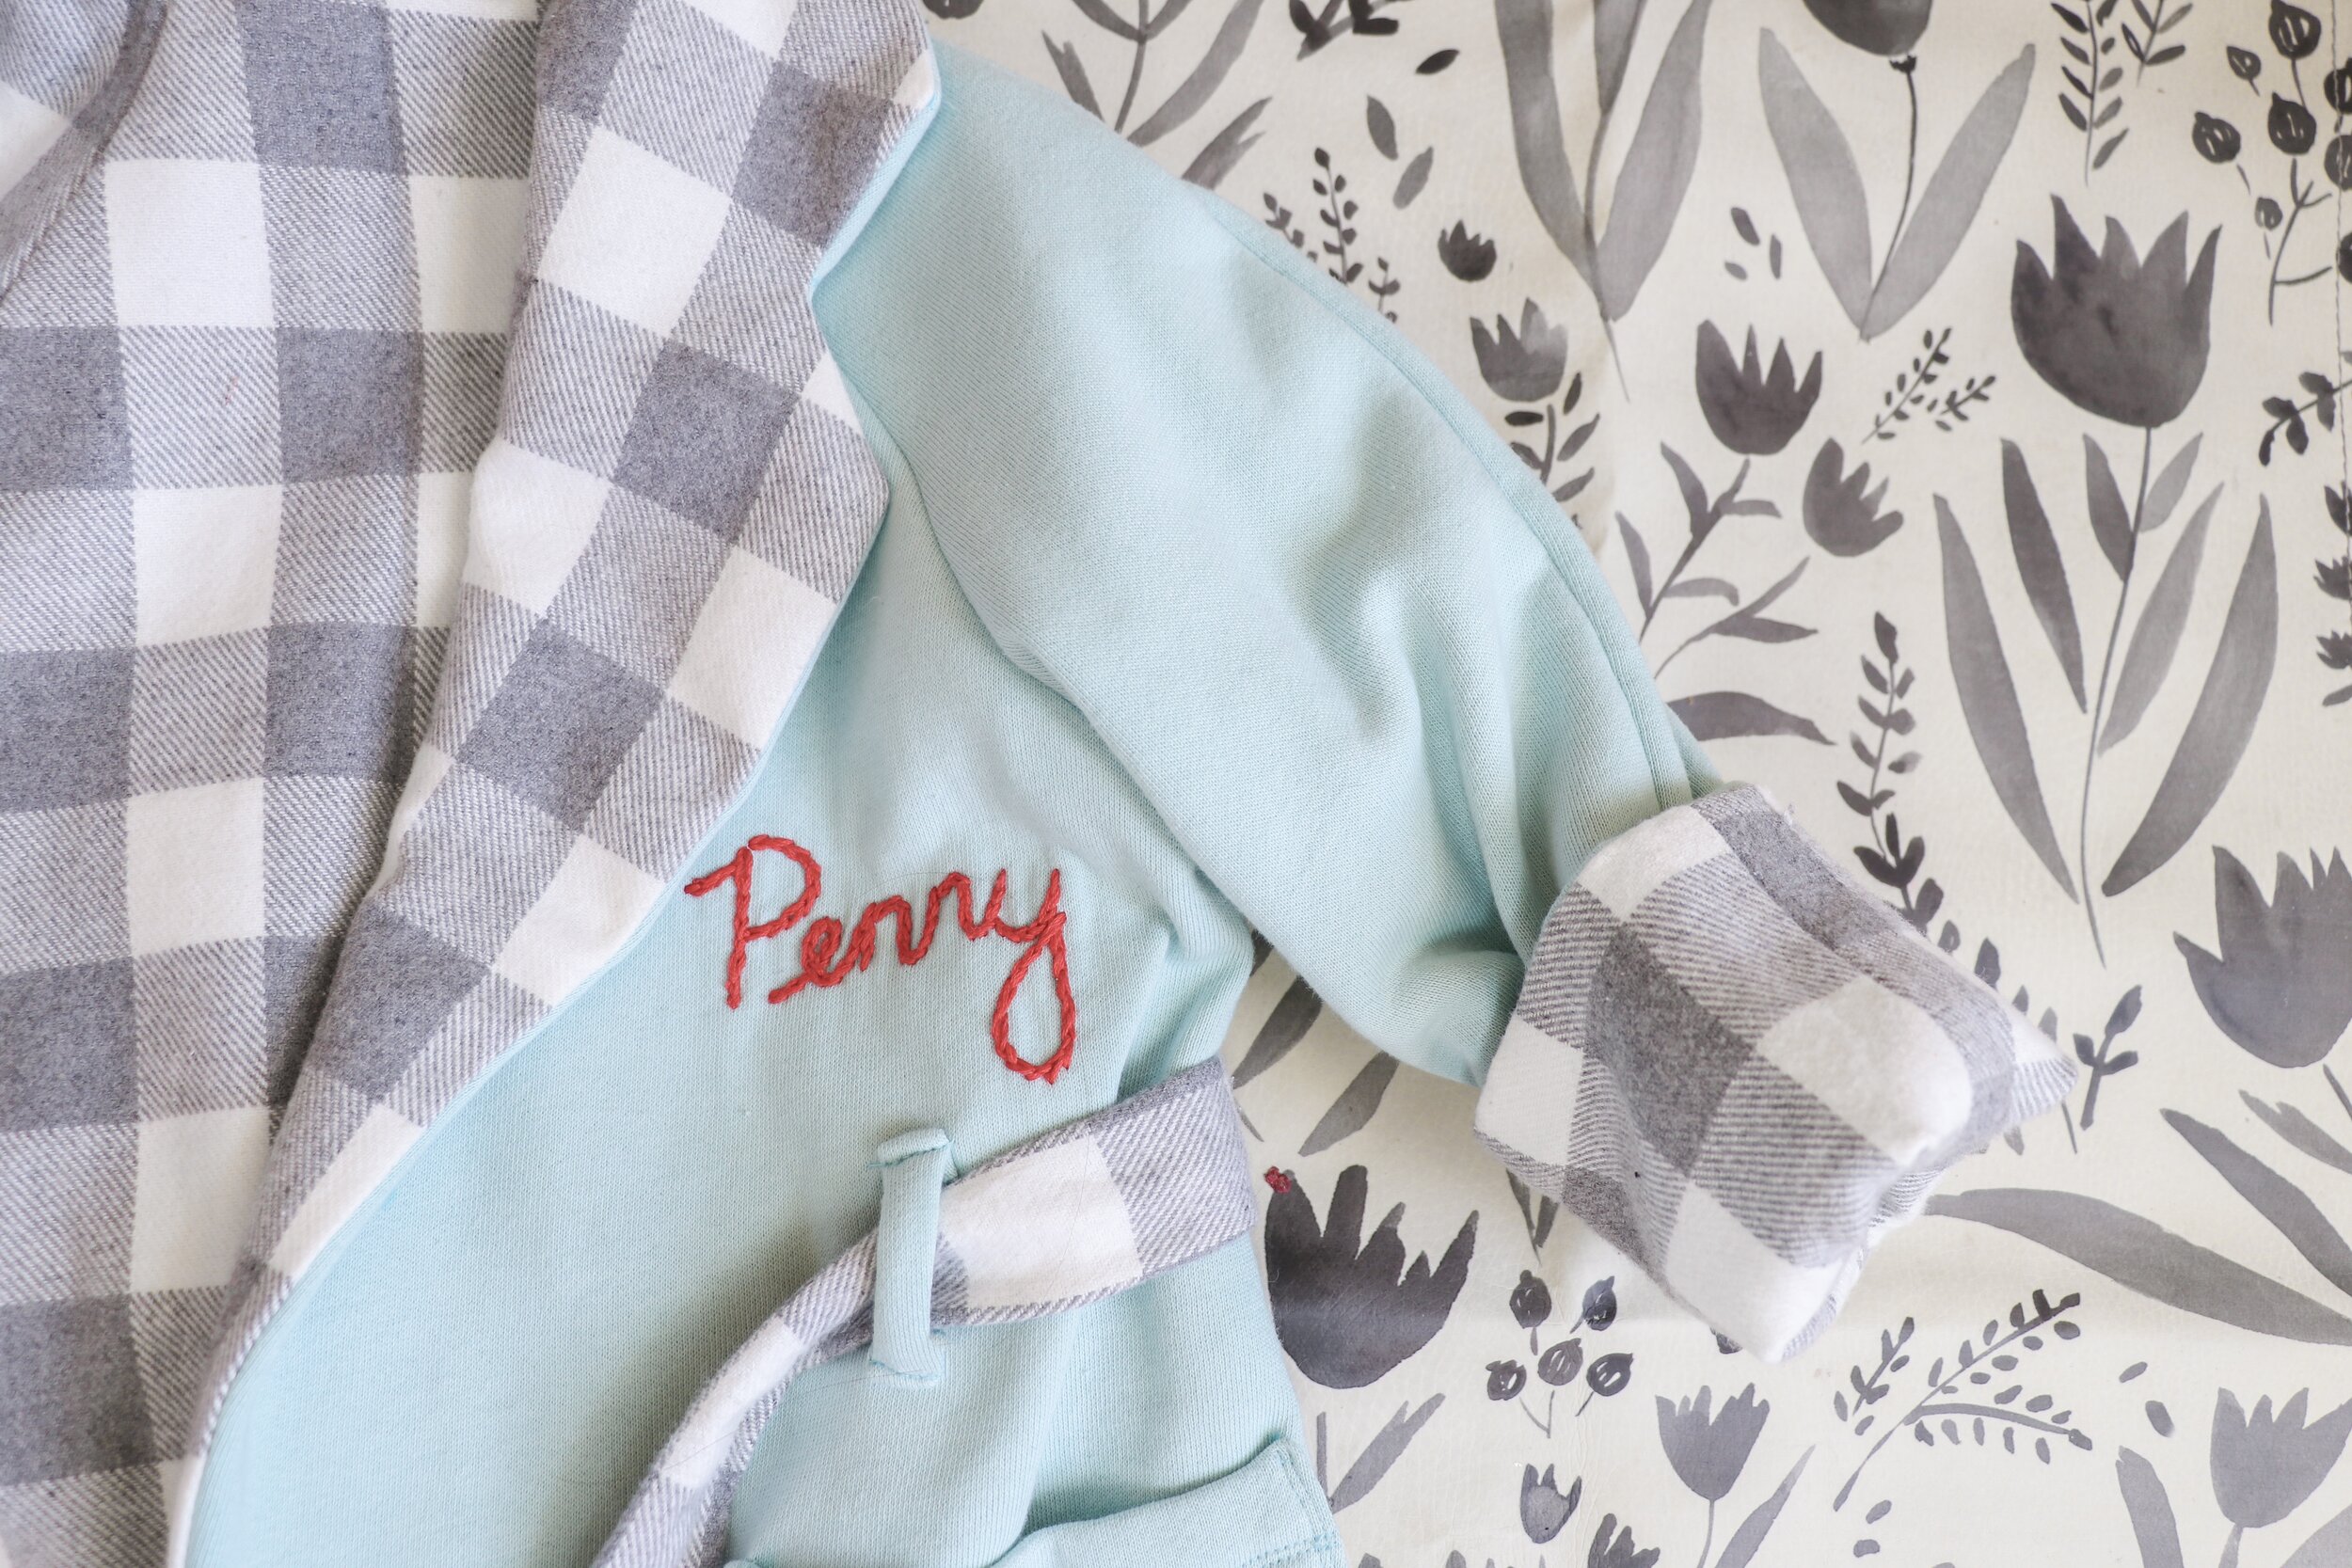
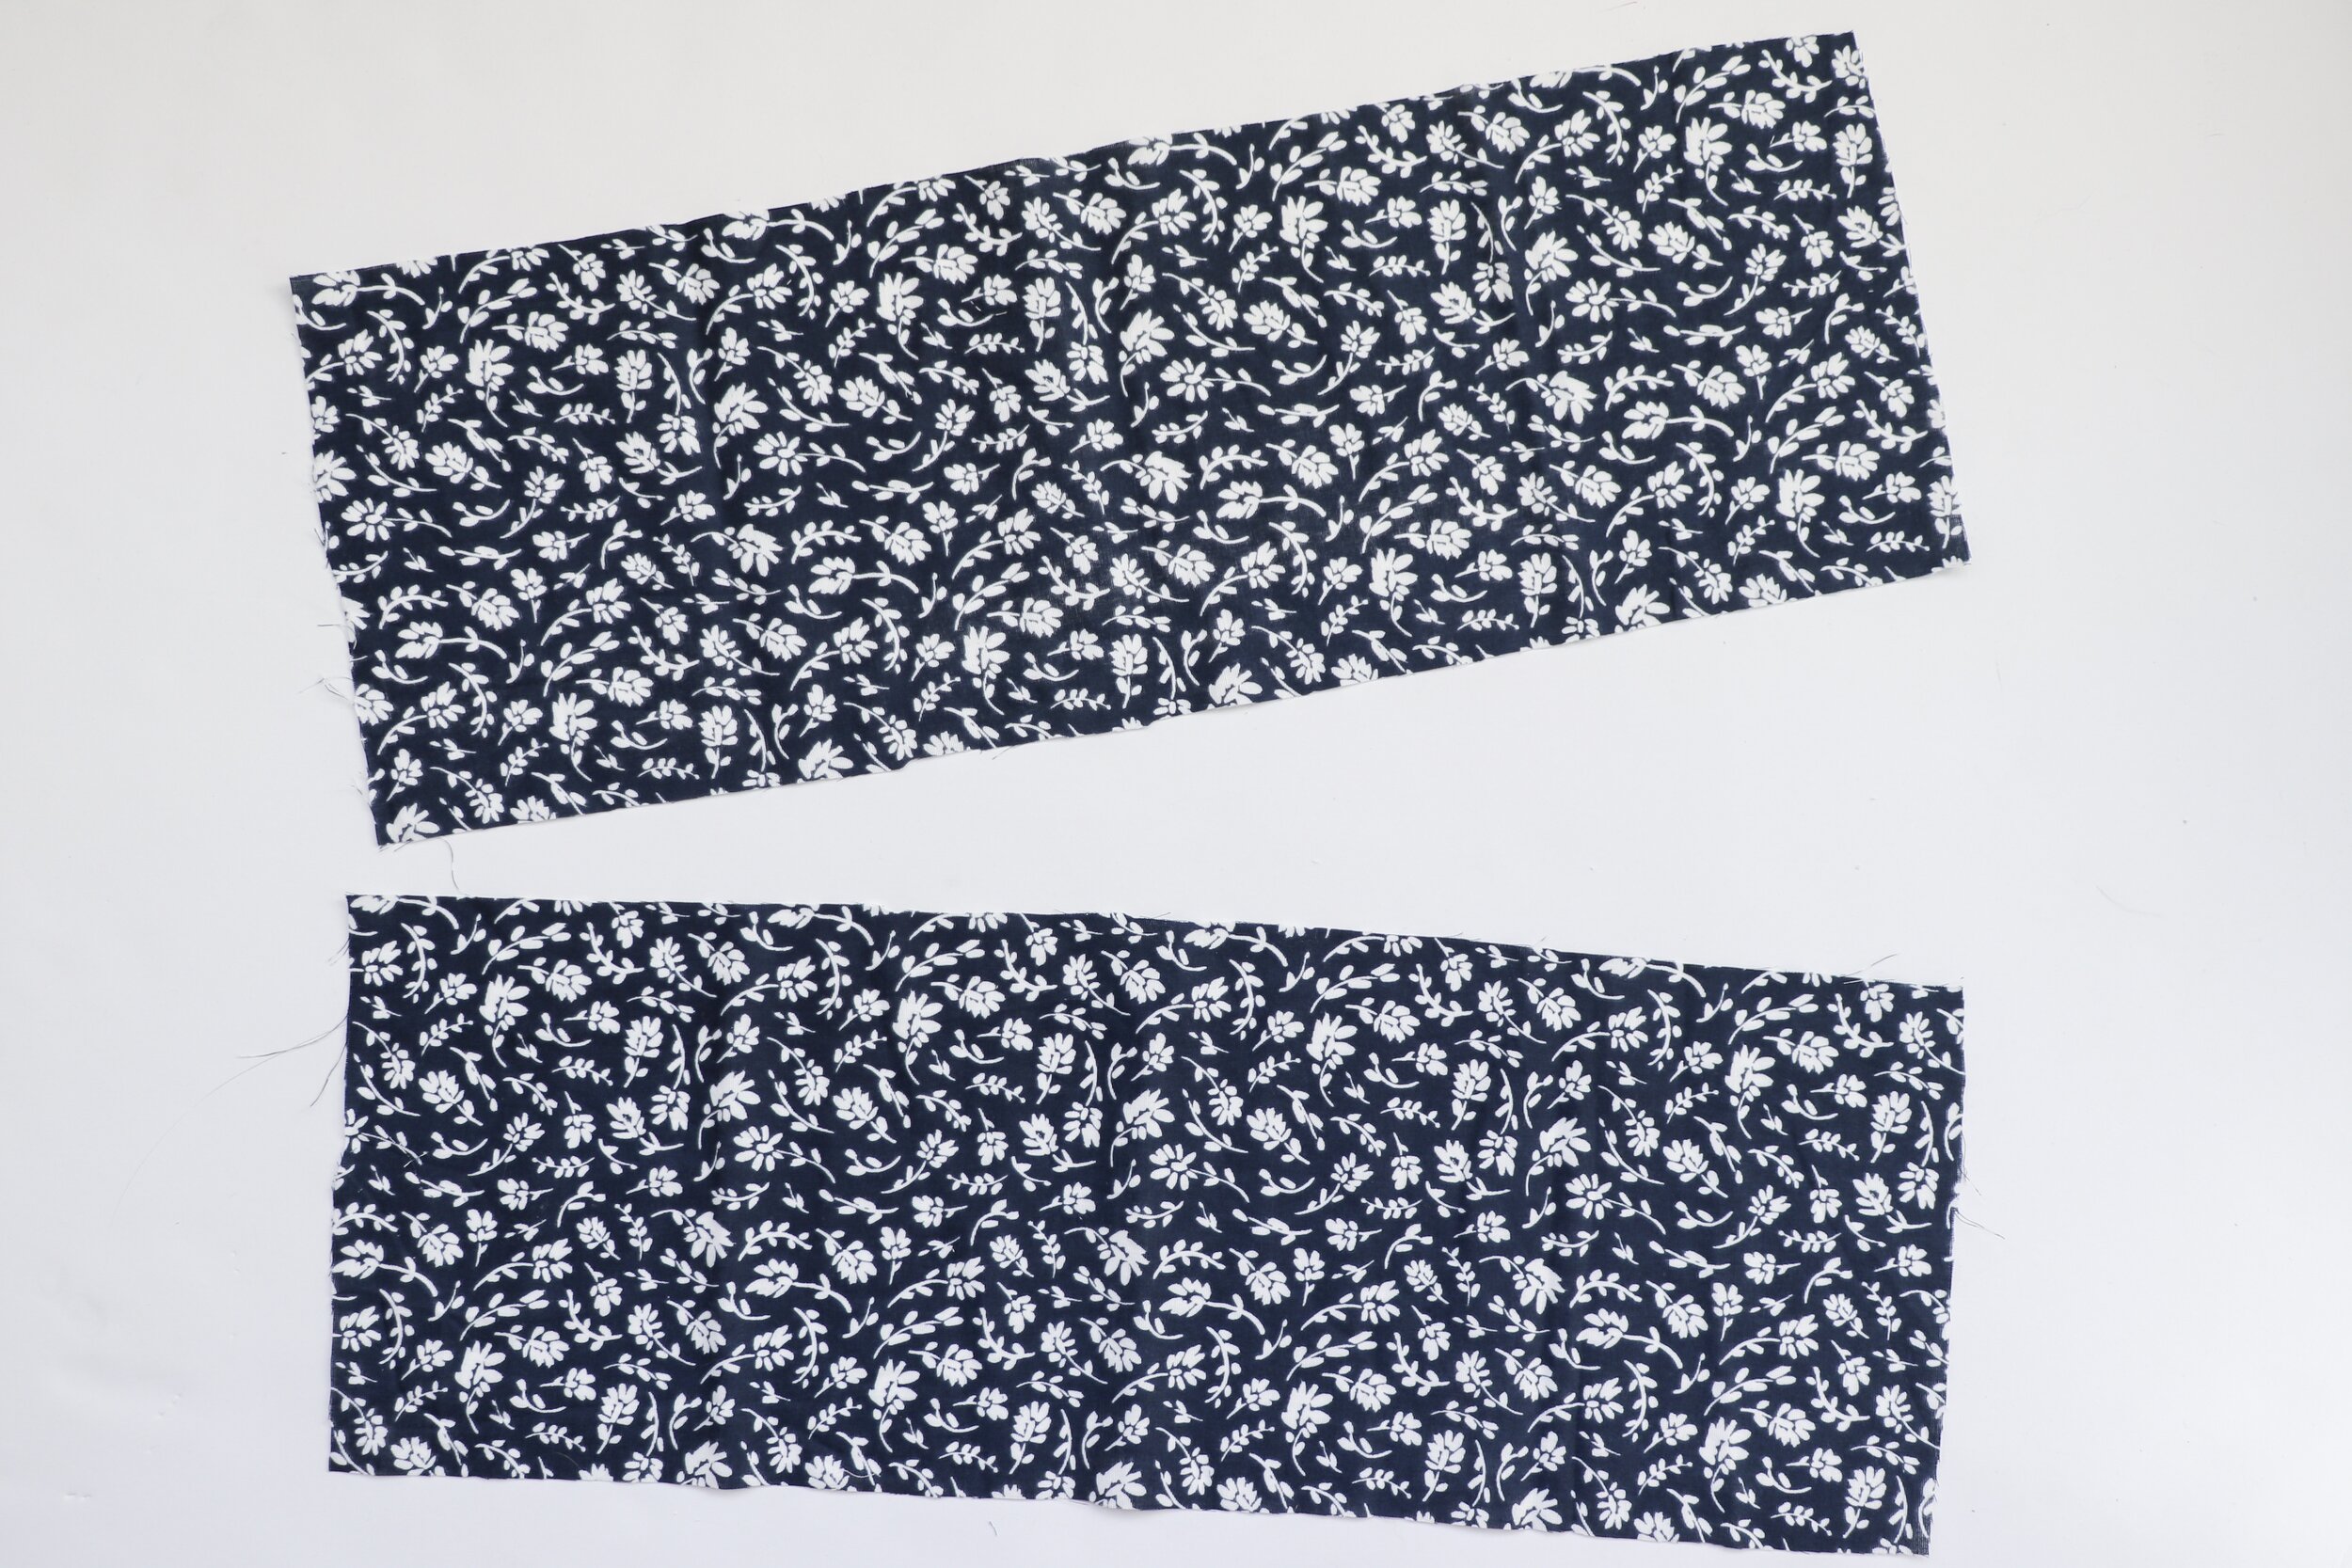
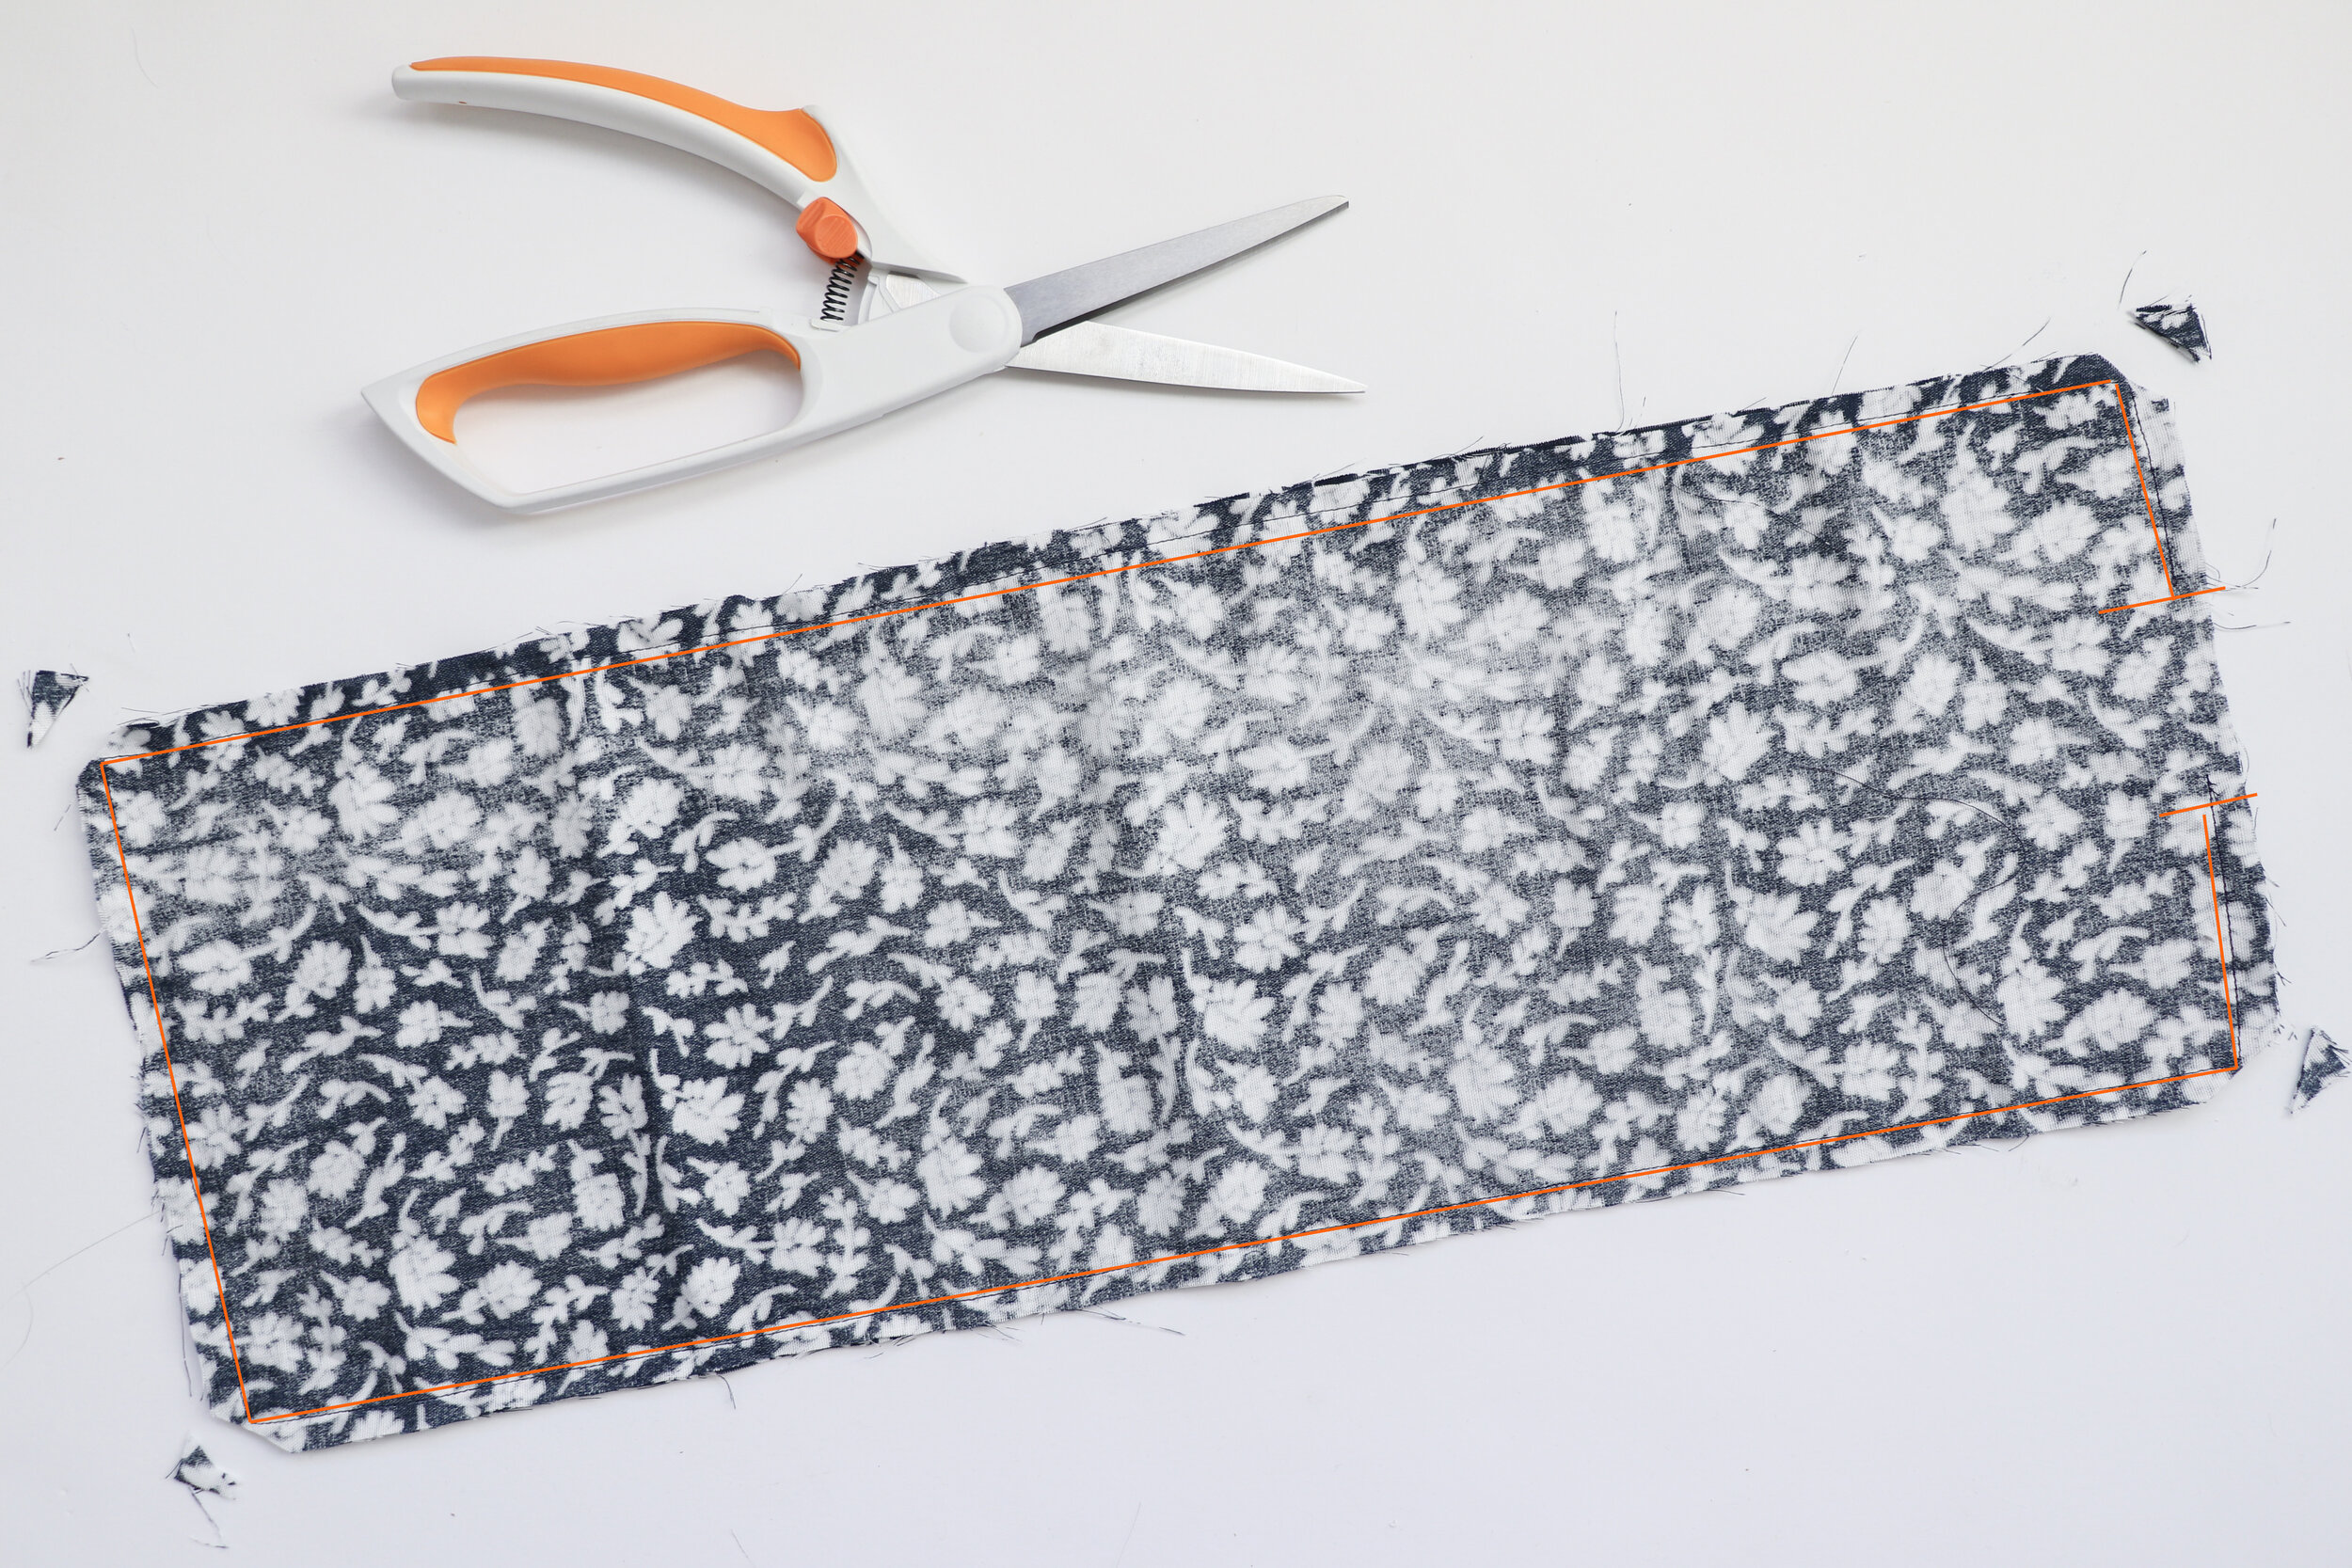
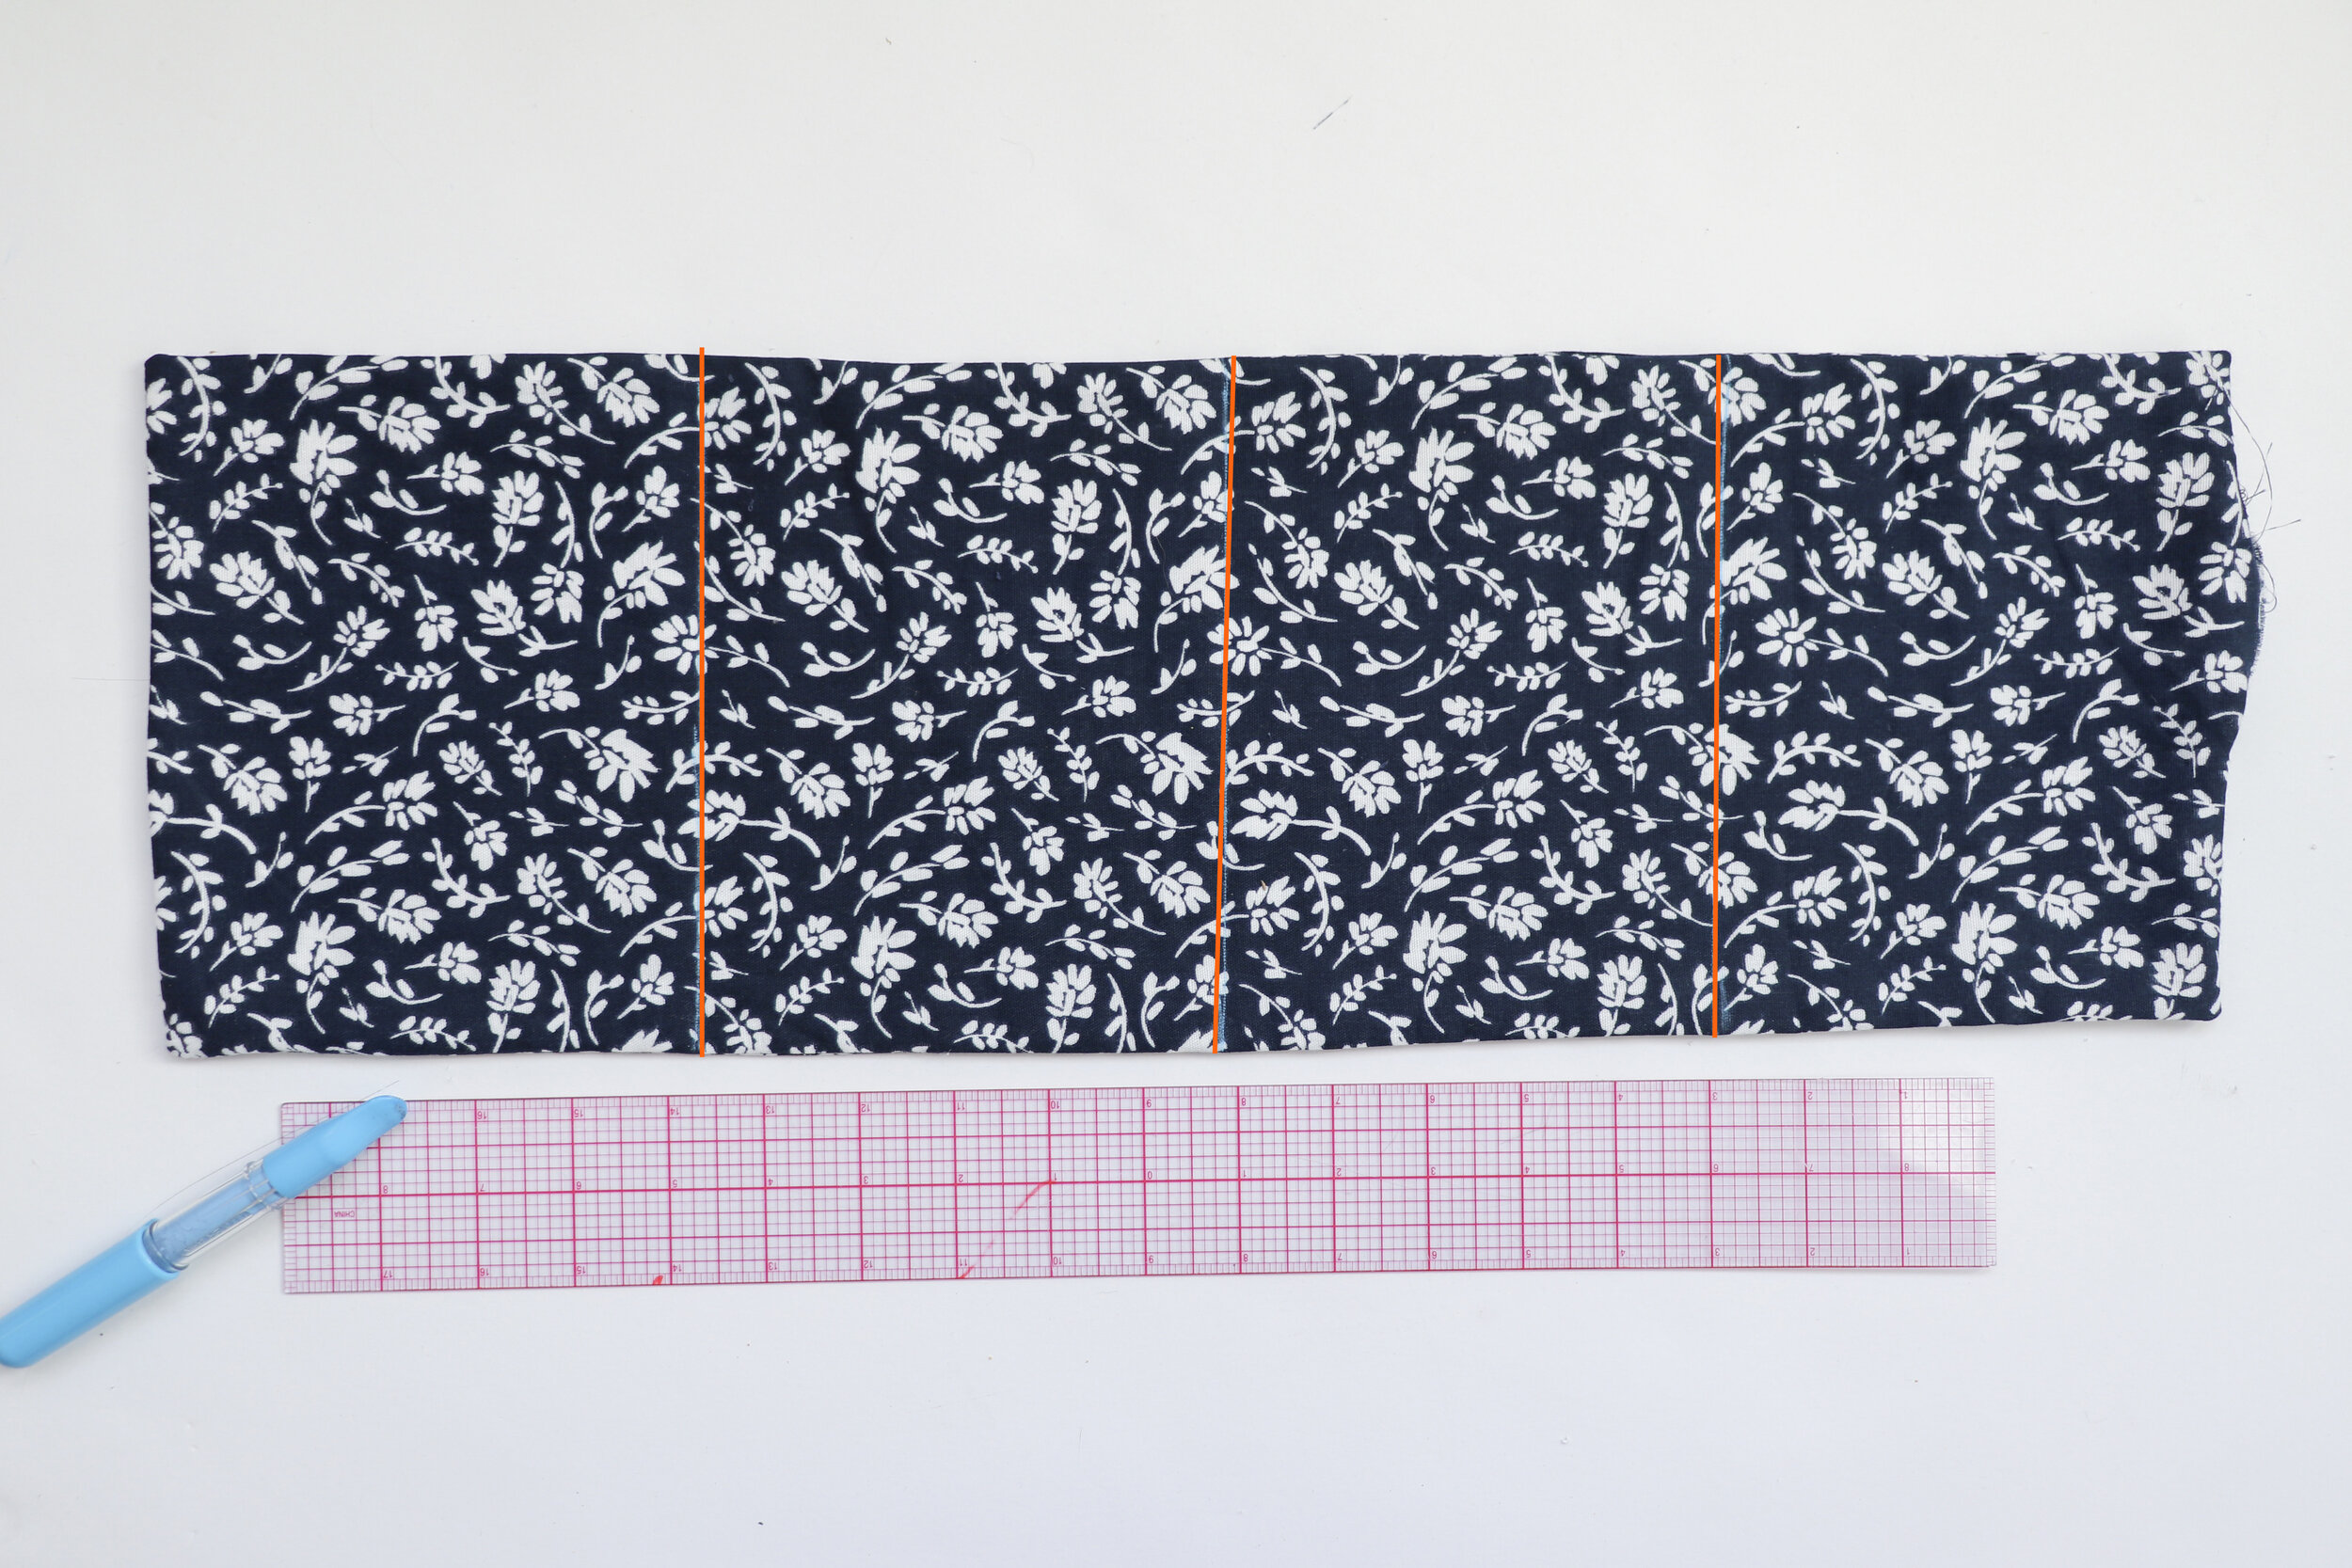
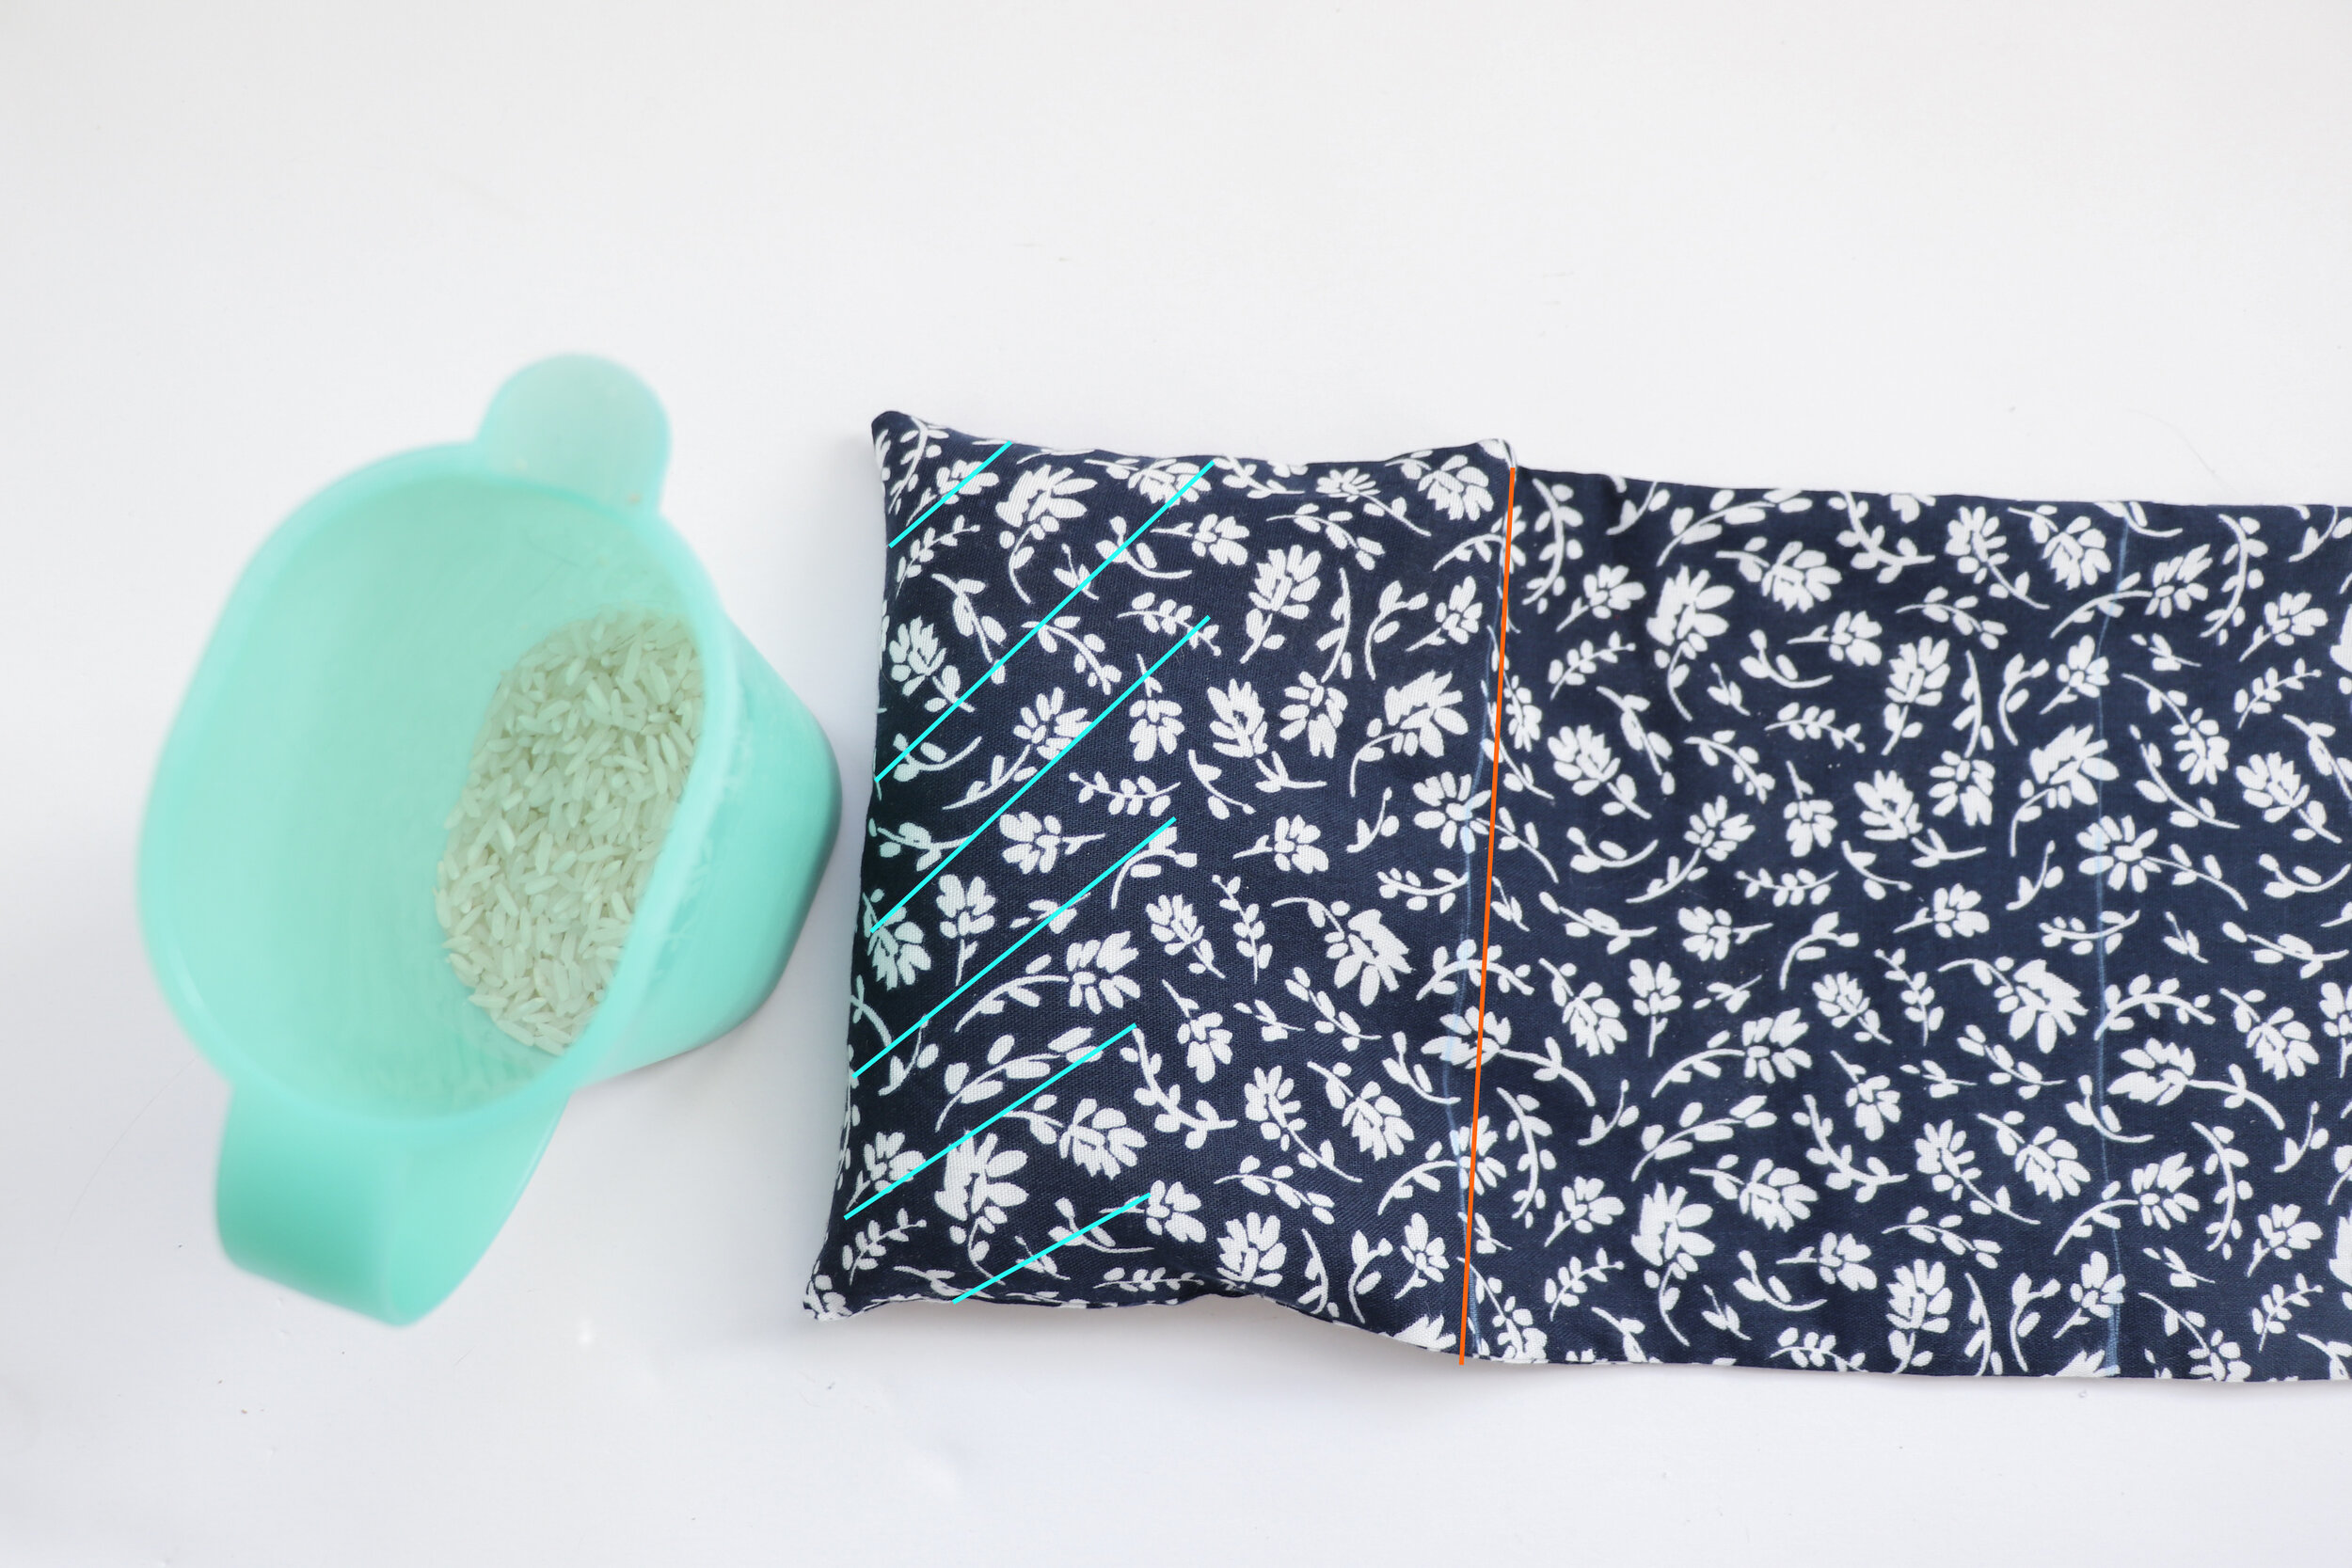
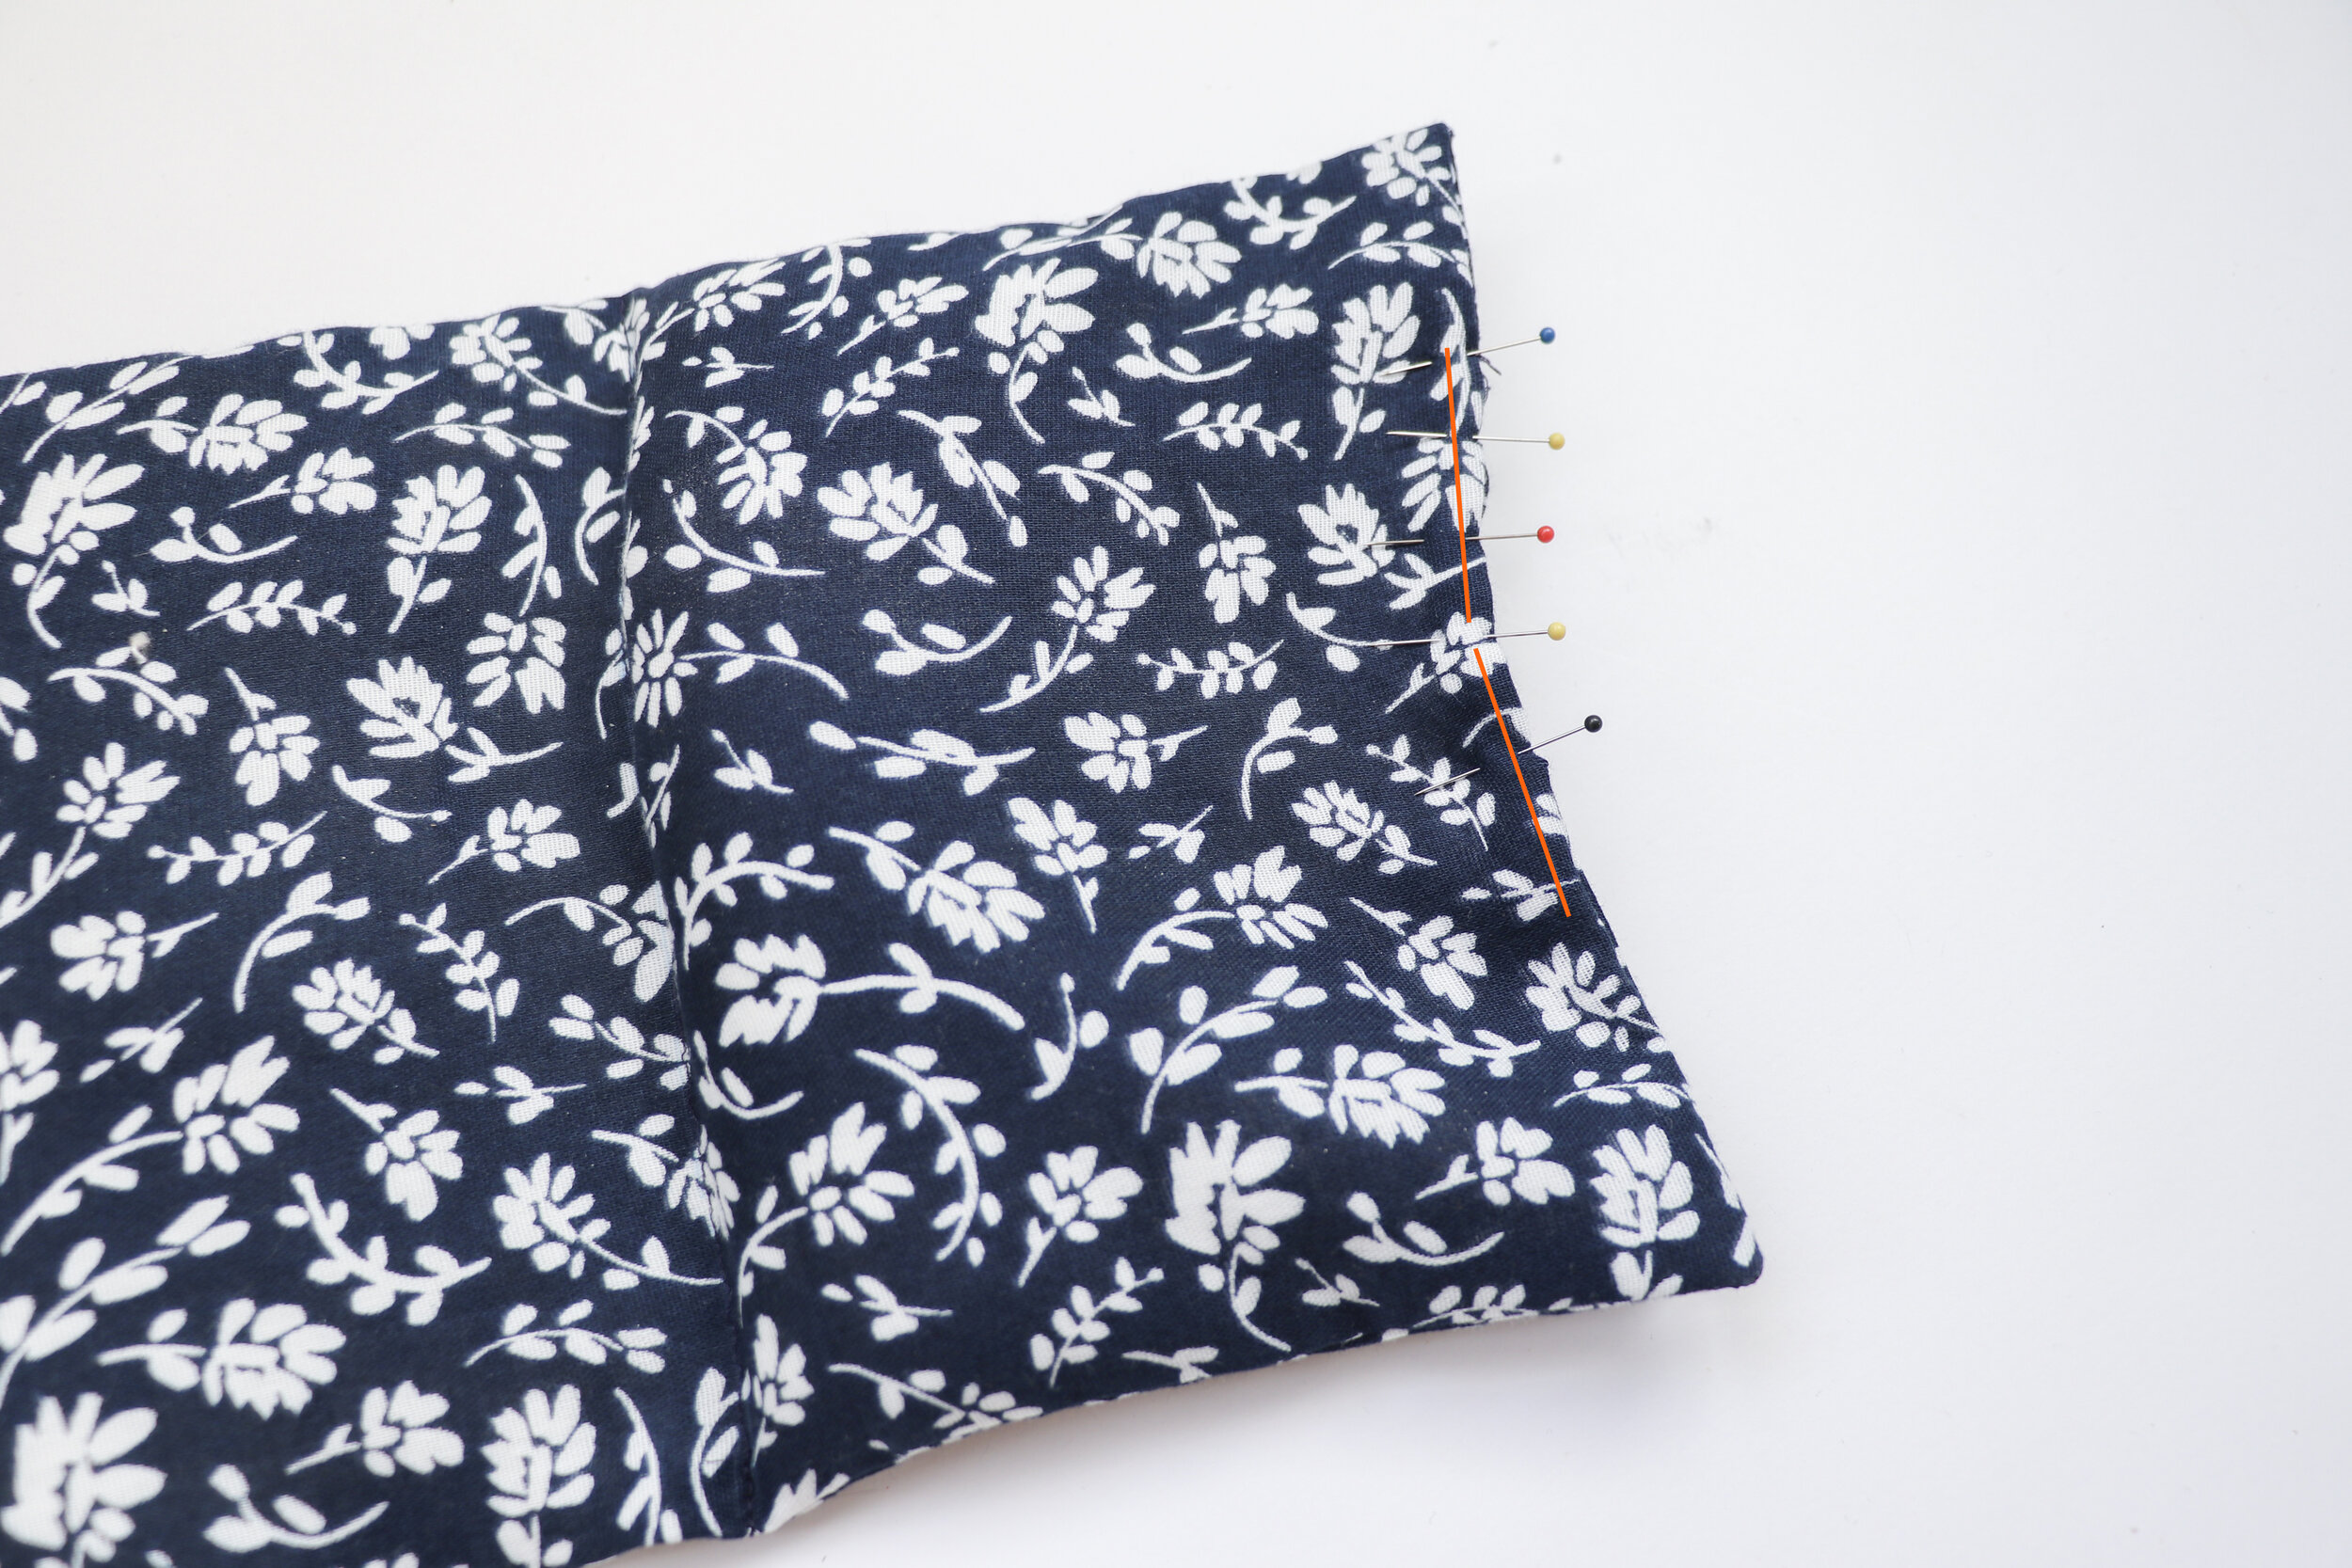
So about these robes. I loooooooooove how these came out. And yes, the pattern is considered an easy-to-sew pattern. It can be a bit intimidating just because it does take a lot of fabric to make a robe, especially a family of robes, but the construction is simple and easy. I would still recommend it to someone at a beginner level. And it is double layered/reversible, so you don’t have to worry about seam finishing and making the inside look pretty because everything is enclosed and hidden! The only thing i would suggest, because it is two layers of fabric, is to choose one thicker cozy fabric, and one lighter-weight fabric. I originally was going to go with two contrasting thick fuzzy fleeces, but I think that would’ve been a loooot of fabric. I’m glad I went with the sweatshirt fleece on one side and lighter flannel on the other. It’s a good balance! I cut and XS for me (my usual size), a S for Zach, and the smallest size for P, which I think is closer to a size 5. Yes, I technically could’ve graded the pattern down to a size 3. But I figured - its a robe, its supposed to be big and comfy. Plus, she’ll get a lot more wear out of it if I kept it a bit bigger. So all I did is take off a couple inches off the bottom hem so it wasn’t too long, and about an inch off the sleeve hem. It’s actually perfect! I’ve had these finished for about 5 days now, and at least one of us has been wearing ours every time we are at home lounging. I have a feeling that they will be getting a lot of wear and love this winter.

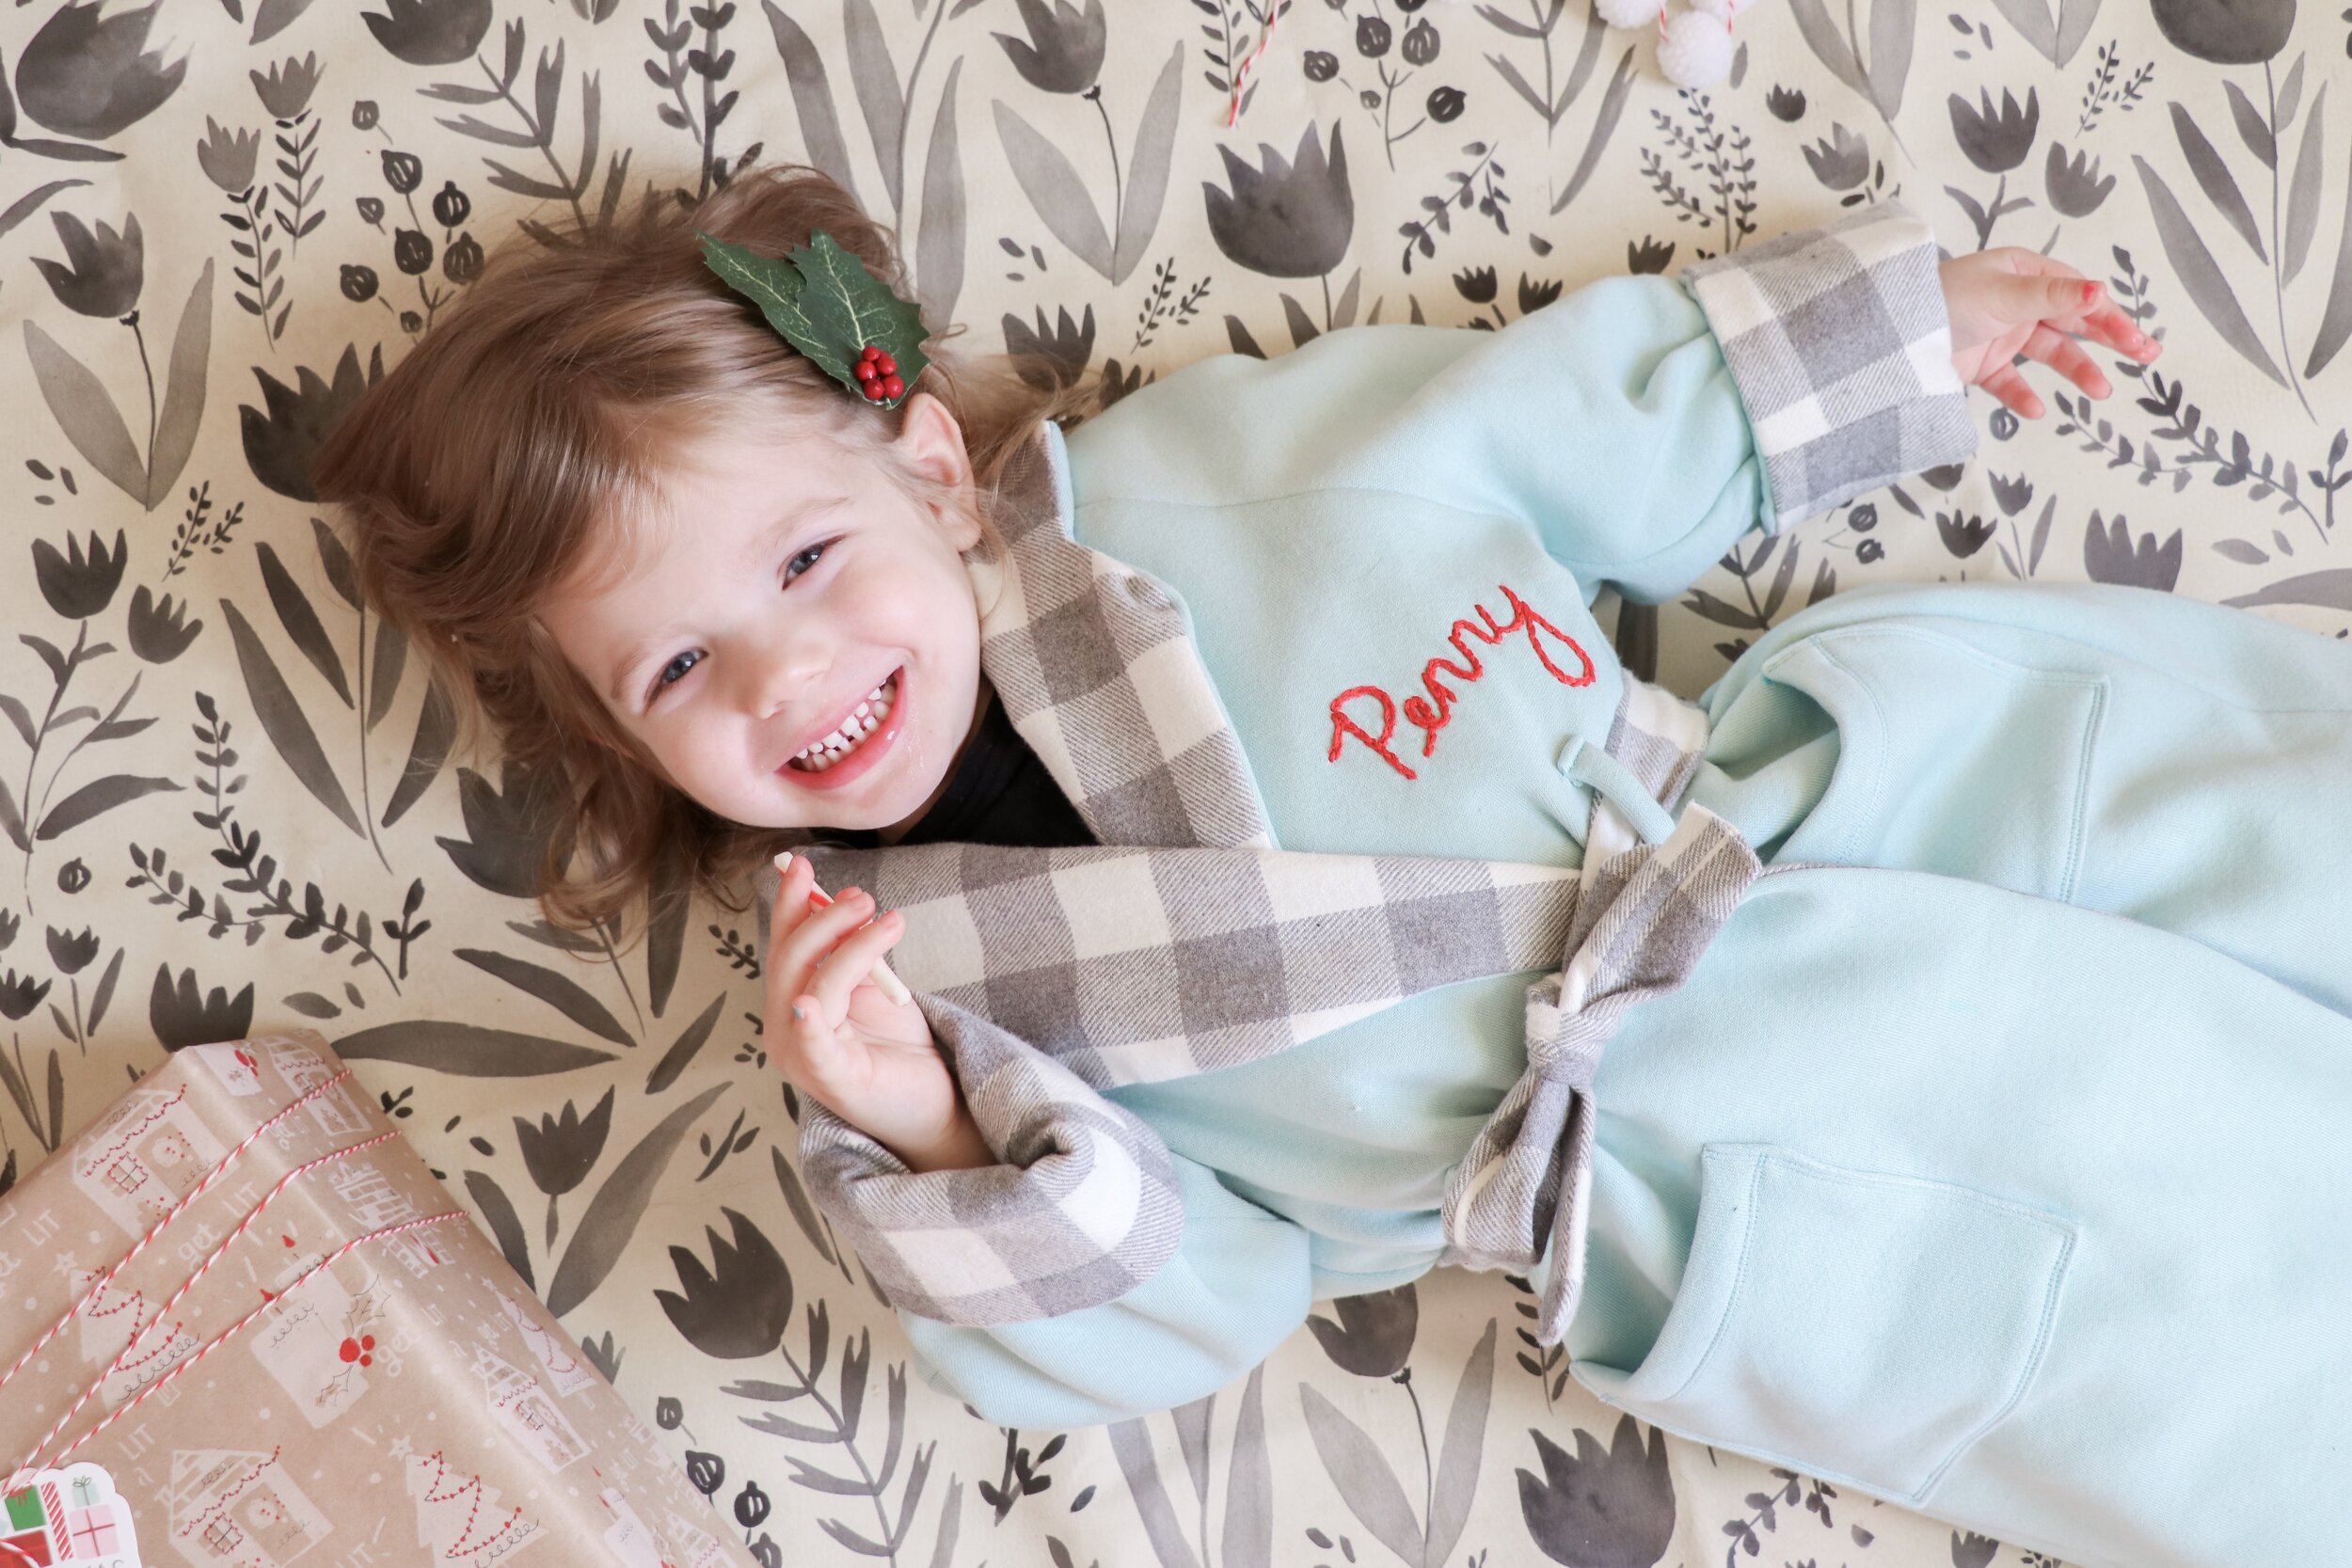
Now let’s talk about another aspect of this kind of gift - customization! While I love being matchy matchy, I also having little details to make each piece specific to each person. So for ours, I decided to embroider ‘mama’ ‘daddy’ and ‘Penny’ on each of our robes? And guess what? Even this shouldn’t be intimidating for a beginner. I have actually never hand embroidered before this - this was my first time! I decided to just go for it and try, and honestly it was a lot easier than I thought and turned out pretty good, if I do say so myself. I’m pretty proud of them!

Now scroll down to see just how cute a three year old looks on her own custom bathrobe. I’m telling you, it is next level cute.

Gift Guide: for the toddlers (and other little ones!)

I’m going to be sharing two gift guides this holiday season, for two areas that I think I know a good amount about - sewing and tiny humans! haha. Today is all about toddlers (some work for babies or older kids, too!). These are some of Penny’s tried and true favorites.

Bookroo

This is my faaaaaaaavorite gift idea to share for kids every year! Bookroo is a children’s book club subscription box service. You can choose from 1, 3, 6, or 12 month subscriptions, personal or gift for someone else, and you can choose from board books, picture books, or chapter books. So it works for any age from 0-10! And you don’t have to worry too much about receiving books you already own - their mission is to find and send out hidden gems rather than classics. If you do happen to get one that you already have, take a picture of you gifting it to someone else, and receive $$ off your next subscription! Oh, and Penny’s favorite part? Each book inside the box comes individually wrapped like a present. So each box that arrives in the mail is like Christmas morning!

Use the code MERRYDARLING now through 12/25/19 and get 15% at Bookroo.

*** I received a Bookroo box in exchange for review and blog post, but all thoughts are my own. We have been receiving Bookroo boxes in the mail for years (seriously! search my blog!), and we honest to god love them. Penny flips out when one comes in the mail!)

June & January

when she’s not wearing something handmade, June & January is my go-to clothes for P. They have the cutest basics in all sorts of fun colors. And so incredibly reasonably priced! Everything P is wearing in the first photo, including the bow and sneakers, is from J&J. And we love their pajamas, too!

Micro Kickboard Scooter

Penny owns both a scooter and a balance bike. And while she likes both, she definitely favors the scooter a lot! She got it for her second birthday and its still a huge hit with her - she asks to go out and scoot aaaaaaall the time. The Micro Kickboard scooter she has comes in a whole bunch of colors, and the handles can be adjusted up and down to accommodate for their growing height!

Nelly Lou

shameless plug - my own Etsy shop is filled with handmade headbands and turban hats in sizes newborn - toddler. I also have scrunchies that work for toddlers- adults!

toddler-friendly digital camera

This is something that Penny is getting under the tree this year! She has a a pretend camera and has always loved to pretend to take our pictures, she says “saaaaay cheese noodles!” haha. And recently learned how to take photos with an iphone, so the camera roll is filled with photos of her stuffed animals.

I found this tiny little, silicone covered, toddler-friendly digital camera on Amazon, and I’m so excited to give it to her. I know it’s going to be a hit! She’ll be able to take real photos just like mama and daddy, and connect them to the computer to see them. It also comes in blue!

Tubby Todd

We’ve been using Tubby Todd products since P was a baby! Penny asks for lotion every night before bed, and we’ve gone through a few different brands. Tubby Todd is still my favorite. We also use the all over ointment for her eczema/dry patches in the winter, and the bubble bath is a hit with P, too!

handmade Paw Patrol dress-up costume

If your household lives and breathes Paw Patrol like we do, skip all the little plastic toys (no judgement though, we own all those little plastic pup figurines and toys, haha) and go for a handmade dress-up outfit instead! I got this Skye dress-up kit for P for Halloween, and it was a hit. If you search on Etsy, you can find a whole bunch. Here’s an example of a Skye one (not the one I purchased, but very similar), and you can find ones for the other pups too. Support a small business/maker this Christmas and buy handmade!!

(and p.s - that pink leotard is from June & January that I mentioned above!)

DIY microwavable hot pack

Hey everyone! Today I’m going to share a DIY project that I’ve been making for years now, and use aaaaaall the time. Like, almost every day, really. They’re reusable, microwaveable hot packs!

For the last couple years, I’ve been dealing with all sorts aches and pains. While we are still trying to figure out exactly what is going on with me medically, we do know there is some autoimmune component. With that, comes a lot of joint pain, all over body aches, and even some random but intense abdominal pains. So you can often find me with one or more of these hot packs on me somewhere when I’m lounging at home. I find them very comforting! And I also use them for menstrual cramps, as well as tension headaches (cold compress on my forehead and a hot pack on the back of my neck at the same time always seems to help!).

All this to say, these things come in handy for all sorts of things. And they would be great gifts for anyone! I personally like to make mine long and thinner, so that they can be draped around my neck, but also draped across my legs or abdomen, too. You can make it any shape you want. I’ve also made big square ones in the past, which is good for covering your back!

Supplies:

  • cotton fabric

  • matching thread

  • sewing machine

  • rice

  • funnel or small pitcher or something for easy pouring

  • Marking tool (tailors chalk, water soluble marker, etc)

Start by cutting 2 rectangular pieces of fabric aprox. 21.5” x 7.5”. This is the shape I use because I like it long to go around my neck, but you can make any size or shape rectangle you like.

Place the two pieces of fabric together with right sides together.

Sew together around the outer edge, 1/2” away from the raw edge, leaving a 1-2” opening at one of the short ends.

clip the corners.

Turn right side out through the opening that you left. Use a point turner or other tool get those corners lookin good. Press well.

Using a ruler divide the long edge into 4 equal sections, marking them right on the fabric. You can use tailors chalk, water soluble markers, etc.

Get your rice ready! I started out using a funnel to get the rice into the fabric, but I found that the hole of the funnel was too small for the rice to pass through quickly enough, so you will see in the next photos that I switched to a small pitcher to pour it in instead.

Start pouring your rice in through the opening you left at the short end! Do a little at a time, until you have a feeling for how much you need.

Pour enough rice in so it fills about halfway up the first section you have marked. You don’t really want to add more than that, or it will be overfilled and uncomfortable.

Then carefully sew a straight line across that first line you marked, to close off that first section you just filled. go slowly, making sure to keep the rice in that first section.

Nice the first section is closed off, pour in more rice to, again, fill in the second section halfway full. And again, sew it closed along that second line you drew.

repeat this process with the third and fourth sections.

When you have filled the fourth and final section halfway with rice, stitch your small opening closed by sewing close to the edge, about 1/8” away from the edge. Make sure to backstich well to ensure that stitching stays closed and rice doesn’t fall out!

That’s it! Now you can place the hot pack in the microwave for 2-3 minutes to heat it up whenever you need it!

oh, and you’ll probably need to clean up all that rice you spilled, if you’re anything like me 😂.