Hey everyone! Today I’m going to share a DIY project that I’ve been making for years now, and use aaaaaall the time. Like, almost every day, really. They’re reusable, microwaveable hot packs!
For the last couple years, I’ve been dealing with all sorts aches and pains. While we are still trying to figure out exactly what is going on with me medically, we do know there is some autoimmune component. With that, comes a lot of joint pain, all over body aches, and even some random but intense abdominal pains. So you can often find me with one or more of these hot packs on me somewhere when I’m lounging at home. I find them very comforting! And I also use them for menstrual cramps, as well as tension headaches (cold compress on my forehead and a hot pack on the back of my neck at the same time always seems to help!).
All this to say, these things come in handy for all sorts of things. And they would be great gifts for anyone! I personally like to make mine long and thinner, so that they can be draped around my neck, but also draped across my legs or abdomen, too. You can make it any shape you want. I’ve also made big square ones in the past, which is good for covering your back!
Supplies:
cotton fabric
matching thread
sewing machine
rice
funnel or small pitcher or something for easy pouring
Marking tool (tailors chalk, water soluble marker, etc)
Start by cutting 2 rectangular pieces of fabric aprox. 21.5” x 7.5”. This is the shape I use because I like it long to go around my neck, but you can make any size or shape rectangle you like.
Place the two pieces of fabric together with right sides together.
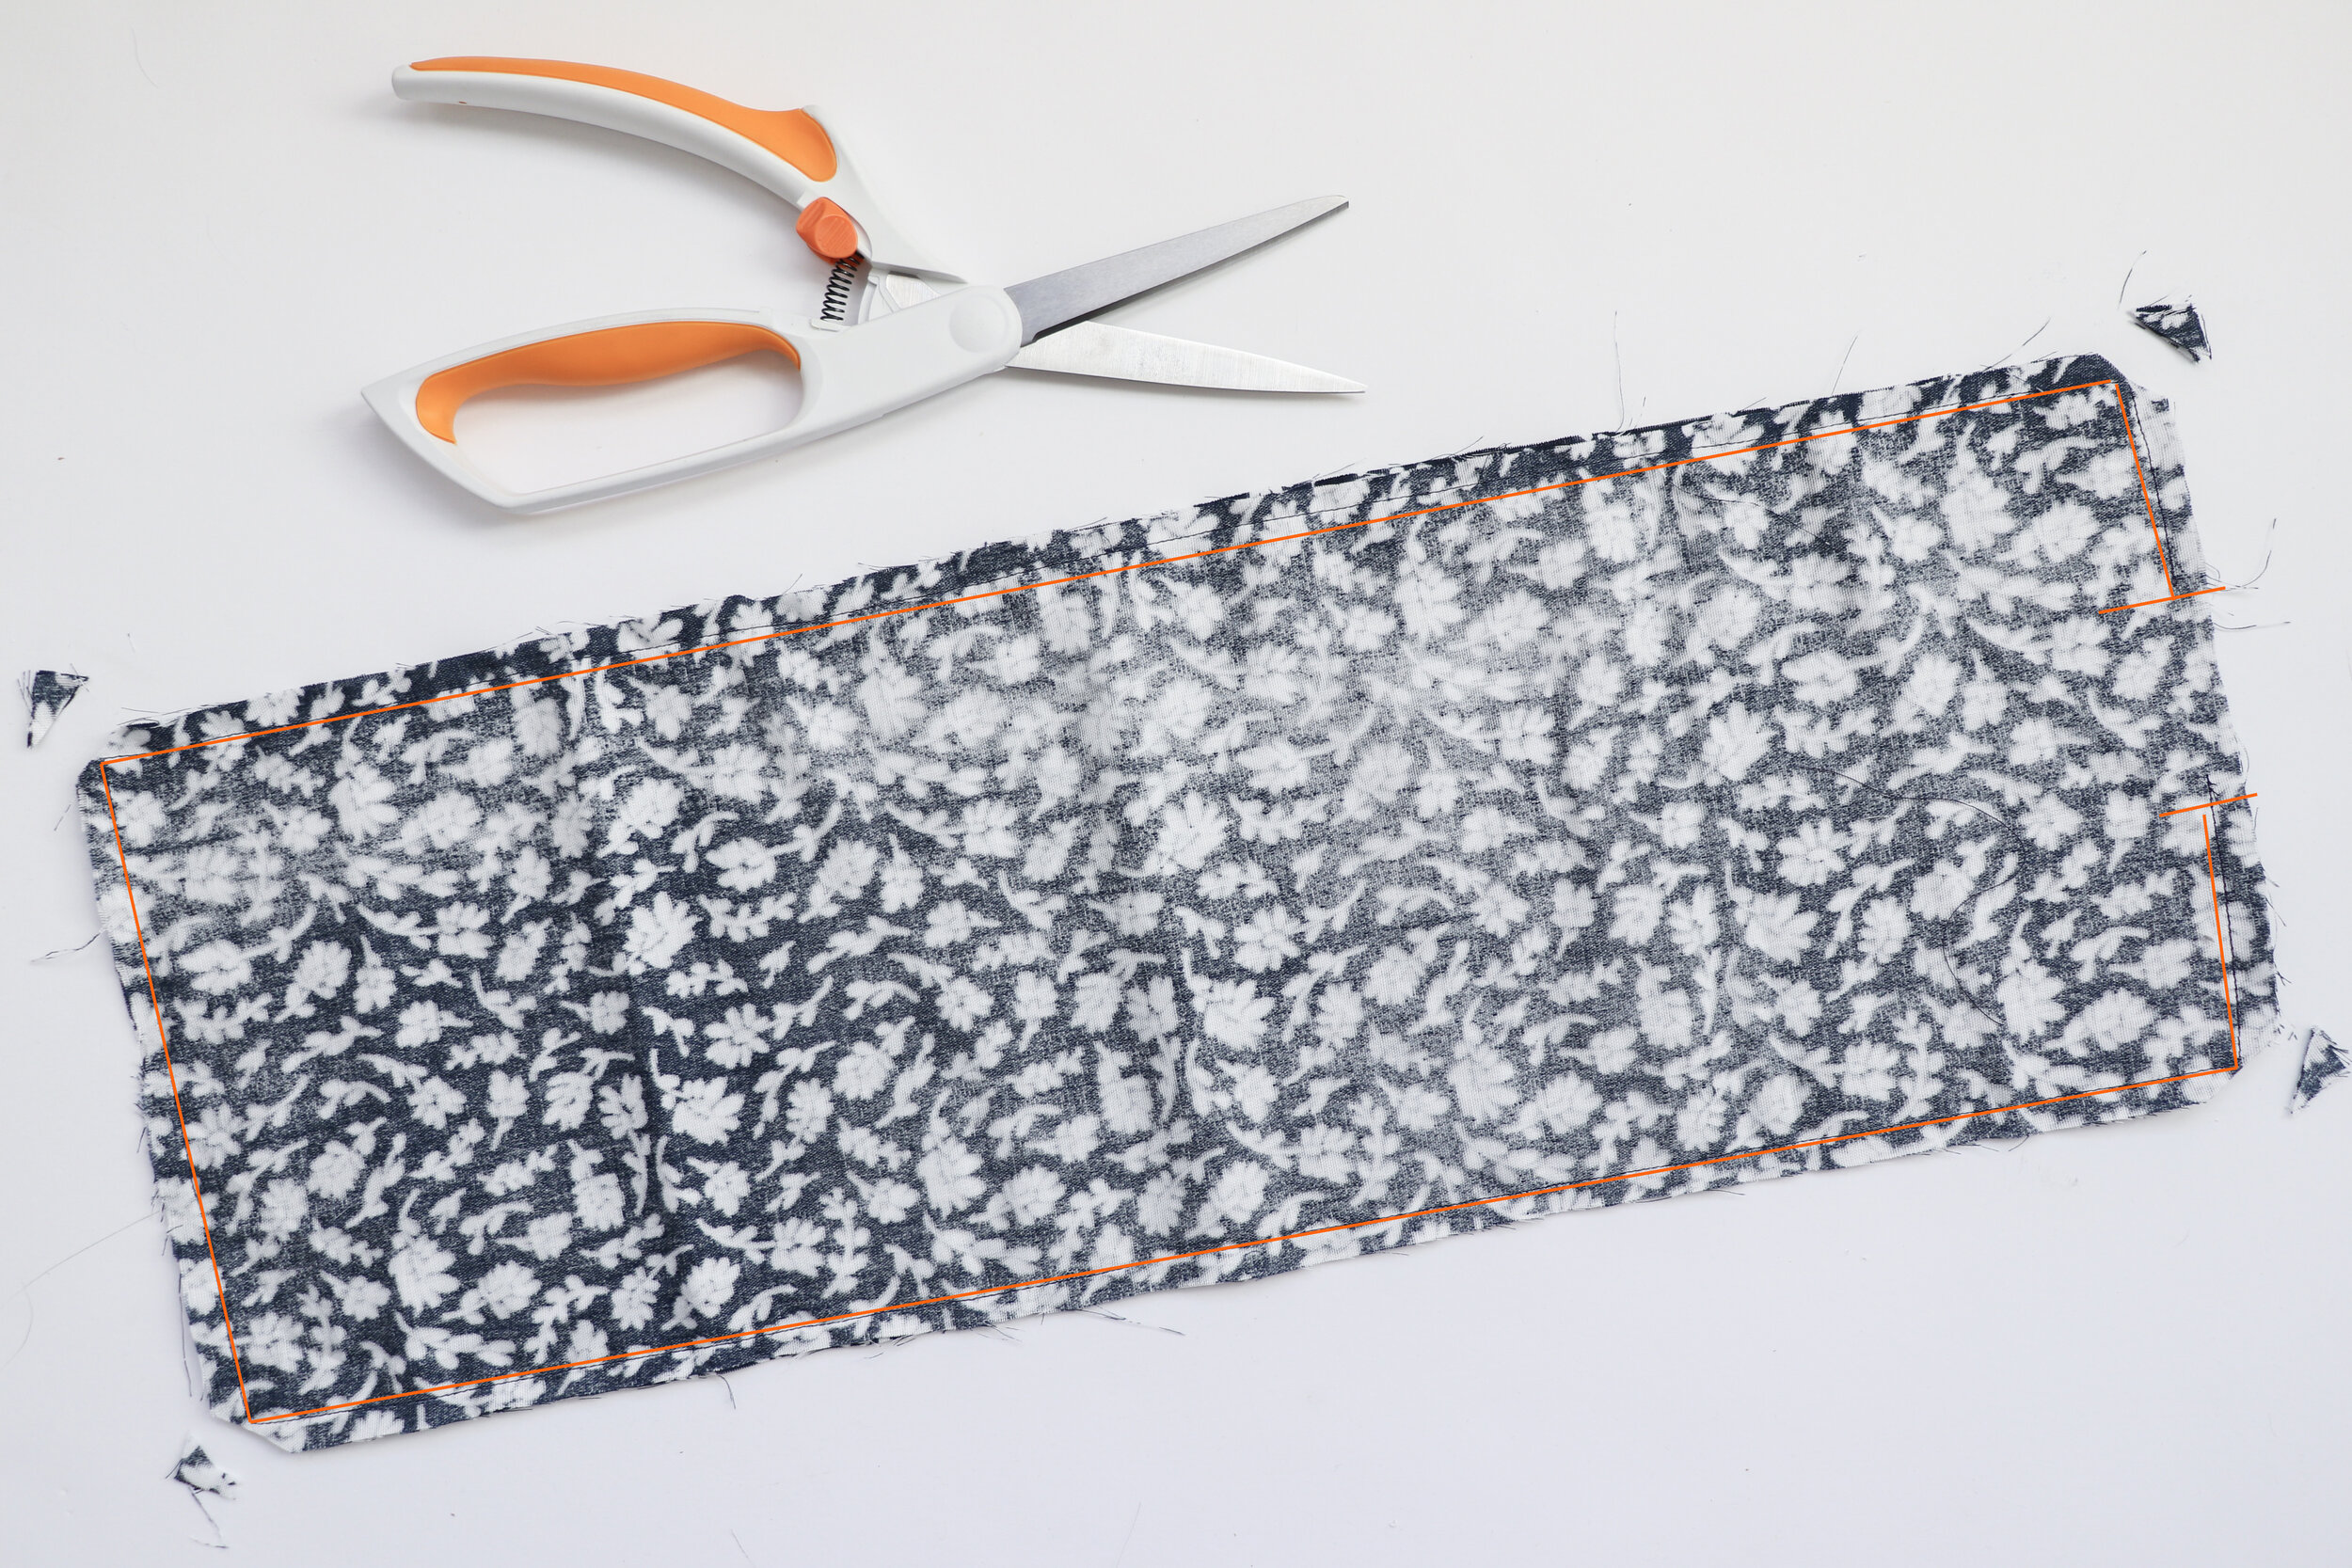
Sew together around the outer edge, 1/2” away from the raw edge, leaving a 1-2” opening at one of the short ends.
clip the corners.
Turn right side out through the opening that you left. Use a point turner or other tool get those corners lookin good. Press well.
Using a ruler divide the long edge into 4 equal sections, marking them right on the fabric. You can use tailors chalk, water soluble markers, etc.
Get your rice ready! I started out using a funnel to get the rice into the fabric, but I found that the hole of the funnel was too small for the rice to pass through quickly enough, so you will see in the next photos that I switched to a small pitcher to pour it in instead.
Start pouring your rice in through the opening you left at the short end! Do a little at a time, until you have a feeling for how much you need.
Pour enough rice in so it fills about halfway up the first section you have marked. You don’t really want to add more than that, or it will be overfilled and uncomfortable.
Then carefully sew a straight line across that first line you marked, to close off that first section you just filled. go slowly, making sure to keep the rice in that first section.
Nice the first section is closed off, pour in more rice to, again, fill in the second section halfway full. And again, sew it closed along that second line you drew.
repeat this process with the third and fourth sections.
When you have filled the fourth and final section halfway with rice, stitch your small opening closed by sewing close to the edge, about 1/8” away from the edge. Make sure to backstich well to ensure that stitching stays closed and rice doesn’t fall out!
That’s it! Now you can place the hot pack in the microwave for 2-3 minutes to heat it up whenever you need it!
oh, and you’ll probably need to clean up all that rice you spilled, if you’re anything like me 😂.


