DIY YARN WRAPPED WIRE ARROW

arrow1

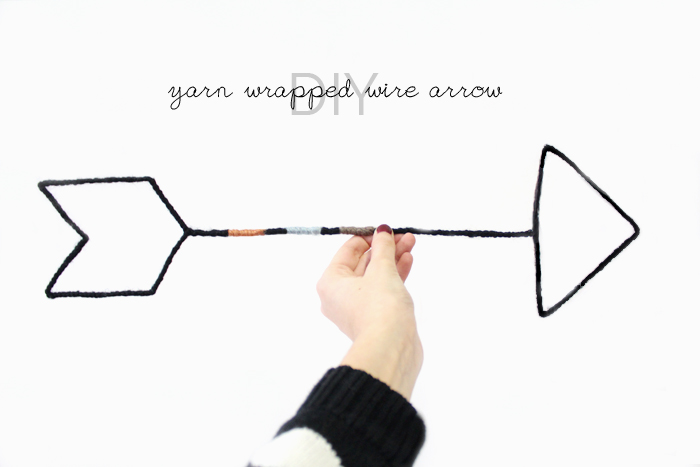
Have you guys seen those yarn wrapped wire words all over pinterest? Well, those were obviously the inspiration for this little project, but I was envisioning something a little different for our bedroom. So I played around with a few shapes and landed on an arrow. I actually thought this project would be a bit tedious. I was picturing myself wrapping wire with yarn forever. But I was pleasantly surprised to see that it went super fast! I had that baby wrapped in under an hour. BAM. Maybe I should make more of these. 

………………………………………………..

what you’ll need:

- wire. I picked up the thickest gauge craft wire I could find at Michaels. It’s still a bit flimsy, so if you can get your hands on something thicker, it would be better. I’ve seen people use wire re-enforced clothesline. But I don’t think it’s easy to find. 

- a nice, thick and bulky yarn. Your run of the mill, regular yarn is too thin and will just add to the flimsiness. 

- super glue

- needle nose pliers (optional)

- scissors

………………………………………………..

Now continue reading after the jump to see how to do it!
arrow2
arrow3

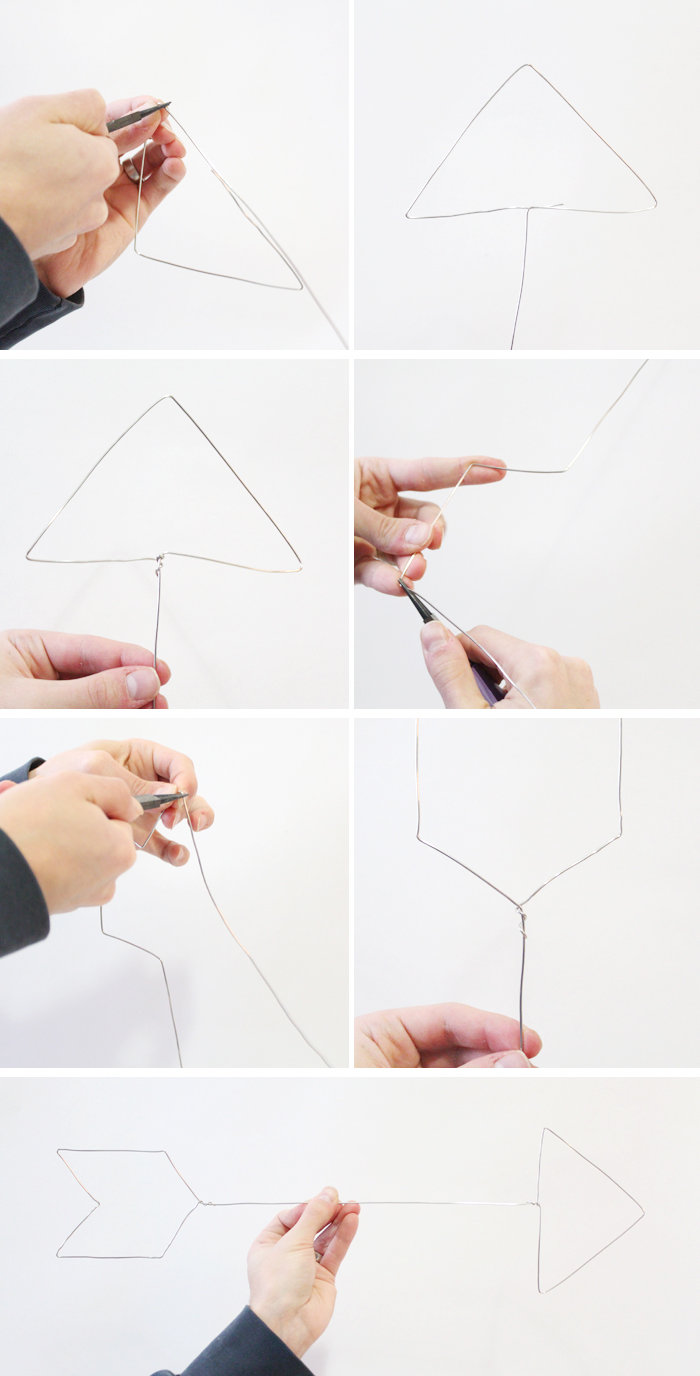
1. Cut a 26” piece of wire. Do your best to make it as straight as possible. Get out all of those kinks! Don’t worry if it’s not completely perfect, though. You’ll most likely have to adjust throughout anyway. 

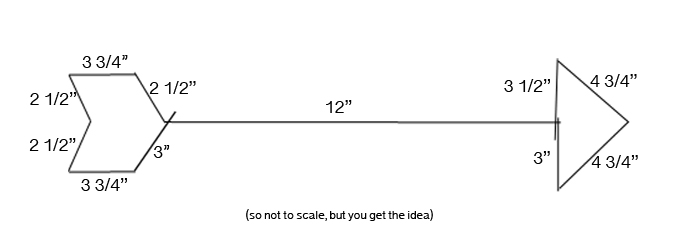
2. Measure and bend into your arrow shape, following the diagram I included above. You can use a pair of needle nose pliers, or just your fingers. It works just as well, to be honest. 

3. Take that extra 1/2” left at both the beginning and end points, and wrap them around the main part of the arrow to secure. 
arrow4

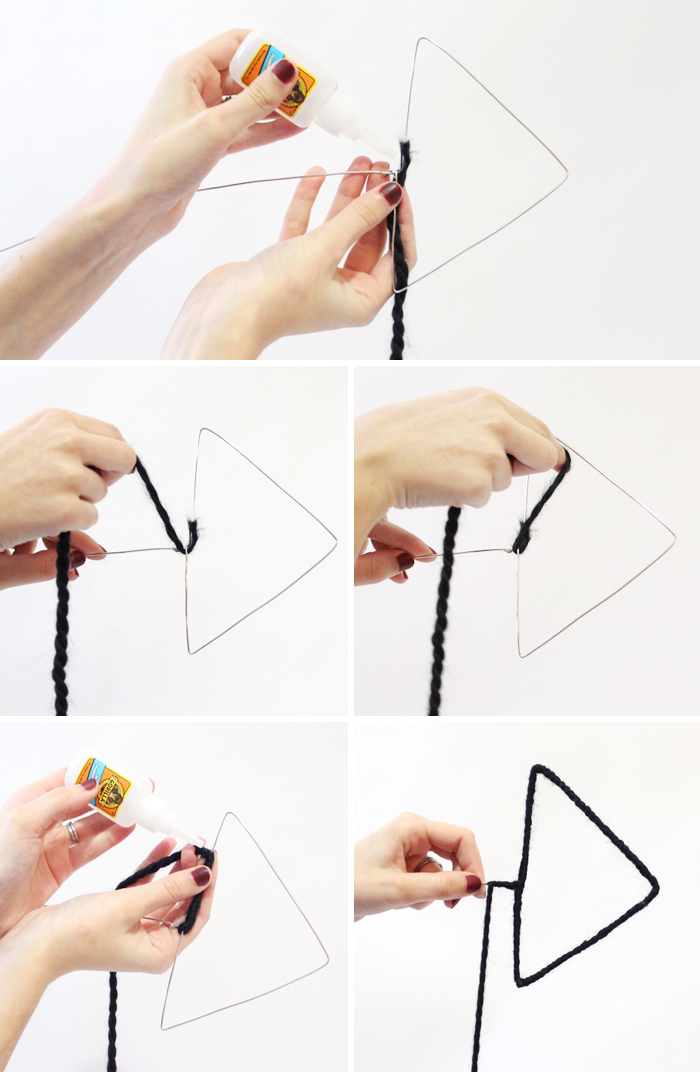
4. Time to start wrapping! Heres how to hide your yarn ends -start by placing your yarn alongside the length of the wire, right near where you joined the wire together in the middle. Make sure it is going in the opposite direction to which you are going to wrap. Glue down. Once dry, bring the yarn behind, up, and around the middle, covering the joint. Start wrapping, so that you end up covering that glued tail end. 

5. Keep wrapping around the wire. Place a dab of glue every couple of inches, and at every corner. 

6. When you get all the way around the β€œtriangle”, just continue right onto the β€œstick”. Continue wrapping and glueing. 

arrow5

7. When you want to change colors, theres no need to stop and cut your original yarn. First, glue your original yarn where you stop and want to switch. 

8. While pulling / holding the original yarn alongside the length of the wire, start your next color by hiding the end just like you did in the beginning. Glue down along the length of the wire, going in the wrong direction. Once dry, start wrapping back along the right way, covering both that glued end and the original yarn. 

9. When you are done with your color, glue down and leave a small tail. Pick up your original yarn and continue wrapping on, covering that tail. 

10. Repeat this for as many different times and colors you want to add!

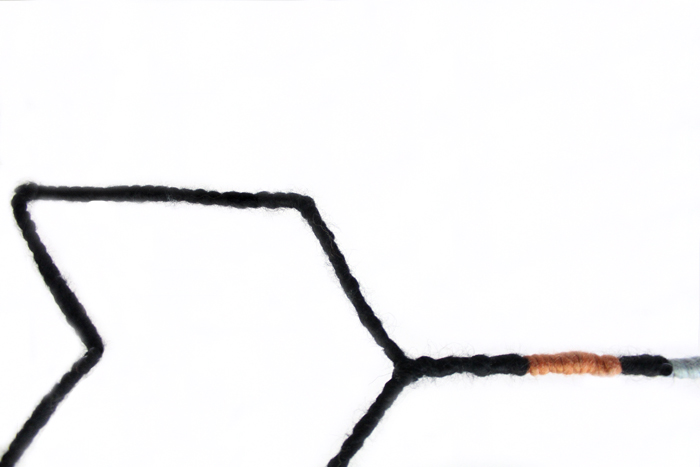
11. Continue on wrapping around the last part of the β€œstick” and onto the β€œfeather”. You’re in the home stretch now! When you get all the way done, glue and snip. 
arrow6

And that’s it! Admire your handiwork. Comment on how that didn’t take much time at all. Make another one! Hang them up. 

Tip - because it is so lightweight, try using sewing pins to hang your arrow instead of nails. They’ll be nearly invisible because they’re so small, and they will leave a lot smaller holes in your wall. Yay!

Holly In Your Hair - a DIY

holly1

Does that title sound like I’m about to show you a bunch of photoshopped pictures of miniature versions of myself hanging out in other people’s hair? Because now that’s all I can picture. 

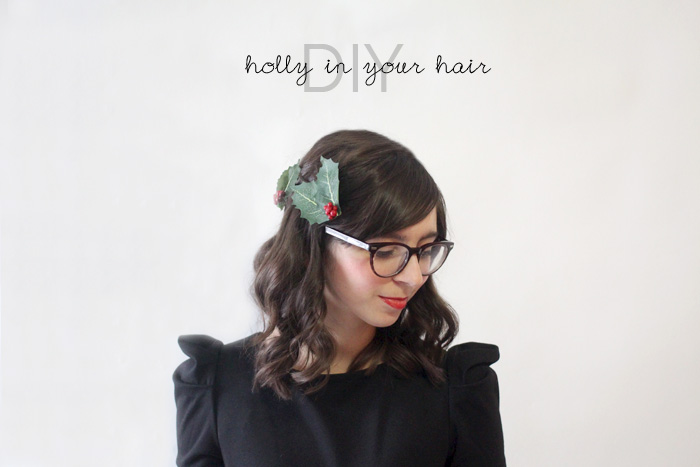
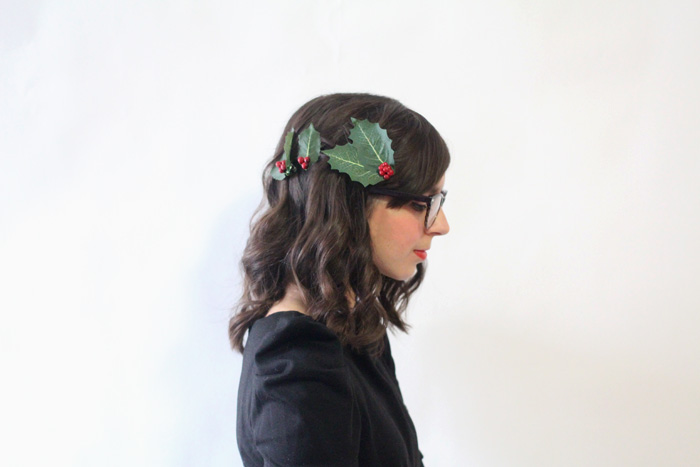
Anywho… I wasn’t born around Christmas, but I’m a sucker for playing up the whole holly thing this time of year. I often use the phrases β€œholly jolly Christmas” and β€œhappy Holly-days”, and I gravitate towards any decorations that include the leaves and berries. So when I saw all of the christmas stuff at the floral section in Michaels (and at 70% off!), I got an idea. This Christmas, I’ma be Holly… wearing holly. 

Genius, I know. 

Here’s how I did it….

holly2

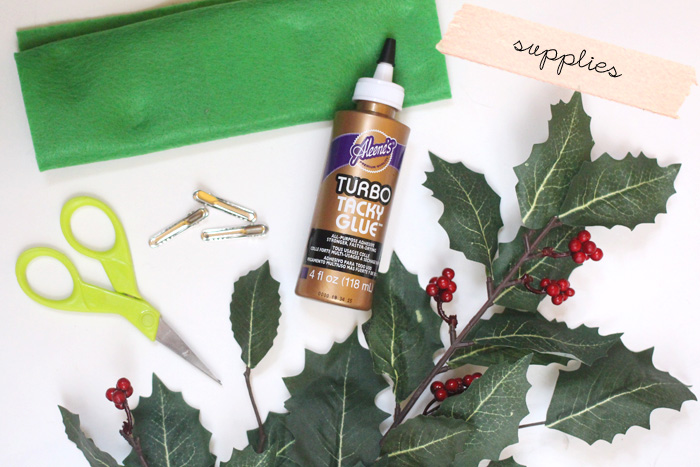
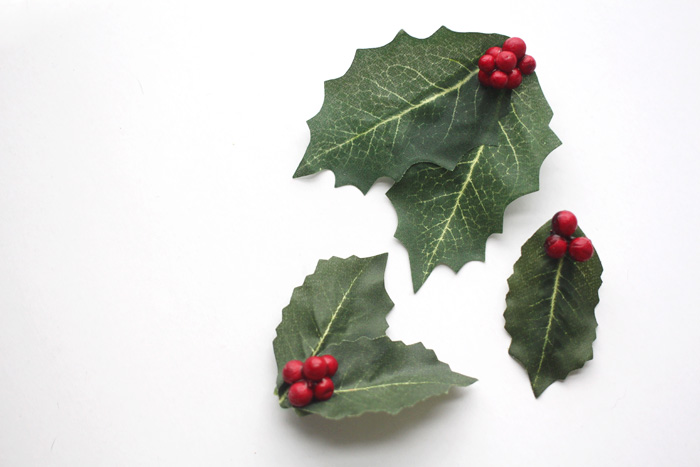
You’ll need: fake holly leaves (you can get it for a few dollars at a craft store) - adhesive - felt - alligator hair clips

holly3

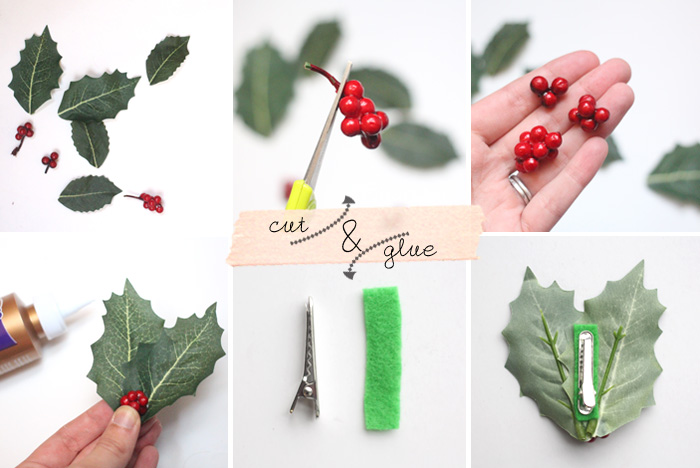
1. Most likely, the leaves and berrys will just pop off of the main stem with a light tug. But if not, just simply cut them off. Cut the little stems off of the berries, too. 

2. Glue a couple of leaves together to your desired look. Once they are completely dry, glue the berries to the leaves where the come together near the bottom. Note - I started out with tacky glue, which worked  really well glueing leaf to leaf. But not so much for the berries. I ended up using super glue for those. 

3. Cut a small piece of felt that is just slightly bigger than your hair clip. 

4. First glue the piece of felt to the back of your holly leaves - right in the middle, but closer to the bottom. Once dry, glue your hair clip to the piece of felt. Adding the felt gives it a little bit more stability. 

5. Voila! Stick one in your hair, or wear a bunch together. Happy Holidays!

holly4
holly5
holly6

DIY Hand Warmers

handwarmer1

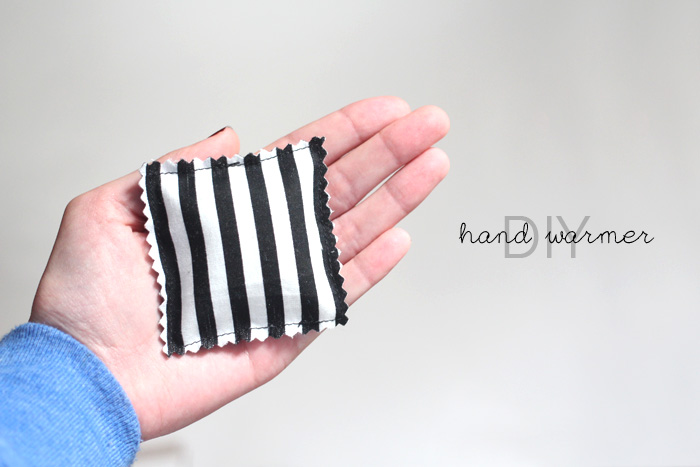
I don’t know about you guys, but I’m a baby in the cold. Even having lived somewhere that has a cold, snowy winter my entire life, I still can’t handle it. And I’m actually dreeeeeading another Northeast winter. 

So I made up a few batches of these little teeny hand warmers to try and combat the chill. I keep them right next to my keys, so I remember to heat them up quick before I leave. That way I don’t have numb fingers on my walk to Starbucks the grocery store. Oh who am I kidding,  I’m going to Starbucks. 

Here’s how I did it…..

handwarmer2

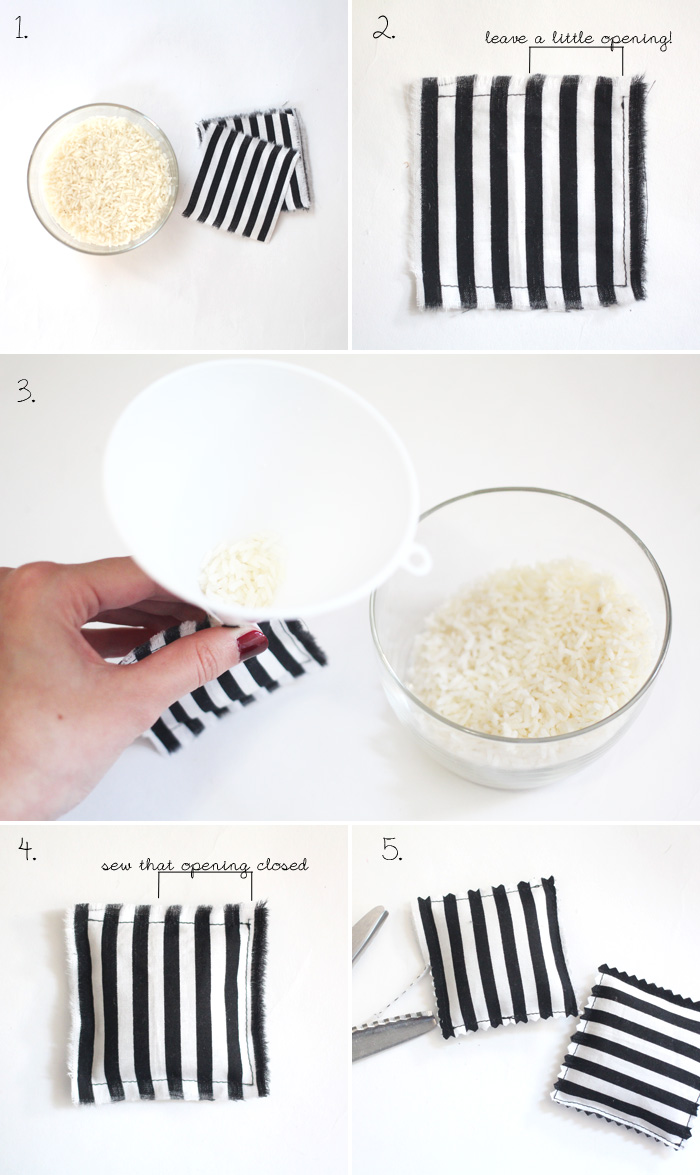
1. For a set of hand warmers, cut 4 3x3” pieces of cotton fabric.

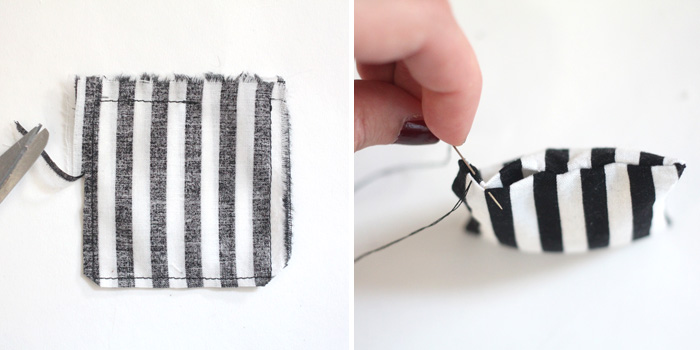
2. Place two of your squares wrong sides together, and sew 1/4” from the edge. Pivot at the corners, and leave about 1/2- 3/4” opening. Don’t forget to backstitch at the beginning and end. 

3. Fill your square pouch with rice about 3/4” of the way full. I used a funnel so that I didn’t make a mess :)

4. Sew and close up your small opening.

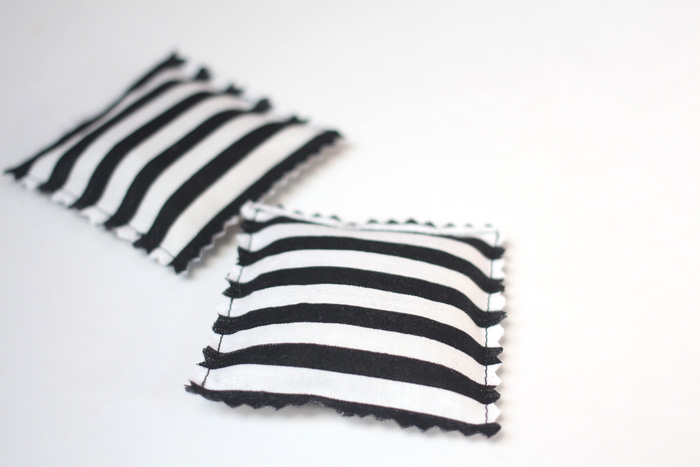
5. Trim along the edges with pinking shears so that they don’t unravel. That’s it!

………

But if you would prefer a cleaner look…..

handwarmer3

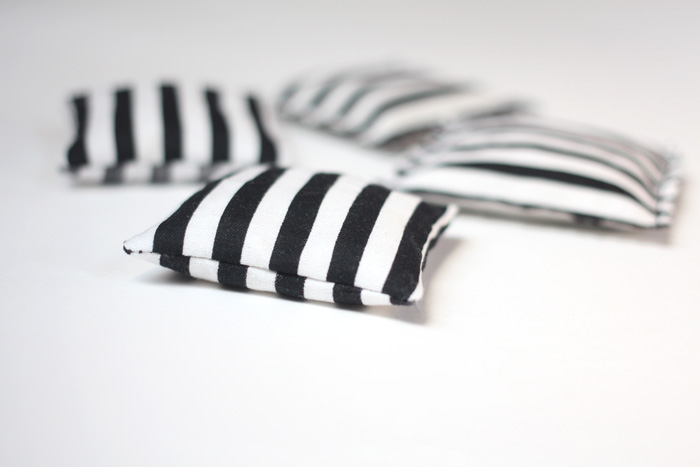
Start by placing your two square pieces right sides together, and sew just like before (1/4” from the edge, leave 1/2” opening). Clip your corners and trim the seam allowance, and then turn right side out through the opening.  Fill with your rice, and then close your opening with an invisible slipstitch.

Just slightly more work, but it does have a simpler, cleaner look!

handwarmer4

Right before you walk out of the house, just heat them up in the microwave for about 30 seconds and slip them in your coat pocket. Caution! They’ll be really hot! I But I like to get them just a tad too hot so that they stay warm longer.

Stay toasty, my friends :)

handwarmer5

DIY Necklace Stands

necklacestand1

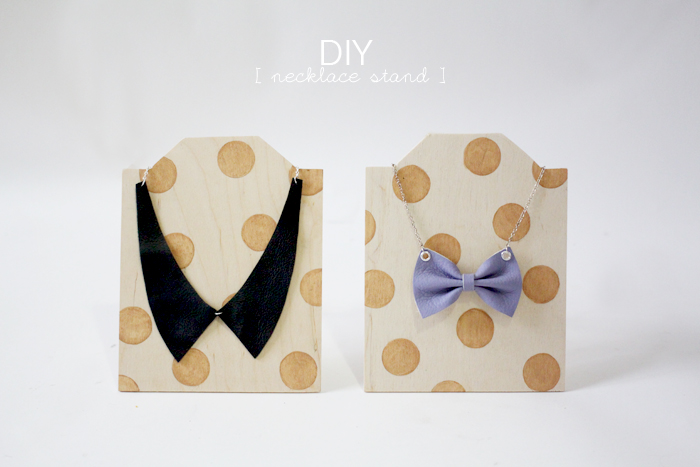
I’ve been looking for some new displays for some shopHollyDolly items. And when I couldn’t find anything I really liked, I decided to make them myself! They are good display stands for jewelry designers, but would also be super cute for displaying your necklaces at home! Check out the supplies below, and see how to I put these together after the jump….

Supplies:

- plywood ( I just used craft plywood)

- thin wood stick for kickstands

- craft saw

- sandpaper

-paint or wood stain

-wood glue

necklacestand2

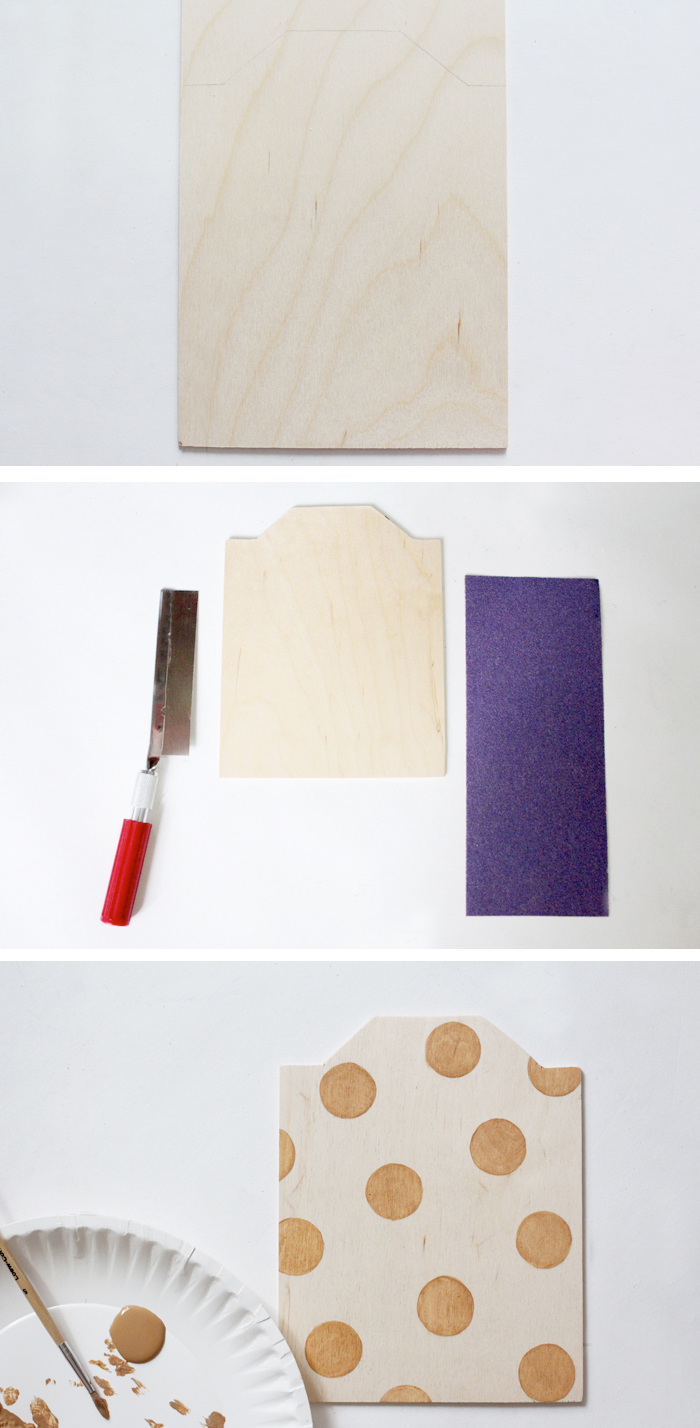
1. Lightly draw out your desired shape onto your wood. I went with a basic design so it would be easier to cut out. But I think some rounded edges, or cute design details would be adorable!

2. Use a craft saw (or an actual saw if you are hardcore) to cut out your shape. It may be a little rough at first, but that is what the sandpaper is for. Use the sandpaper to smooth out and clean up your edges. 

3. Use paint or wood stain to add your design. I though about stripes, chevron, and little flowers, but eventually landed on a simple polka dot. 

necklacestand3

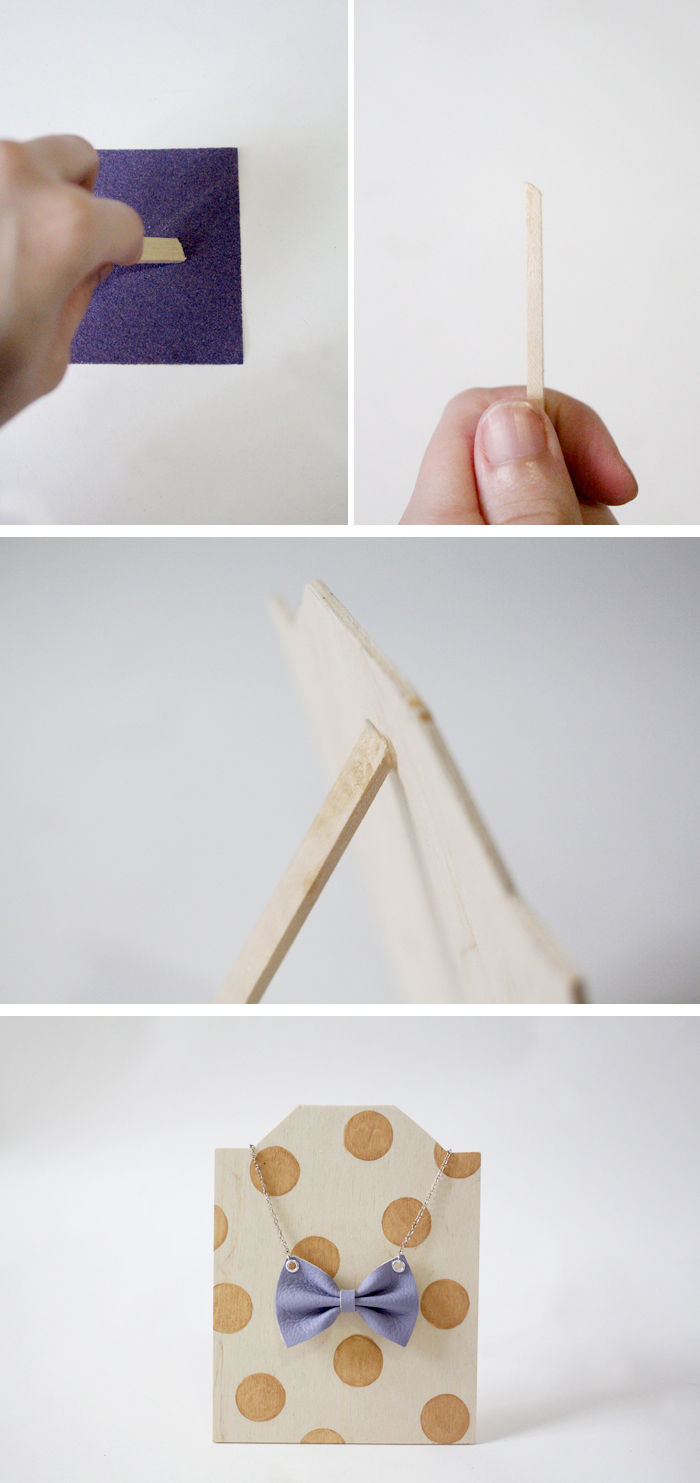
4. Take your wooden stick, and rub one end against the sandpaper at an angle, until you have a bit of a slant. Cut the other end to your desired kickstand length.

5. glue your slanted edge to the back of your stand. Let dry completely before you attempt to stand your stand up. 

That’s it! Display your necklaces, and admire your handiwork. 

In My Life

pincushiondiy

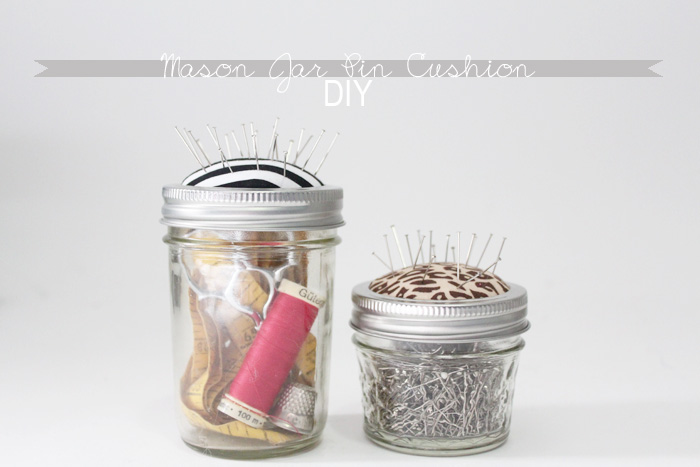
Β» This week on Megan Nielsen Design Diary: a mason jar pin cushion DIY (above), and a hand sewn hems tutorial.

Β» Earlier this week, I was featured on the Modcloth Blog with my favorite vintage find. Check it out here

Β» You guys, it is supposed to be warm this weekend. And by warm, I mean, like, 55 degrees. I’m going to all crazy and not wear any tights. And I’m super excited about it. 

Β» Don’t forget - you can follow along with HollyDolly via Bloglovin’ here!

IMG_9664

IMG_1509

Scalloped

scallop1

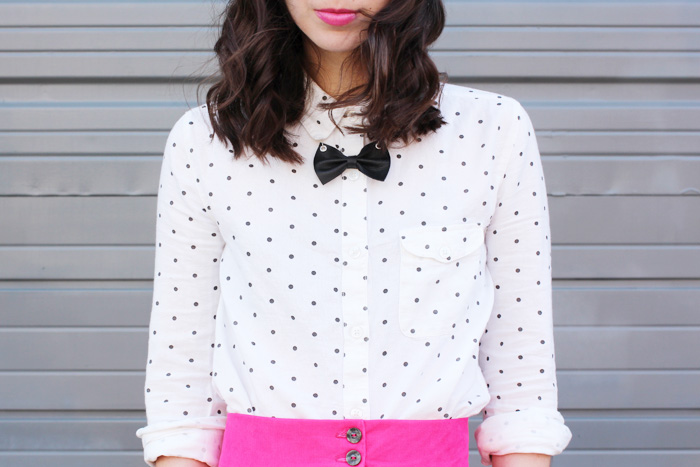
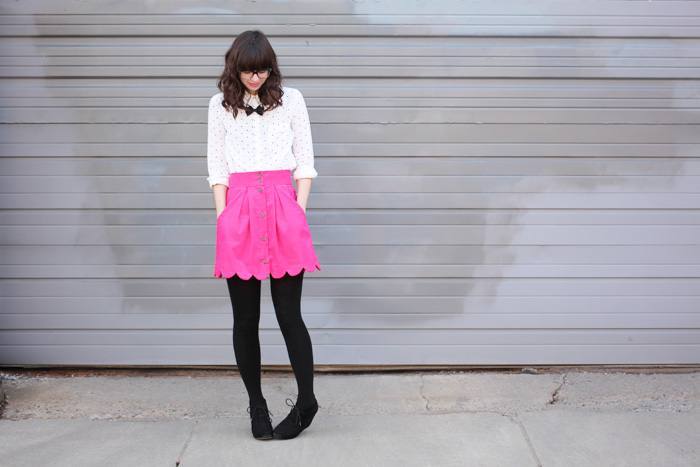
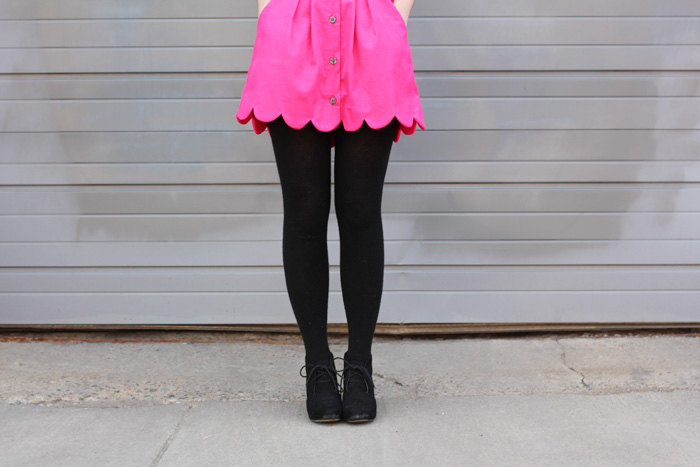
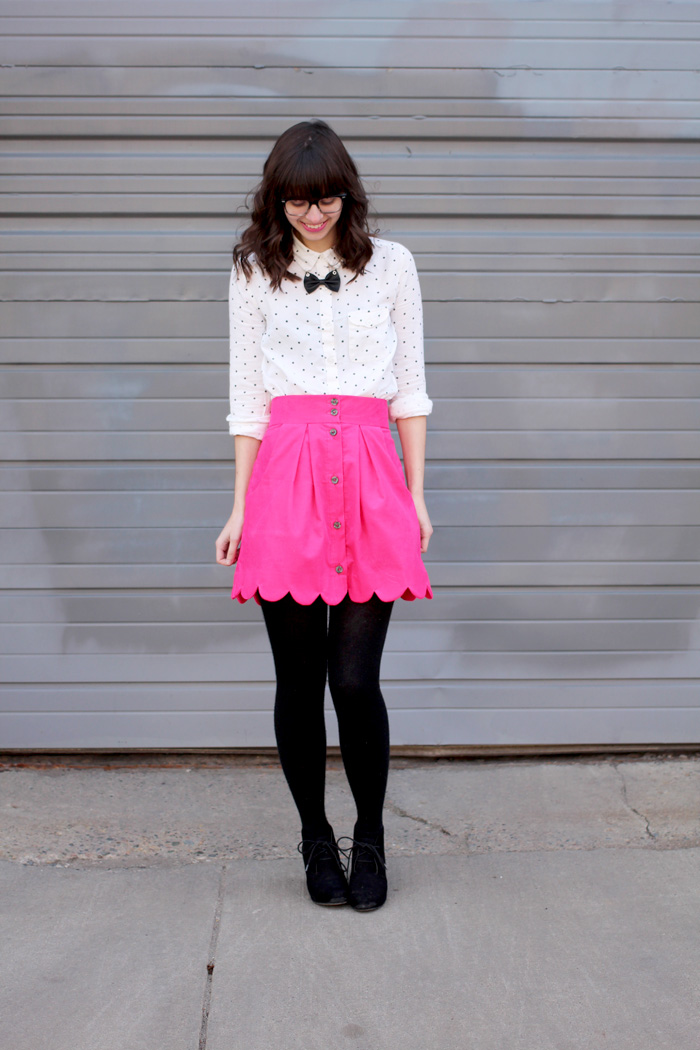
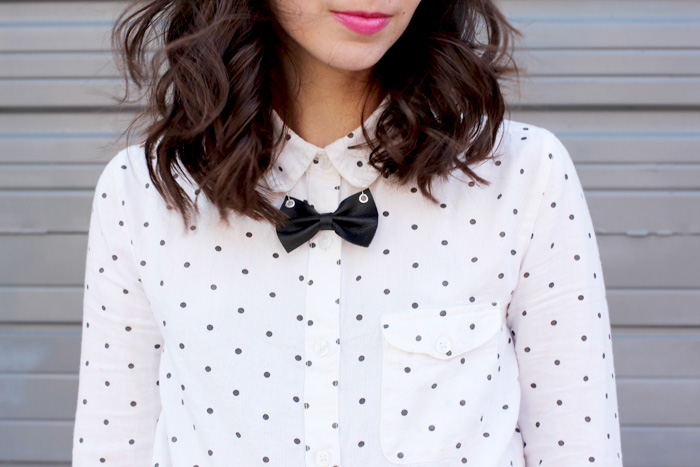
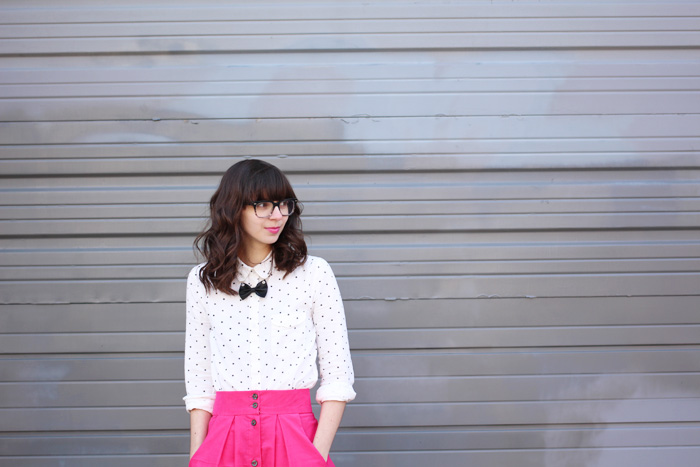
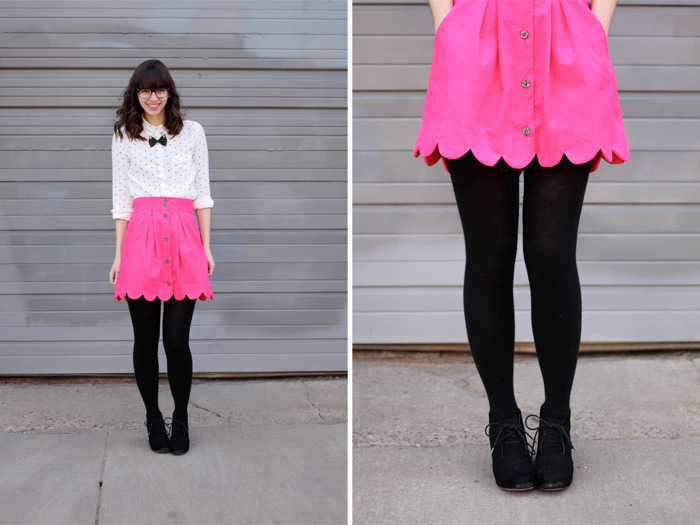
This skirt is my latest project for Megan Nielsen Design Diary. But I was pretty much in love with the skirt and this outfit, so I thought I would share it here too. It’s the Kelly Skirt pattern, with a scalloped hem variation. You can see my scallop tutorial here, and this outfit over at Design Diary here. Hop on over and take a peek!


scallop2

scallop3

scallop8

scallop5

scallop6

scallop7

shirt: Urban Outfitters

skirt: handmade using Megan Nielsen’s Kelly Skirt pattern. See scallop tutorial here

necklace: shopHollyDolly

boots: Target

DIY Burlap Envelope

envelope6

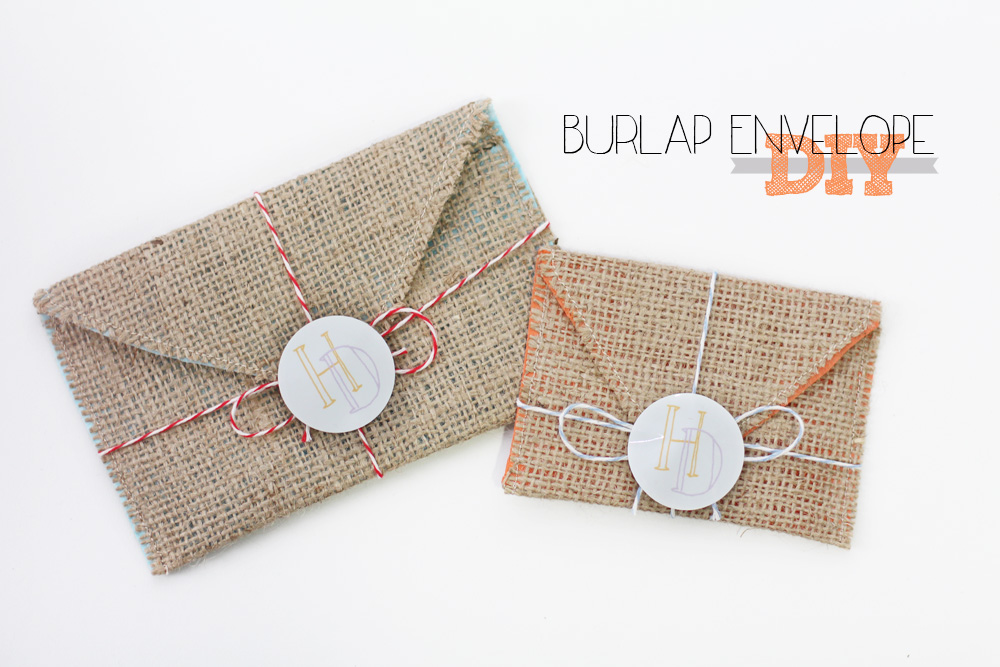
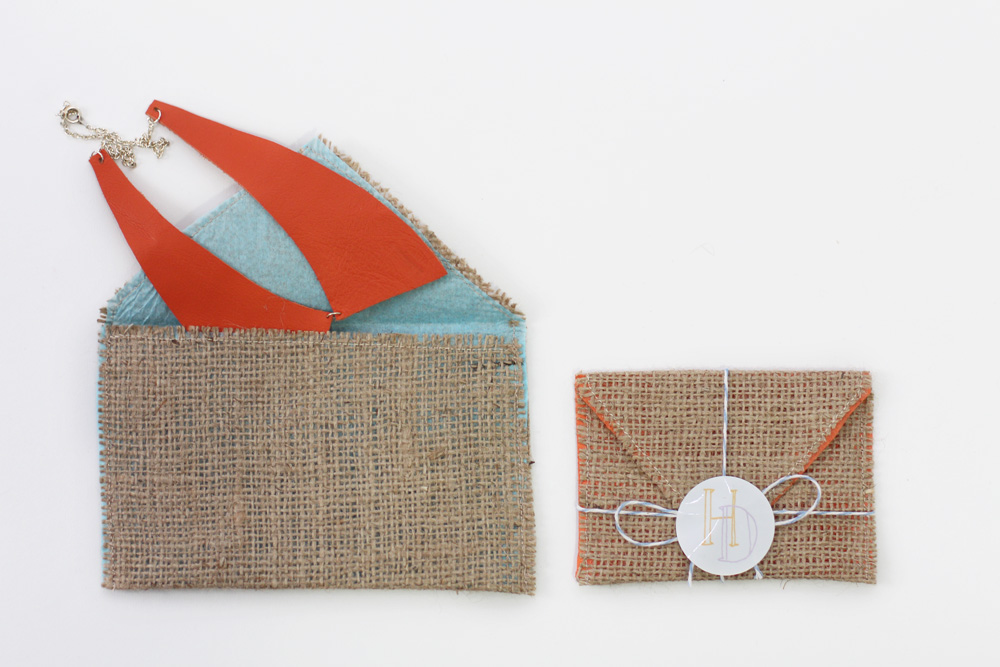
A part of re-inventing shopHollyDolly has been coming up with a new way to package and wrap up orders. It just so happens that I have a lot of extra burlap lying around post-wedding. So decided to make some super simple burlap envelopes, with some tissue paper in between so the burlap doesn’t scratch the leather rand other items. 

They are soooo easy, and I’ve been making them in all different sizes for all different items. They would be cute to package up any little gifts!

envelope1

1. Make a template for your envelope. It all depends on the size you want. 

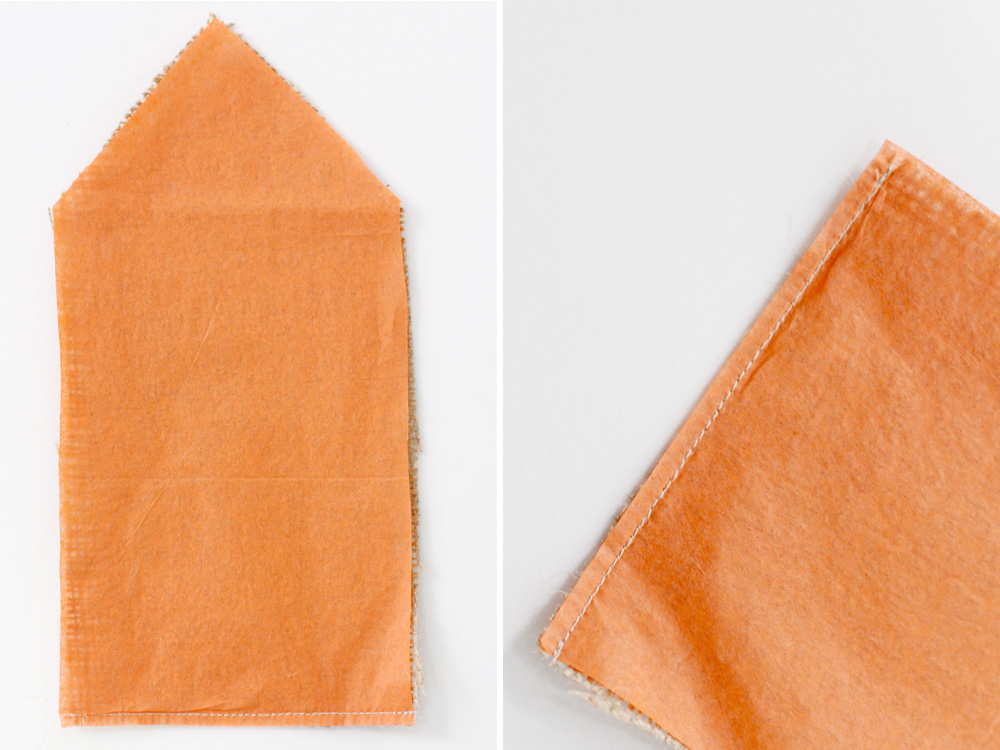
2. Use your template to cut out one piece of burlap, and one piece of tissue paper. You may need to iron your burlap and tissue paper before you get started. For the tissue paper, make sure you use a low setting and do it quickly. 

envelope2

3. Place the tissue paper on top of the burlap and sew along the bottom edge. 

envelope3

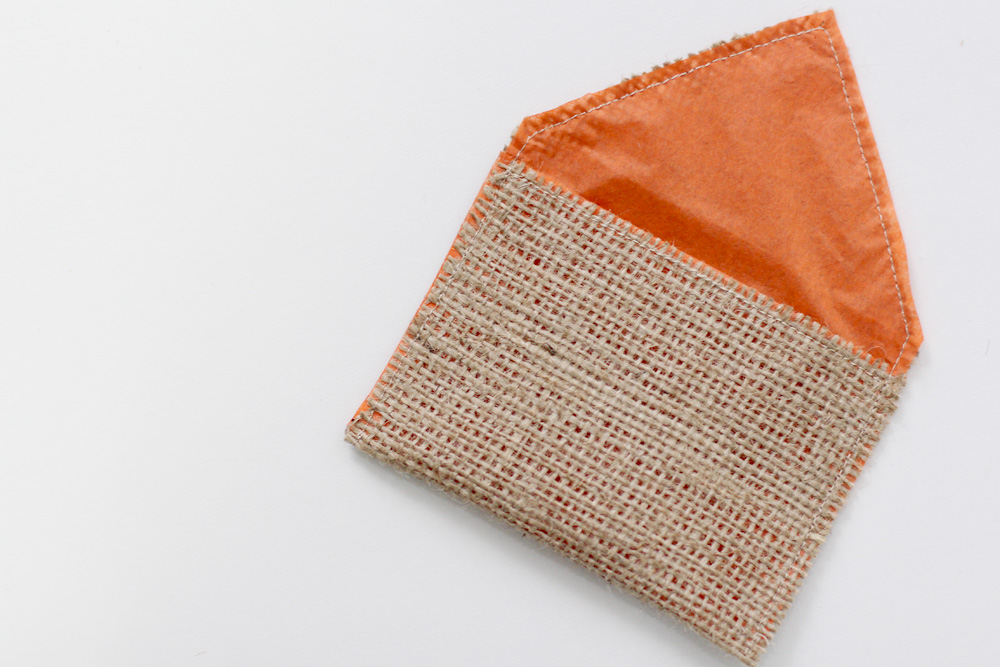
4. Fold up into an envelope shape. But not all the way to the very edge - leave about half an inch before the flap starts. Pin in place. Sew from one bottom edge, aaaall the way around (including the flap), until you reach the other bottom edge. 

envelope4
envelope5

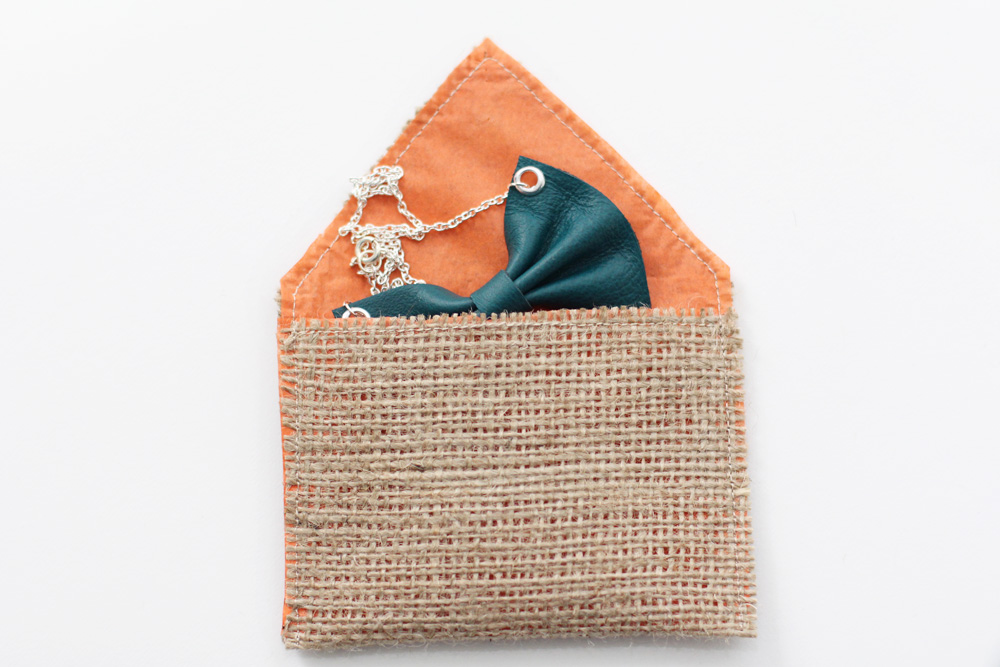
5. Put in your goodies, and close however you like! I tied some bakers twine around it and finished it off with some HollyDolly stickers I got from Moo.com. You could also sew on a snap or button, or whatever you can come up with!

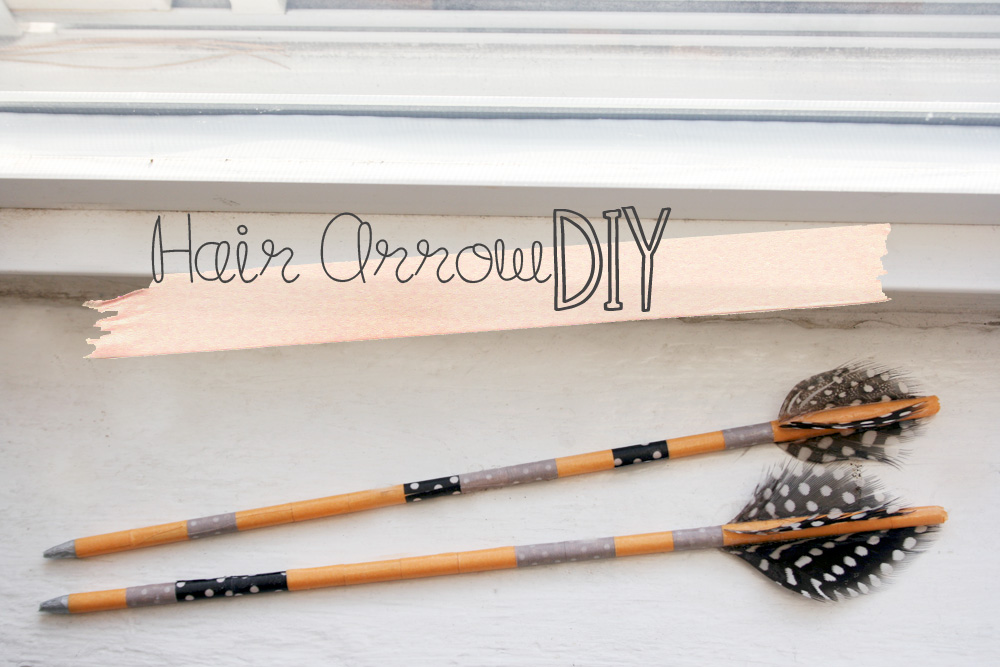
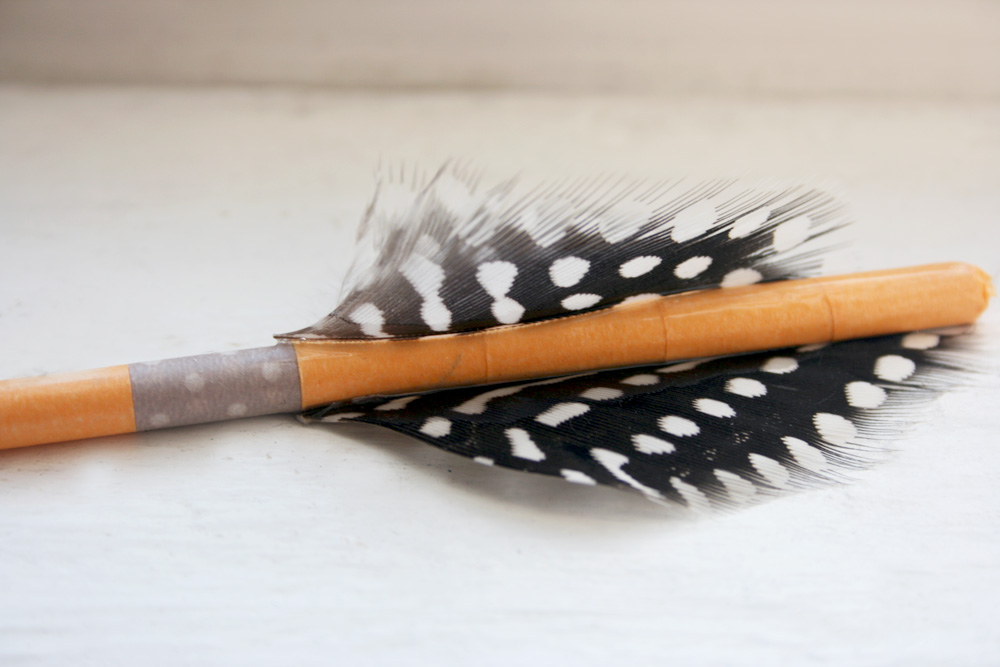
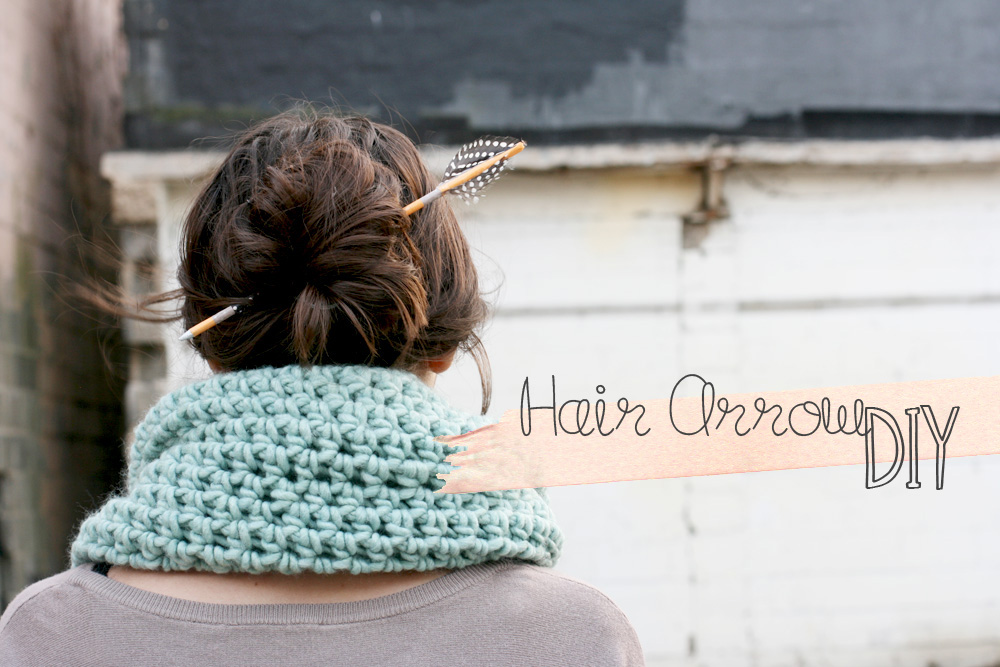
DIY Hair Arrows

IMG_3324

Supplies:

-thin wooden dowels, cut to aprox 9 - 9 1/2 inches long

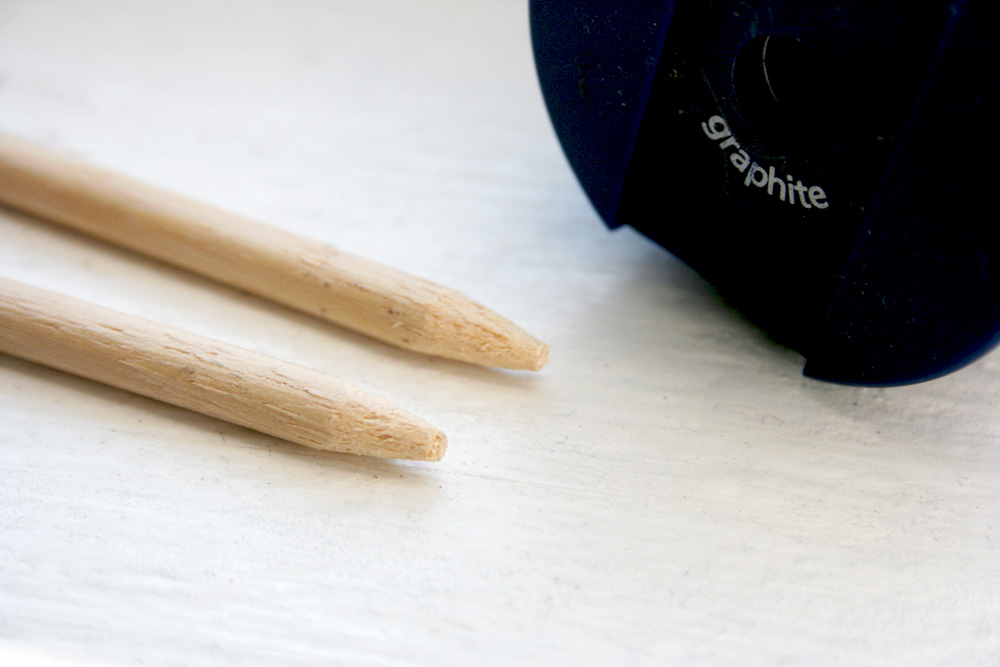
-pencil sharpener

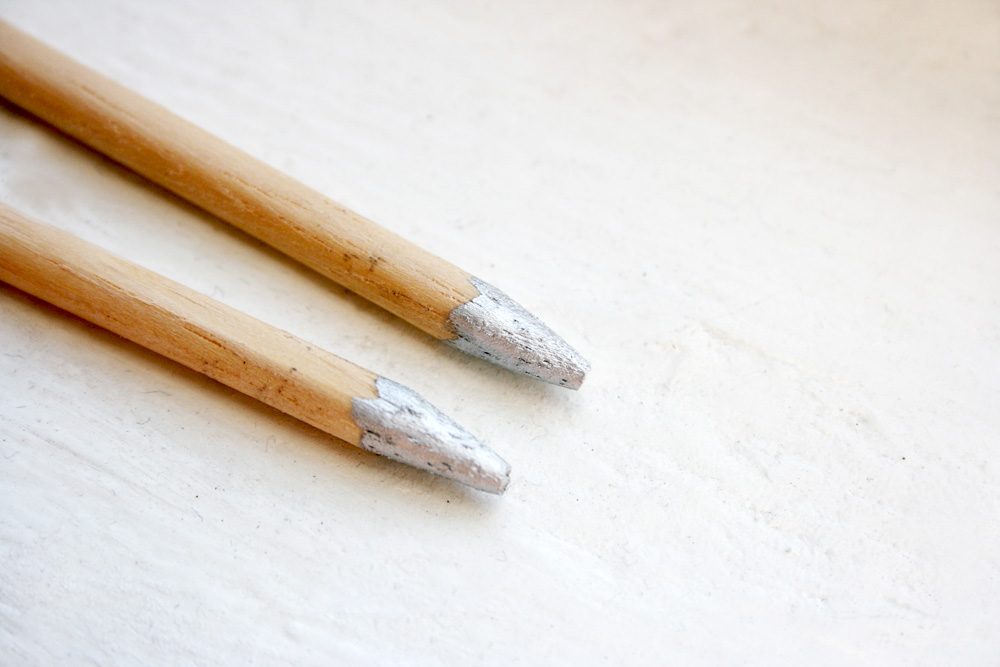
-silver paint or marker

-washi tape

-feathers

-glue

IMG_3280

IMG_3283

1. Use a pencil sharpener to shape the β€œtips” of your arrows. Don’t go all the way and make it too pointy! We don’t want it to be sharp and dangerous.
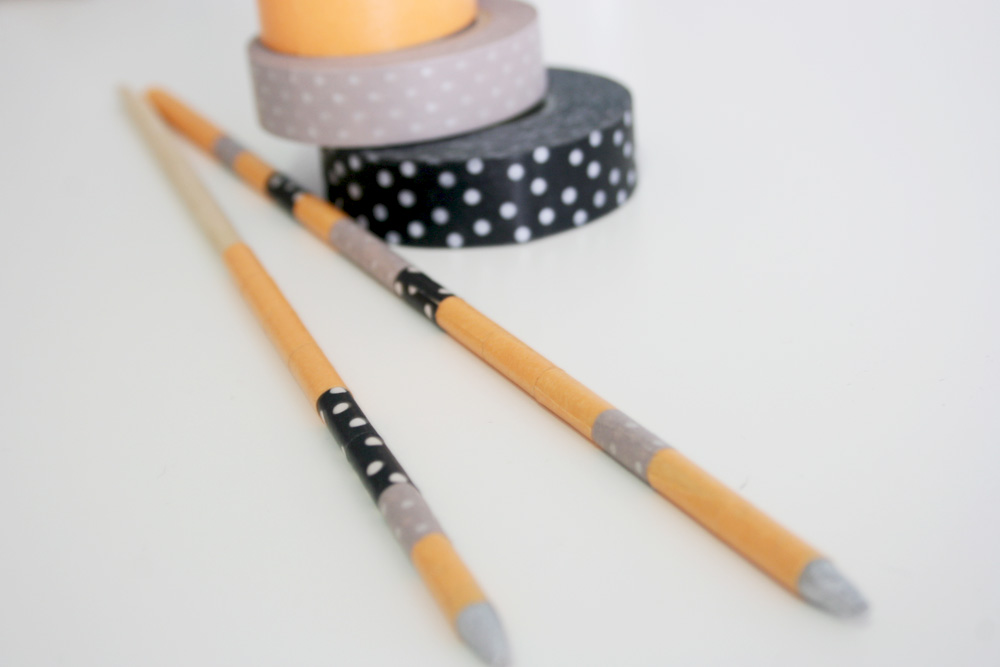
2. Use your silver paint or marker to paint the tips. 

IMG_3293

3. The fun part - decorating your arrows! You can just as easily paint the sticks, but I chose to wrap mine in wash tape. 
IMG_3313

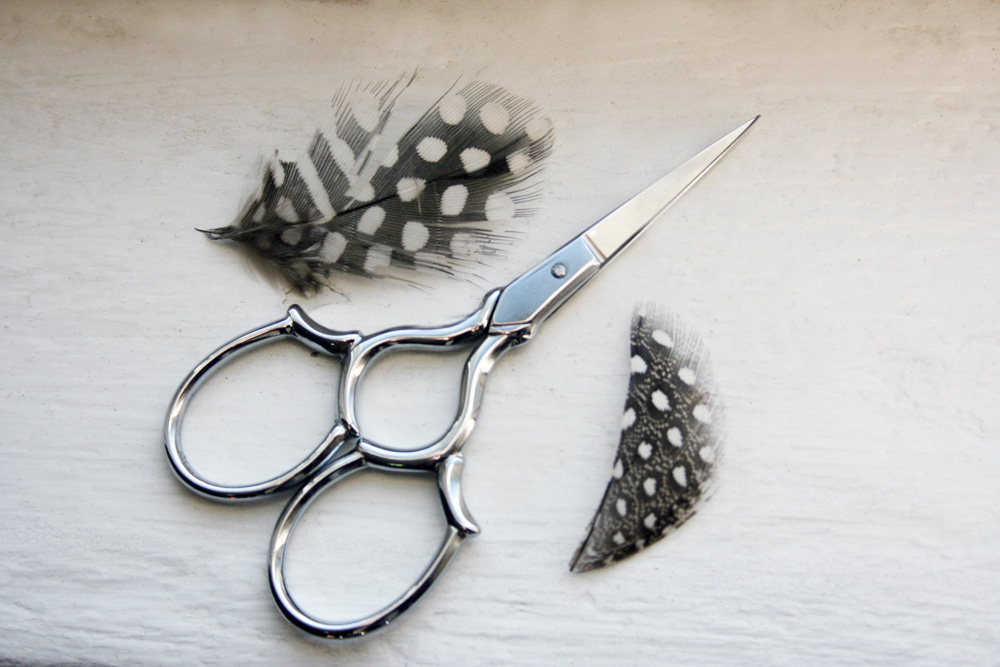
4. Take your feathers, and cut along one side of the center part (if that makes sense). Cut as close to the middle as possible, without nipping that center part. This will ruin one side of the feather, but allow you to use the other side. Cut extras, just in case!

IMG_3318

4. Ok, so this part proved trickier than I thought. Glueing the feathers to the stick. At first, I was just using a mode podge like glue - which was kind of holding the feathers, but not that well. I eventually ended up using super glue to fully secure them, after using the mode podge first to get them in place. And I did 3 feathers per stick, but you could just do 2, if you’d like. 

IMG_3810b

That’s it! Pull up your hair into a messy bun, and stick your arrows in there!

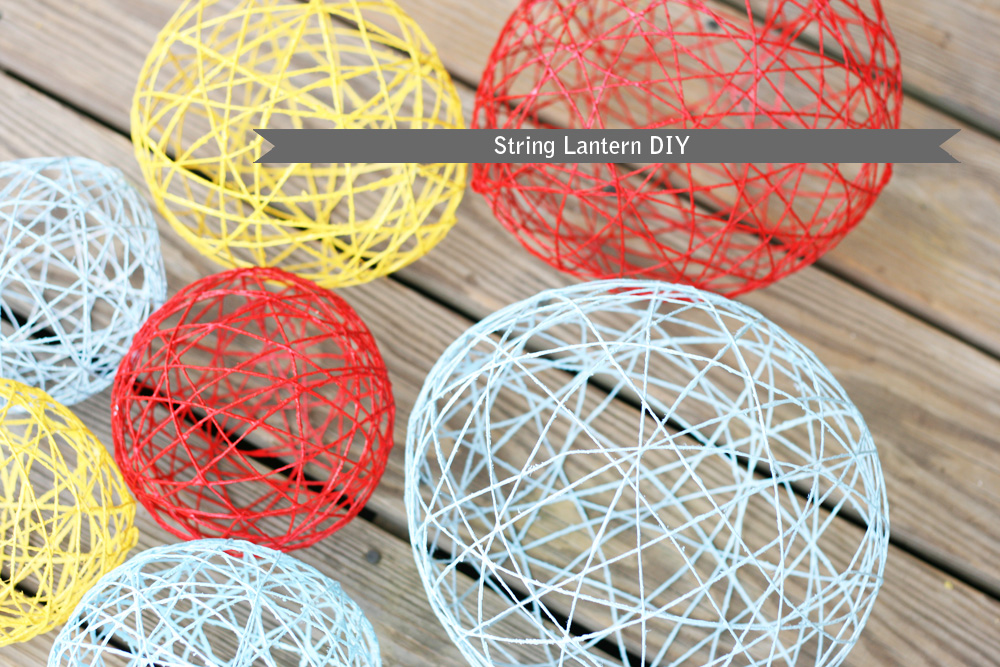
DIY Yarn Lanterns

lanterndiy1

Supplies:

-string/yarn

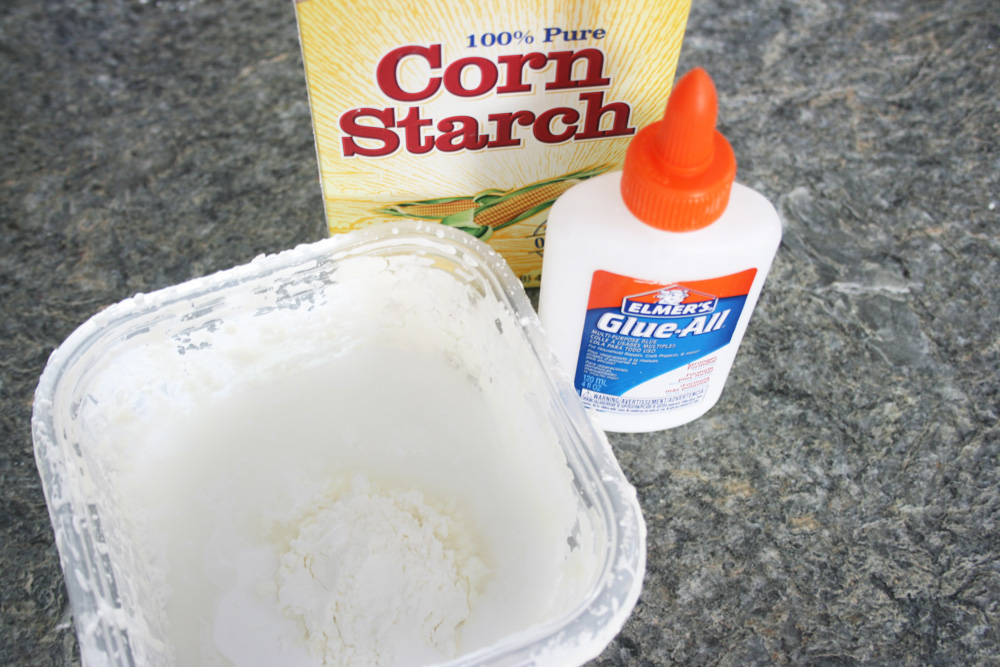
-vaseline

-elmers glue

-corn starch

-water

-balloons

-spray paint (optional)

IMG_6127

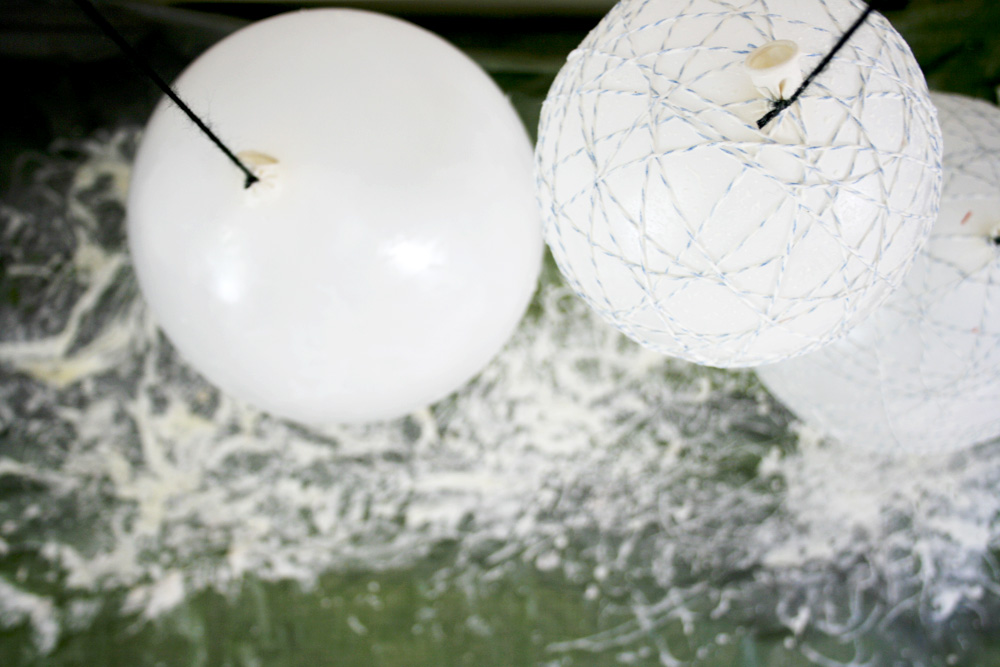
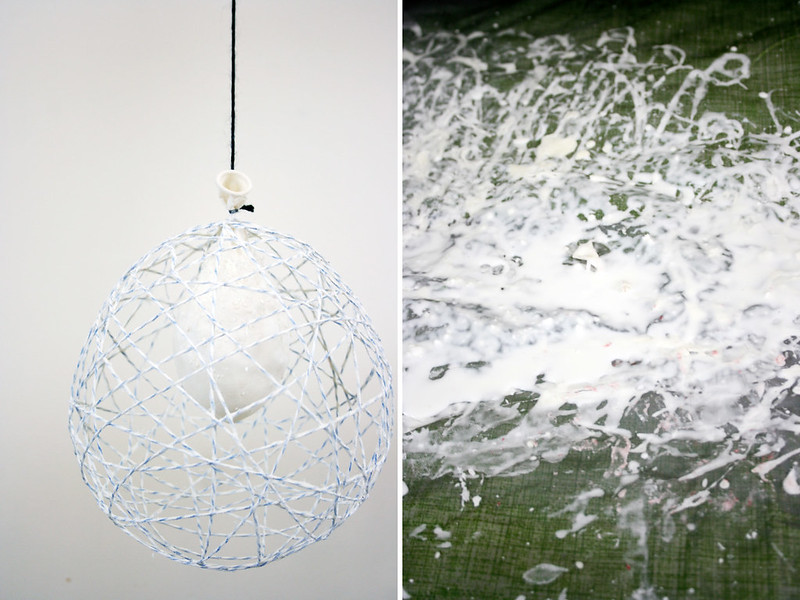
1. Set up your work space. Hang a horizontal dowel/rod/stick/wire across two chairs/shelves.etc. Somewhere where you can hang multiple balloons from with string. Lay down plastic or a tarp underneath, and make sure to cover the entire work space. Seriously. Look at the pictures below. This isn’t exactly a neat and tidy project. 

2. Blow up your balloons to your desired size and hang them, using string, from your rod. Make sure they are not touching each other, the wall, etc. 

3. Cover the balloons in vaseline, to make sure the string doesn’t stick to the balloon when the glue dries.

4. Make your glue mixture. Mix about half a bottle of glue, 1/2 cup of cornstarch, 1/4 up water. This is only enough for a few lanterns, so mix more if you are making a lot of them. 

IMG_6149

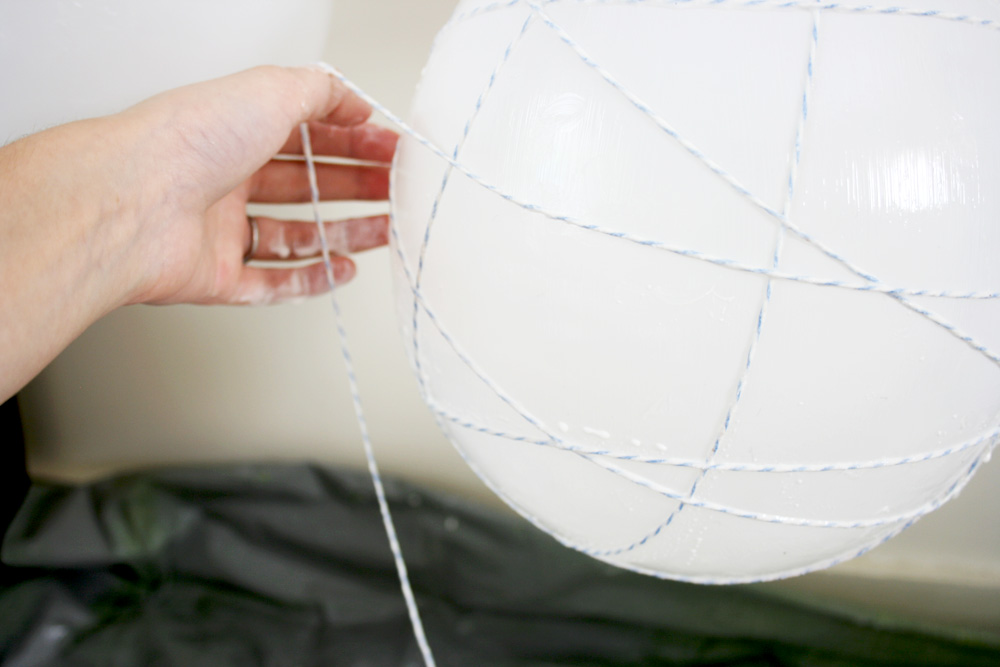
5. Run your yarn through the glue mixture and start wrapping it around your balloon. This works so much better if you have two people. One person can feed it through the glue, while the second person takes the newly glue covered yarn and wrap. Theres no rhyme or reason to the wrapping - just go with the flow!

IMG_6073

6. When you have your desired look - cut the yarn and tuck in the ends. Let dry at least 24 hours. Personal tip -after it’s fully dry, give it a light test squeeze to see if it is soft in any spots. If it doesn’t feel firm enough to you, give it another coat of glue and let re-dry. 

lanterndiy2

7. When it is fully dry  - hold your breath, and pop the balloons! Pull out the balloon and scrape off and excess glue from the string. 

Holly+Zach_cer-5

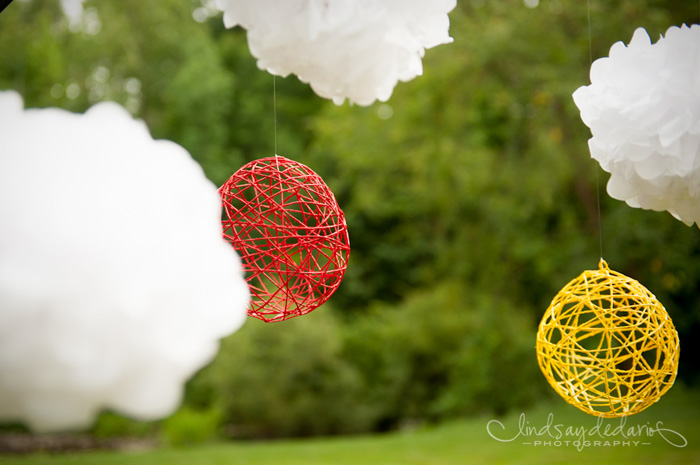
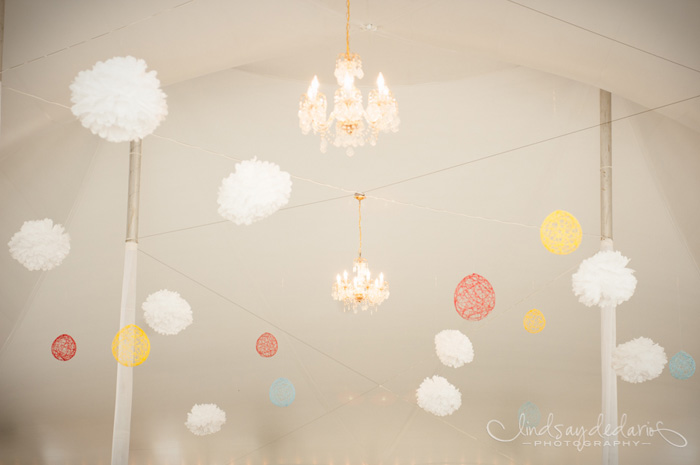
8. That’s it! You can paint or spray paint them if you would like. Or try using colored string to start with!

Holly+Zach_reception-28

***last two photos by Lindsay Dedario Photography***

If You're Thinking About Getting A Photo Booth.....

IMG_2301

…..for your wedding or party - DO IT. You will not regret it. 

photos1

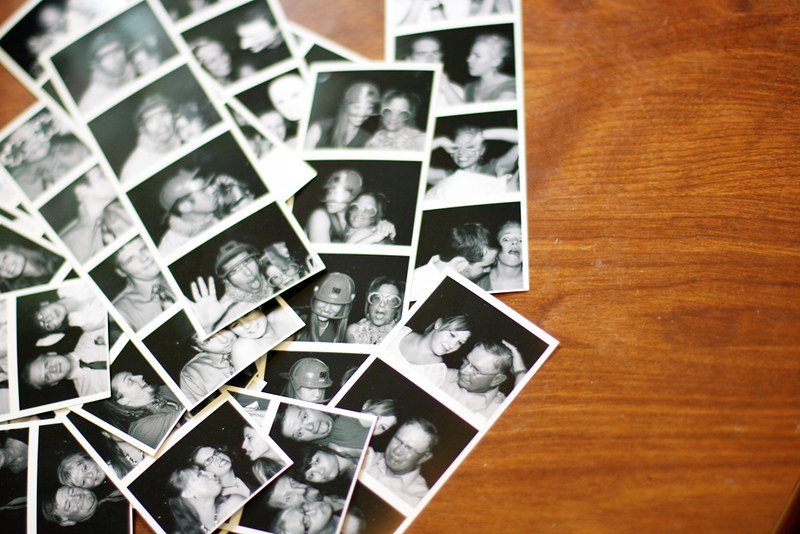
Renting our photo booth was probably the best decision I made for our wedding. Seriously. Everyone loved it, and I could have filled six of those frames with the amount of photo strips I have. 

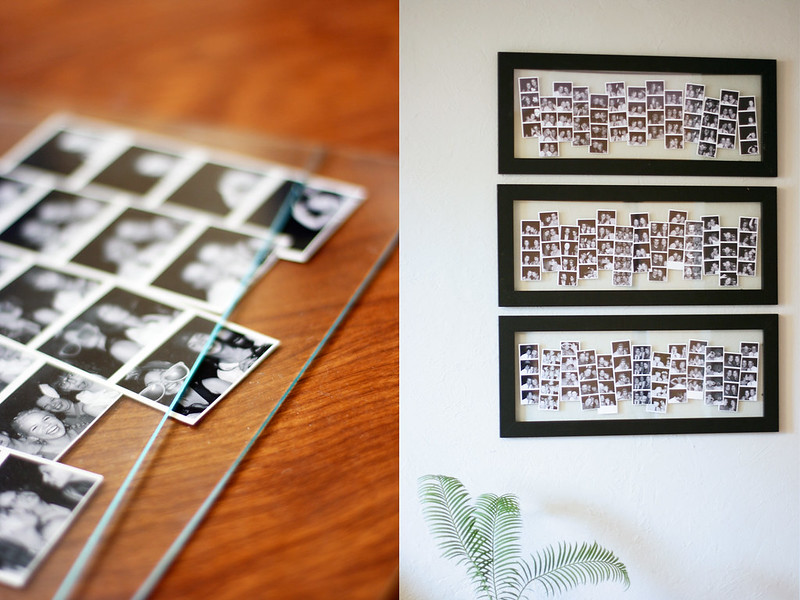
I originally wanted to get custom made, really long frames for all of them. But that turned out to be ridiculously expensive. So, instead, I found these floating frames at the craft store, and used clear scrapbooking squares to arrange and attach all of the photos between the two pieces of glass. 

Let’s just say, I’m pretty much in love with them.